
 Save
Save
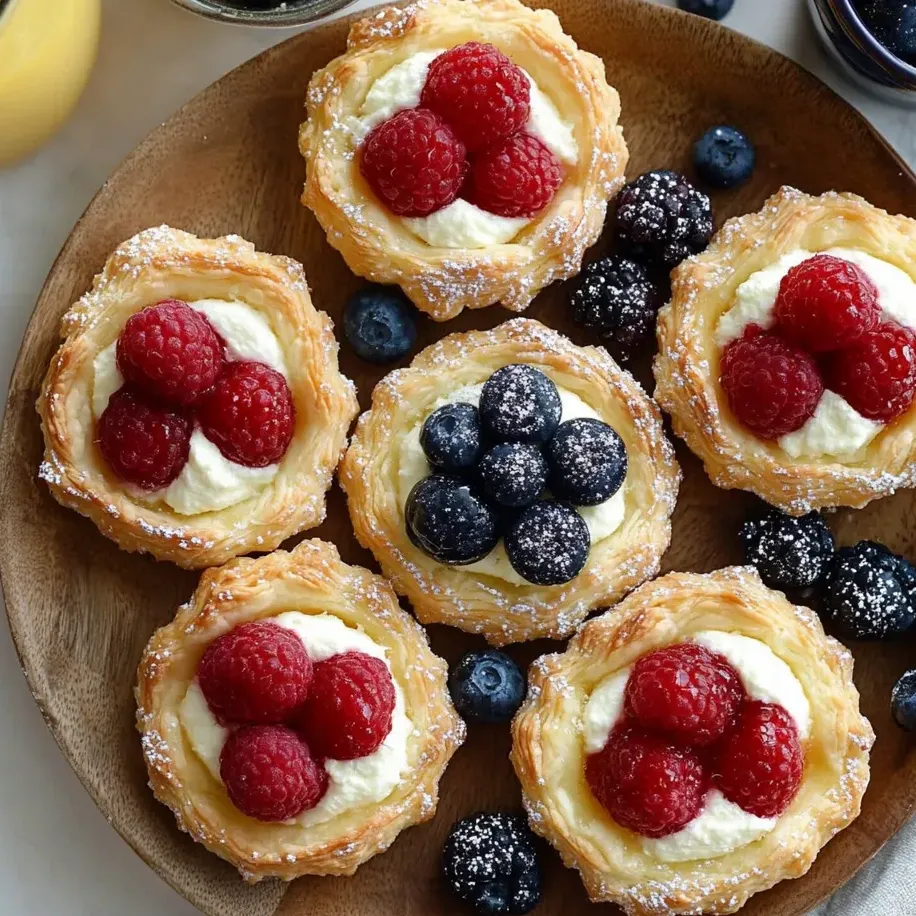
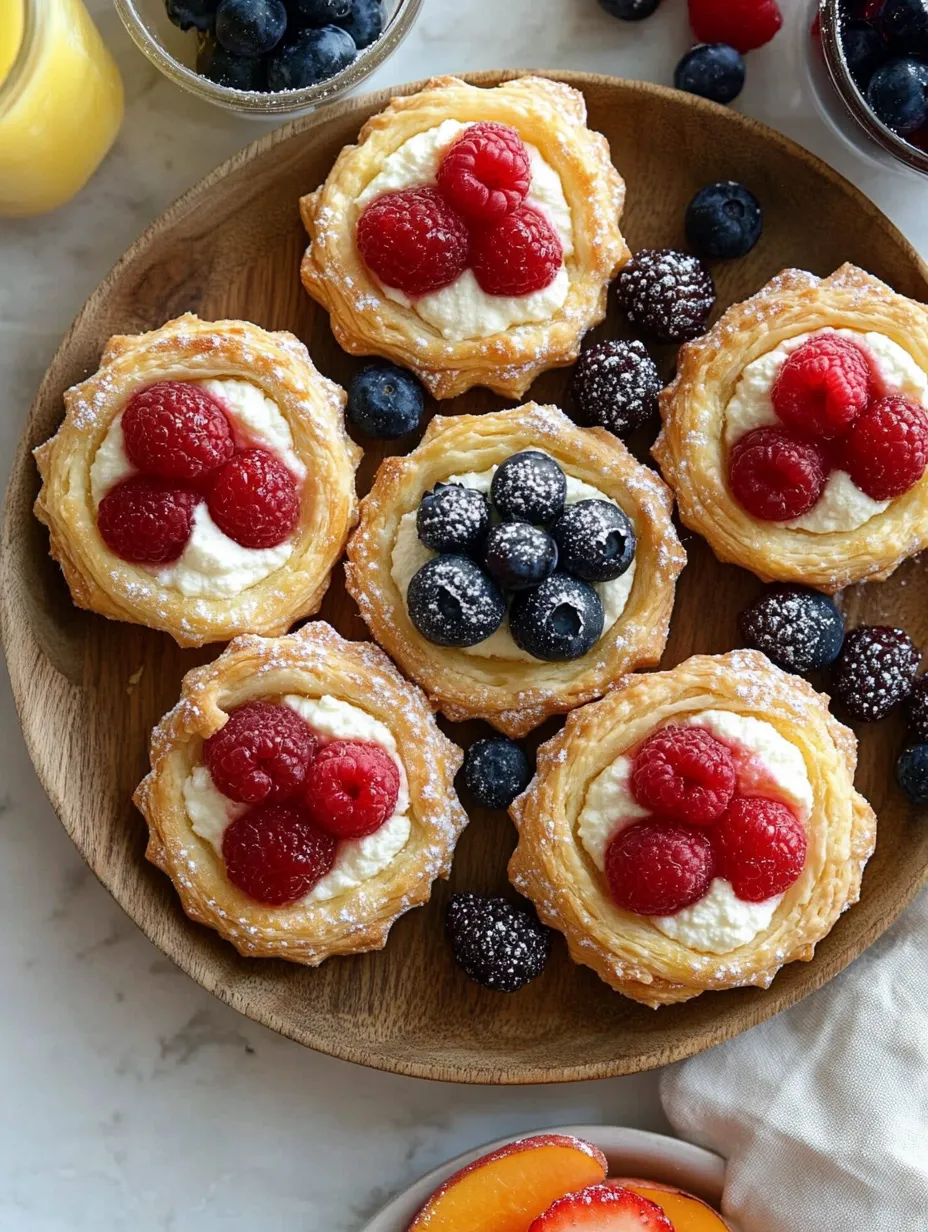
This easy puff pastry treat pairs tangy cream cheese with seasonal fresh fruits for a fancy-looking dessert anyone would think came from a high-end shop. I've whipped up these fruit-topped cream cheese tarts for countless gatherings when I want something that looks impressive but isn't hard to make.
I first threw these together during a last-minute brunch I hosted when I needed something fancy without spending forever in the kitchen. Everyone asked which bakery I'd bought them from.
Ingredients
- Softened cream cheese: gives you the creamiest filling possible
- Sugar: brings just enough sweetness that won't overwhelm the fruit flavors
- Fresh lemon zest and juice: add a zingy kick that cuts through the richness
- Pure vanilla extract: rounds out the cream cheese mixture with cozy flavor notes
- Frozen puff pastry sheets: let even beginners create bakery-quality treats
- Fresh fruit you prefer: means you can switch things up all year long
- Large egg: helps create that gorgeous golden crust everyone loves
- Sanding sugar: adds a sparkly finish and slight crunch to each bite
Step-by-Step Instructions
- Get Everything Hot and Ready:
- Turn your oven to 400°F and put parchment on two baking sheets so nothing sticks and cleanup's a breeze. The hot oven makes the pastry layers puff up properly.
- Mix Up Your Filling:
- Whip the cream cheese together with sugar, lemon bits, and vanilla until it's fluffy with no lumps at all. Don't rush this part since bumpy filling will show up in your finished pastries. You want it smooth but thick enough to stay put.
- Cut Out Your Pastry:
- Lay out your thawed pastry on a floured counter and smooth out any lines. Use a 4-inch round cutter or glass to make four circles from each sheet. Push down firmly and twist slightly to get clean edges.
- Set Up Your Pastries:
- Put the circles on your lined baking sheets with space between them. Cut a shallow line about a quarter inch from the edge all around each circle. Poke the middle section all over with a fork so it doesn't puff up too much.
- Top With Goodies:
- Drop a big spoonful of cream cheese mix in the middle of each circle, keeping inside the border you cut. Arrange fruit on top however looks pretty to you. Don't pile on too much or they'll get soggy.
- Last Touches and Baking:
- Brush the edges with beaten egg to make them shiny, then sprinkle with sugar if you want. Bake until they're deep gold and puffy around the edges, about 15-18 minutes depending on how hot your oven runs.
- Let Them Rest:
- Keep the pastries on the hot pan for 5 minutes after baking so the filling firms up, then move them to a rack. You can eat them warm or after they've cooled down completely.

During summer I can't get enough of loading these with mixed berries. When they bake, the berries get soft and juicy, making little pockets of jam-like sweetness that goes perfectly with the tangy cream cheese. My kid now wants these instead of cake every birthday morning.
Seasonal Variations
In spring, try pairing strawberries with rhubarb for that classic sweet-tart combo. Just chop the rhubarb into tiny pieces and mix with a bit of sugar first so it won't taste too sour.
For summer treats, load them up with blackberries, raspberries, sliced peaches or plums. These juicy fruits melt down slightly as they cook, creating their own natural sauce.
When fall comes around, thinly sliced apples or pears with a dash of cinnamon make these extra cozy. Try adding some chopped walnuts or pecans on top for a nice crunch.
Winter versions work great with orange or grapefruit segments or fruits you've gently poached. Blood oranges look stunning against the creamy white background of the cheese.
Make Ahead Options
You can make the cream cheese mixture up to 2 days early and keep it covered in the fridge. Just let it sit out till it softens before you try to spread it on the pastry.
If you want to plan way ahead, you can put together the raw pastries and freeze them for up to a month. Freeze them on a flat tray first, then pack them in containers once they're solid. When you're ready, bake them frozen and just add a few extra minutes to the cooking time.
Once they're baked, these don't keep well for long since the pastry gets soft, but you can crisp them back up in a 300°F oven for about 5 minutes if you made them earlier in the day.
Frequently Asked Questions
- → Can I make these pastries ahead of time?
You bet! You can mix up the cheese filling and cut out your dough circles a day early. Keep the filling in your fridge and let it warm up a bit before you put everything together. It's best to bake them right after assembly, but you can keep baked ones for a day or two in a sealed container.
- → What fruits work best for these pastries?
Pretty much any fresh fruit does the trick! Small berries like strawberries, blueberries, and raspberries are top picks. When they're in season, try peaches, plums, and cherries too. Apples and pears taste great in fall versions. Just pick fruits that aren't too juicy so your treats don't get soggy.
- → Can I use frozen fruit instead of fresh?
Fresh fruit works best for looks and texture, but frozen will do in a pinch. Just make sure you thaw them completely and get rid of all the extra liquid before you put them on your pastries. This helps avoid mushy centers that nobody wants.
- → What can I substitute for sanding sugar?
Regular table sugar works fine instead of sanding sugar, though it won't give you that same sparkly look. Try turbinado or raw sugar for some nice crunch and better looks. Or you can skip the sugar topping altogether if that's what you prefer.
- → How do I know when the pastries are done baking?
Look for pastries that have puffed up and turned golden brown around the edges. The middle parts should feel set but might still be a little soft. If they're getting too brown but don't seem done inside, just cover them loosely with some foil and keep baking until they puff up all the way.
- → Can I make these pastries without a stand mixer?
Of course! A hand mixer works great, or you can even mix everything by hand with a wooden spoon if your cream cheese is nice and soft. Just make sure everything gets mixed together into a smooth, creamy blend.