
 Save
Save
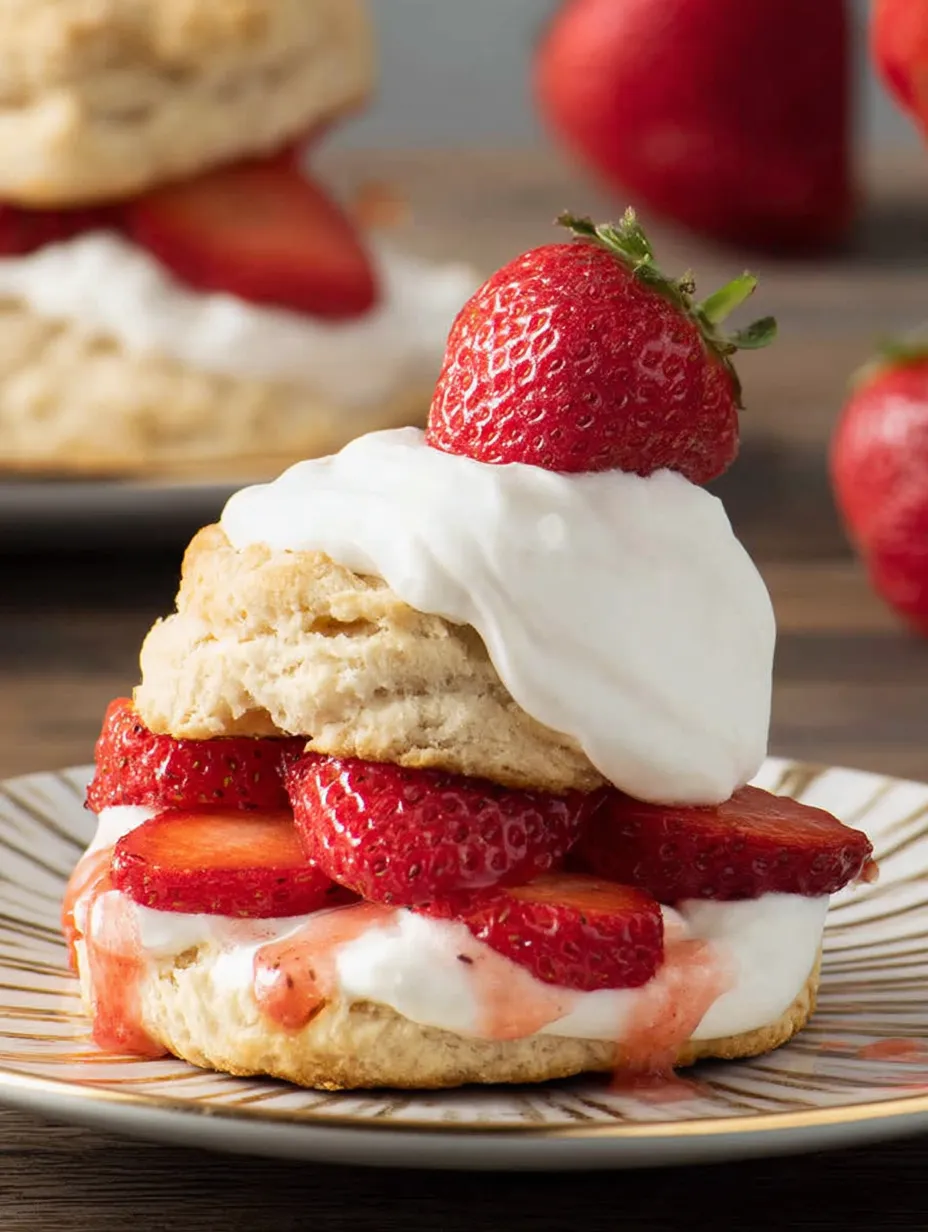
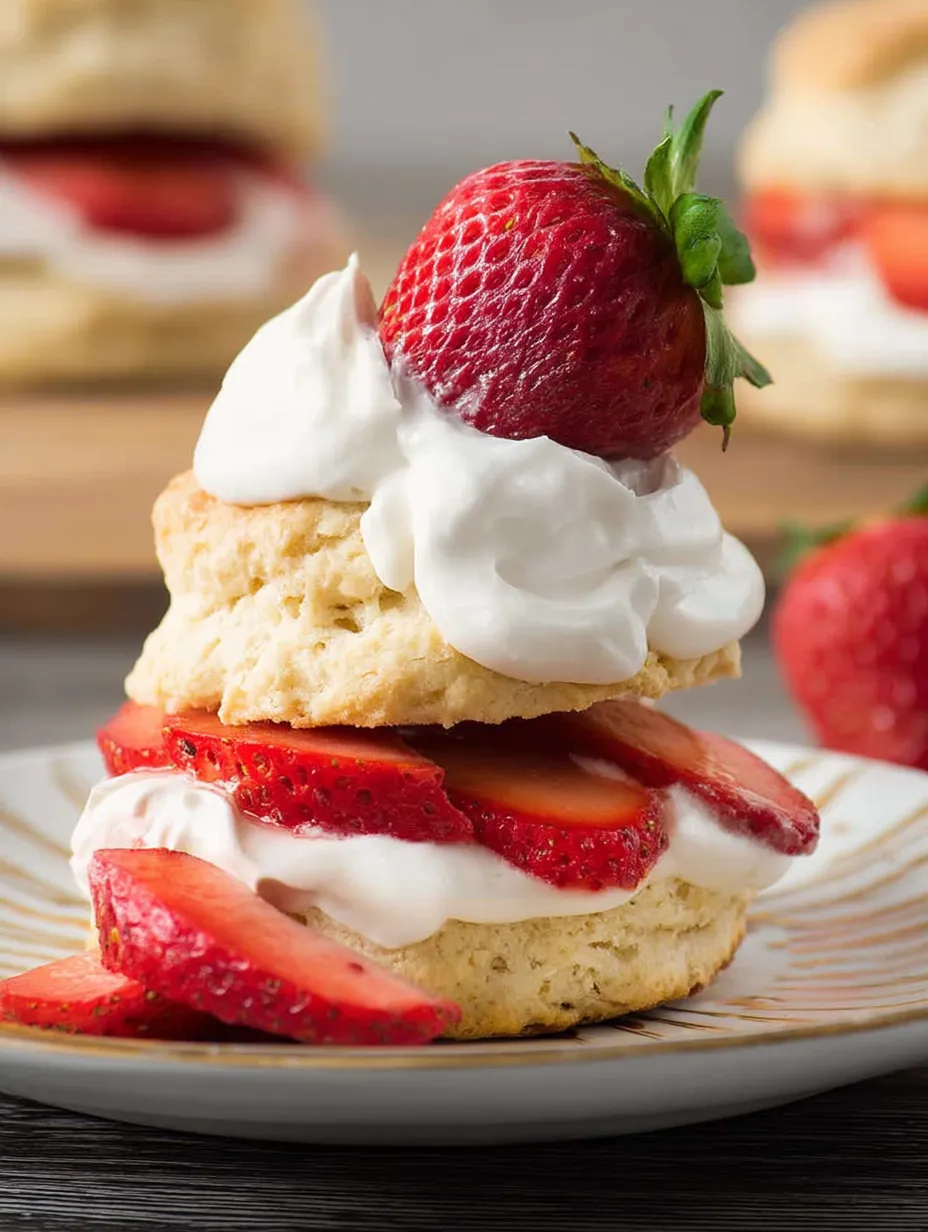
This timeless strawberry shortcake brings together fluffy, golden biscuits with ripe, sweet strawberries and airy whipped cream for a treat that always hits the spot. The biscuits come together fast with basic pantry items and make the ideal base for showing off in-season berries.
I first whipped up these biscuits for a backyard get-together, and they've turned into my go-to dessert. There's something about their down-home, handmade feel that always gets people smiling and asking for more.
What You'll Need
- All-purpose flour: Forms the base for these delicate biscuits
- Sugar: Gives just enough sweetness to the biscuit foundation
- Baking powder: Makes sure they puff up nice and light
- Salt: Brings out all the tastes and cuts the sweetness
- Unsalted butter: Adds richness and that can't-resist buttery taste
- Buttermilk: Makes them tender with a slight tang that works well with the fruit
- Fresh strawberries: Add vibrant color and natural sweetness
- Whipped cream: Tops it all off with a fluffy finish
How To Make It
- Get the Berries Ready:
- Clean and trim a quart of fresh strawberries. Cut them up or lightly crush based on what you like, then stir in 2 tablespoons of sugar. Let them sit while you make the biscuits so they get nice and juicy.
- Set Up:
- Heat your oven to 400°F. Cover a medium baking sheet with parchment or give it a light coating of butter to stop sticking. Getting everything ready first makes the whole process go smoothly.
- Combine Dry Stuff:
- In a decent sized bowl, mix the flour, sugar, baking powder, and salt together. Stir these items well so the rising agents spread out evenly for a good, even puff.
- Work in the Butter:
- Add your softened butter to the dry mix and work it in using a fork or your fingers until it looks like small crumbs. It should stick a bit when you press it - this creates little butter pockets that will steam while baking, making flaky layers.
- Pour in the Buttermilk:
- Add the buttermilk and mix gently just until everything gets wet. Don't mix too much or you'll get tough biscuits. The dough should be damp but not sticky - add more buttermilk a spoonful at a time if needed.
- Shape and Bake:
- Spoon the dough in 1/3 cup amounts onto your ready baking sheet, making six biscuits. Leave room between them to grow. Bake for 18 minutes until the bottoms are golden and the tops have a light gold color.
- Enjoy Right Away:
- Take the biscuits off the baking sheet and let them cool a bit on a rack. Cut each biscuit across the middle with a bread knife. Serve them warm with the prepared strawberries and plenty of whipped cream on top.
Buttermilk is really the key player in these biscuits. My grandma always kept some in her fridge just for baking, and she taught me that its sourness makes them super soft. Whenever I bake these, I'm taken back to summer days in her kitchen, with the smell of fresh-baked biscuits floating through the air.
Prep Before You Need It
You can bake these biscuits up to 24 hours ahead and keep them in a sealed container at room temp. If you want to save them longer, put the cooled biscuits in a freezer bag. When you're ready to use them, let them thaw naturally and warm them in a 300°F oven for about 5 minutes before putting everything together.
Simple Swaps
Don't have buttermilk? You can make your own by mixing 2 teaspoons of white vinegar or lemon juice with regular milk and waiting 5 minutes. Regular milk or even non-dairy milk works in a pinch, though they'll come out a bit different.
Want a gluten-free version? Use a cup-for-cup gluten-free flour mix. You might need to tweak the buttermilk amount a little, since gluten-free flours soak up liquid differently than regular flour.
How To Serve
While the classic strawberry combo always makes people happy, think about setting up a biscuit bar for parties. Put out options like sliced peaches, blueberries, and raspberries, plus extra toppings like chocolate sauce, caramel, or chopped nuts.
For a fancy look, stack everything in clear glasses to make parfaits that show off the beautiful colors of the berries and cream. A little mint leaf or light sprinkle of powdered sugar gives it that restaurant-quality finish.
Frequently Asked Questions
- → Can I fix these cakes ahead of time?
Sure, you can make the cakes up to a day early. Pop them in a sealed box at room temp. But wait to add your berries and cream until you're ready to eat so they don't get mushy.
- → What can I use if I'm out of buttermilk?
No buttermilk in the fridge? No problem. Mix 2 teaspoons of lemon juice or white vinegar with ¾ cup regular milk. Let it hang out for 5-10 minutes until it thickens a bit. You can also just use plain milk, though your cakes won't turn out quite as soft.
- → Why's it bad to mix the batter too much?
Going crazy with the mixing makes the flour get tough, and you'll end up with hard, flat cakes. Just stir until everything's wet and sticks together when you squeeze it for the fluffiest results.
- → How do I tell when my cakes are ready?
Your cakes are good to go when the bottoms turn golden and the tops get slightly brown, usually after about 18 minutes at 400°F. They should feel firm but not hard when you gently touch the top.
- → Can I stick these in the freezer?
Absolutely, these freeze really well. Let them cool all the way, wrap each one in plastic, and toss them in a freezer bag. They'll stay good for up to 3 months. Let them warm up on the counter or heat them for 5-10 minutes in a 350°F oven before serving.
- → What other fruit goes well with these cakes?
These friendly little cakes taste great with lots of different fruits. Give them a try with sliced peaches or nectarines, blackberries, blueberries, raspberries, or mix up whatever berries you've got. For peaches and such, you might want to sprinkle them with sugar like you would strawberries.