
 Save
Save
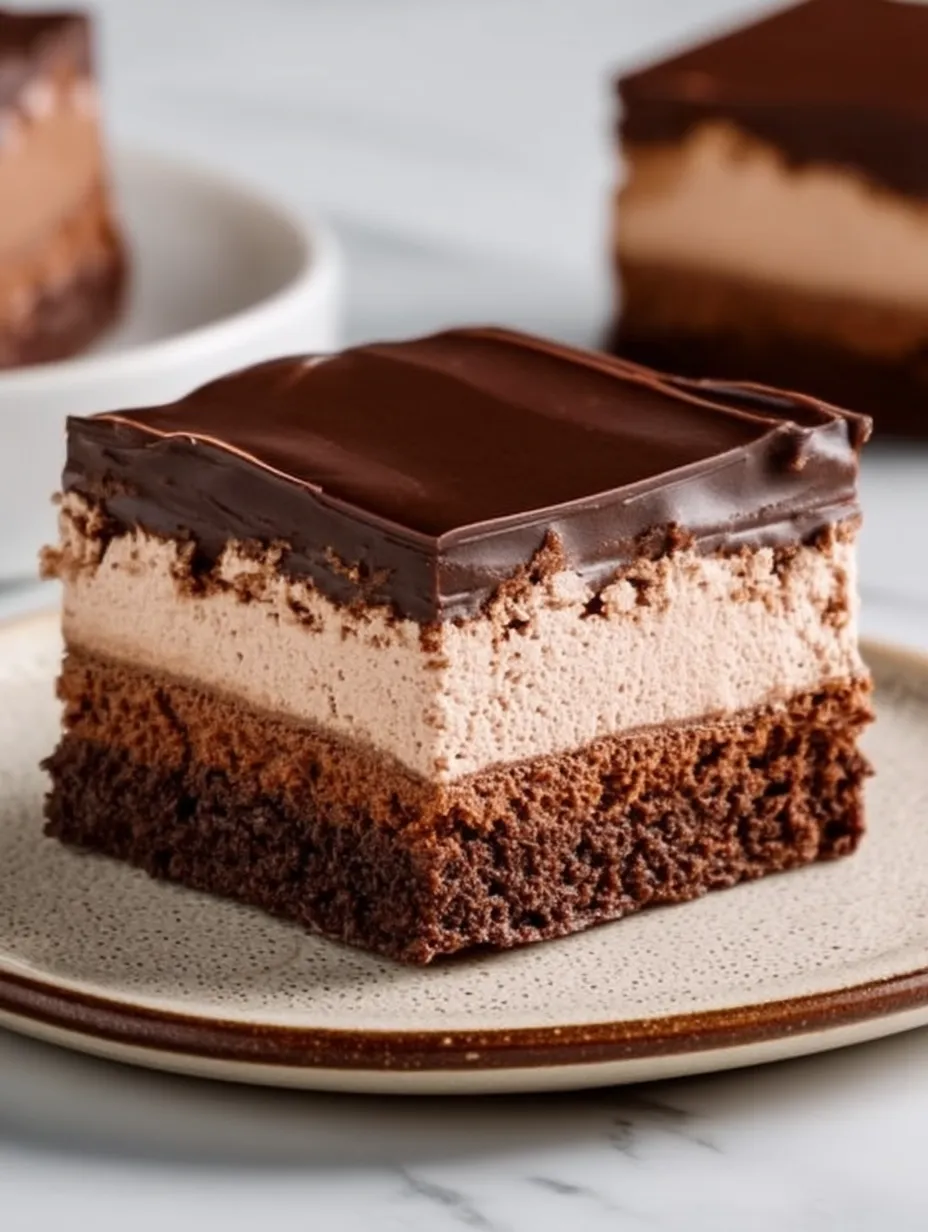
My triple-chocolate dream layers combine a dense, fudgy brownie bottom with a cloud-like chocolate mousse middle and glossy chocolate topping. It's become my favorite impressive-yet-easy treat when I want to wow friends without spending all day in the kitchen.
I came up with this after sampling Belgian chocolate creations during a foodie trip. Now whenever I bring these to parties, everyone fights for the last crumbs and begs me to share how I made them.
What You'll Need
- Unsalted butter: gives that wonderful richness and keeps the brownie base perfectly moist
- Granulated sugar: cuts the cocoa's bitterness and helps create that wonderful crackly top
- Large eggs: hold everything together while giving the brownies their structure
- Vanilla extract: boosts the chocolate taste in every delicious layer
- Unsweetened cocoa powder: brings deep chocolate flavor - Dutch-processed works best here
- All-purpose flour: just the right amount for structure without making things too cakey
- Salt: brings out all the yummy flavors, especially in the chocolate
- Baking powder: adds a tiny bit of lift while keeping that wonderful dense texture
- Heavy whipping cream: needs to be super cold so it whips up nice and fluffy for the mousse
- Semisweet chocolate: go for chocolate around 60% cacao that melts smoothly and tastes amazing
- Milk: makes the chocolate just runny enough to mix into the whipped cream
- Powdered sugar: keeps the whipped cream from falling while adding gentle sweetness
- Semisweet chocolate: good quality bars will melt way better than chocolate chips
- Heavy cream: blends with the melted chocolate to make that perfect pourable topping
Making Your Dessert
- First, make your brownies:
- Get your oven hot at 350°F and line your pan with parchment, leaving some hanging over the sides for easy lifting later. Mix your melted butter and sugar together, then add eggs and vanilla until everything looks glossy. Dump all your dry stuff right on top and gently fold everything together – stop as soon as you don't see flour anymore or they'll turn tough. Spread the mix evenly in your pan and bake until the edges look done but the middle's still a bit soft, around 22 minutes. Your toothpick should show moist crumbs, not wet batter. Let it cool completely before moving on.
- Next, whip up the mousse:
- Cut your chocolate into tiny bits so it melts evenly. Heat your milk until it steams but doesn't bubble, then pour it over the chocolate. Don't touch it for 2 minutes – let that heat do its work. Stir from middle to edges until smooth, then set it aside to cool down. In another bowl (a cold one works best), beat your cream and powdered sugar starting slow and going faster until soft peaks form when you lift the beater. Make sure your chocolate isn't too hot by testing a drop on your wrist. Mix a big spoonful of whipped cream into the chocolate first to lighten it up, then carefully fold in the rest using a cutting motion to keep all that nice air inside. Gently spread this fluffy mixture over your cooled brownies and put it in the fridge until it firms up.
- Finish with the shiny topping:
- Chop your chocolate super fine so it melts quickly and smoothly. Warm the cream in a small pot just until tiny bubbles show up around the edge – don't let it boil. Pour this hot cream over your chopped chocolate and leave it alone for 2-3 minutes. Stir gently from the center out until it looks glossy and smooth. Let it sit for about 5 minutes to thicken a bit, then pour it over your set mousse layer. Gently tilt your pan to help it reach all the corners. Pop it back in the fridge for at least an hour to set up properly.
I learned the hard way about chocolate temperatures when creating this. Once I mixed warm chocolate into my cream and ended up with chocolate chunks instead of smooth mousse! Now I always make sure everything's cooled properly between steps, and it makes all the difference.
How To Serve
These taste amazing just as they are, but for a fancy touch, sprinkle some cocoa powder on top or add a few fresh raspberries before serving. The tangy berries really cut through all that chocolate richness. Take them out of the fridge about 15 minutes before you plan to eat them – the flavors come alive much better when they're not too cold.

Keeping It Fresh
You can keep these yummy treats in the fridge for about 4 days in an airtight container. If you need to stack them, put parchment paper between the layers. I don't suggest freezing them because the mousse gets watery when thawed, and you'll lose those beautiful distinct layers that make them so special.
Fixing Problems
If your top layer looks dull or streaky, it probably means your chocolate and cream weren't the right temps when mixed. You can fix it by quickly waving a kitchen torch a few inches above the surface or brushing on a thin layer of warm apricot jam. If your mousse seems too runny to spread nicely, just pop it in the fridge for 15-20 minutes before putting it on the brownies.
Frequently Asked Questions
- → Can I make these chocolate mousse brownies in advance?
Absolutely! These stacked brownies actually turn out better when made ahead. Leaving them in the fridge overnight helps the mousse firm up completely and lets all the flavors mix together nicely. You can keep them in the fridge for up to 3 days if you store them in a container with a good seal.
- → Why is my mousse layer not setting properly?
When your mousse won't set, check these common problems: Maybe your cream wasn't whipped enough, your chocolate was still too hot when you mixed it in and flattened the cream, or you just need to chill it longer. Always start with very cold cream for whipping and let your melted chocolate cool down to room temp before you fold it into the cream.
- → How do I get clean cuts when slicing these brownies?
For nice clean cuts, grab a sharp knife and run it under hot water, then dry it off before cutting. Do this again between each slice. The warm knife goes through the ganache and mousse much better without pulling everything apart. Putting the brownies in the fridge for at least 4 hours or overnight also makes cutting them way easier.
- → Can I freeze chocolate mousse brownies?
You bet! These brownies freeze really well for up to 3 months. Cut them into pieces first, then wrap each piece in plastic wrap and put them in a freezer bag. Just move them to the fridge the night before you want to eat them. The mousse might feel a bit different after freezing but will still taste great.
- → Can I use milk chocolate instead of semisweet chocolate?
Sure thing! Just know your dessert will end up much sweeter with a lighter chocolate taste. If you go with milk chocolate, think about using 1 tablespoon less sugar in the mousse part to keep it from being too sweet. Dark chocolate works great too if you want a stronger chocolate kick.
- → Why did my ganache seize or become grainy?
Ganache can get lumpy if your cream's too hot or if water drips into the mix. To avoid problems, make sure your cream is just barely simmering when you pour it over the chocolate, and check that all your tools are completely dry. If your ganache does get grainy, try mixing in 1-2 extra tablespoons of warm cream to smooth it out again.