
 Save
Save
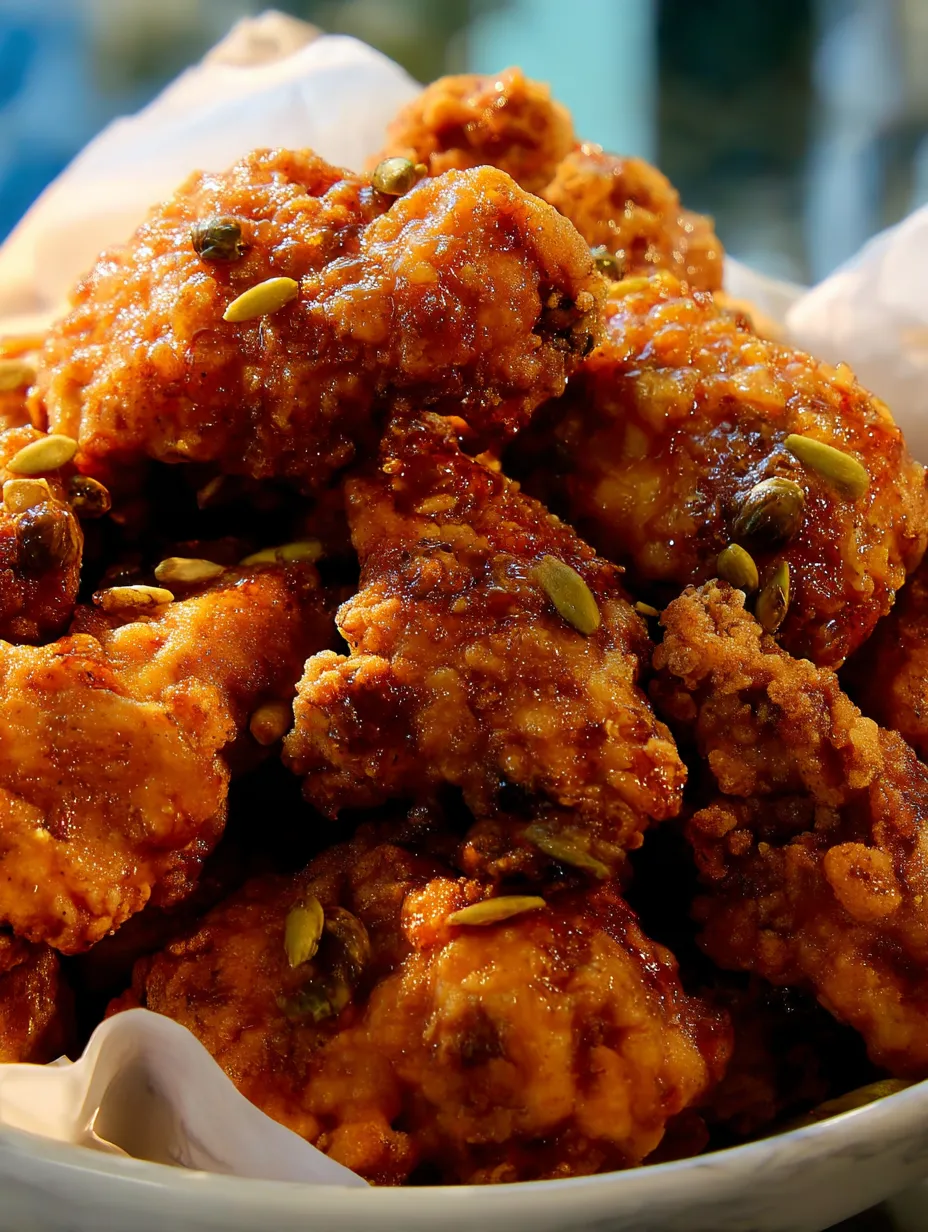
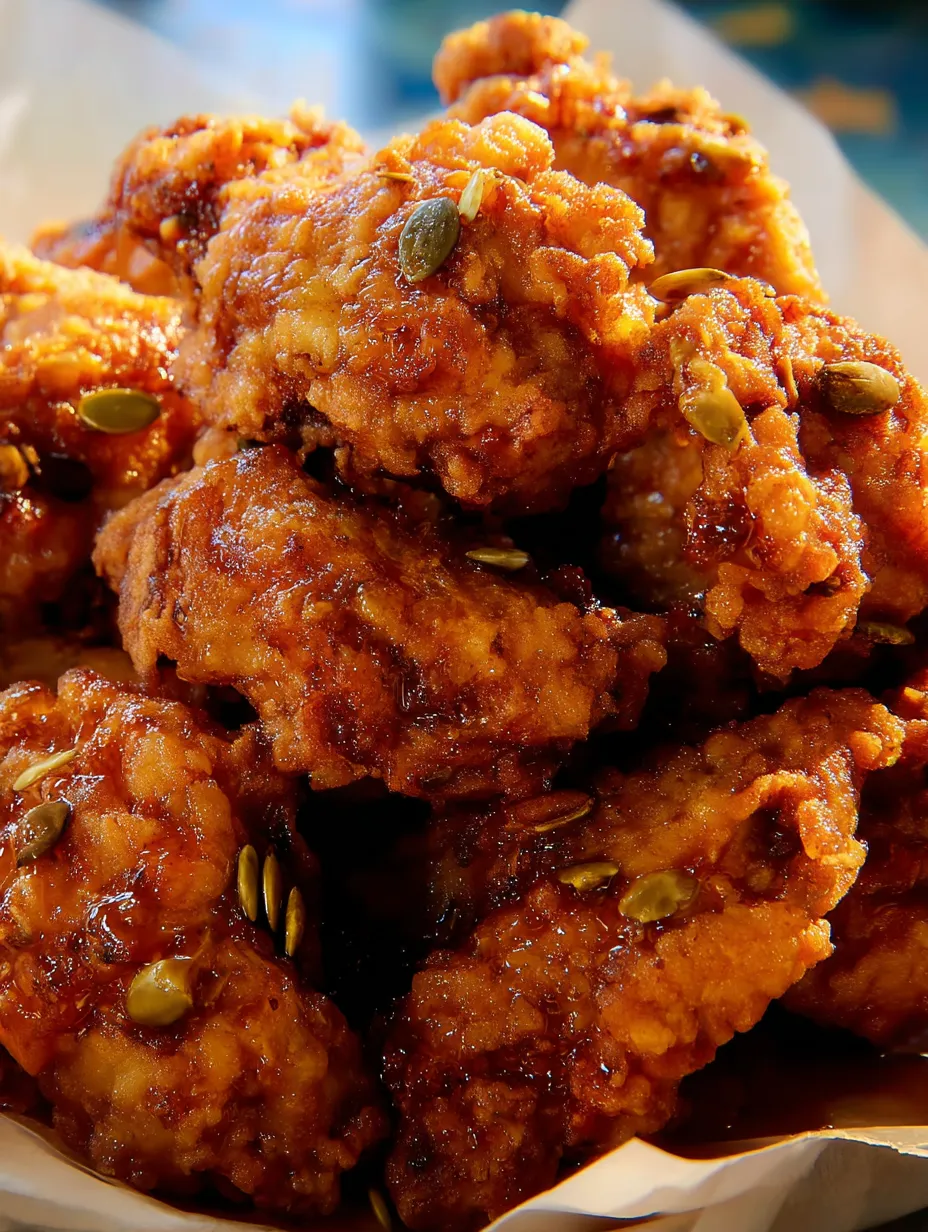
This Korean-inspired honey butter fried chicken combines perfectly crispy exteriors with juicy, tender interiors, all coated in a sweet, savory, and buttery sauce that will make your taste buds dance with joy.
I first made this recipe for a family movie night, and it disappeared faster than any takeout we've ever ordered. My teenagers now request it weekly, claiming it's even better than their favorite Korean chicken spot downtown.
Ingredients
For the Chicken Marinade
- 1 pound chicken tenders: about 8 to 10 pieces. Choose fresh, never frozen tenders for the juiciest results
- 1 teaspoon kosher salt: for proper seasoning throughout
- ½ teaspoon white pepper: adds mild heat without dark specks
- ½ teaspoon black pepper: provides traditional pepper flavor and appearance
- ½ teaspoon garlic powder: infuses the meat with savory notes
- ½ teaspoon onion powder: adds depth without the texture of fresh onions
- ½ teaspoon ginger powder: brings subtle warmth and Asian flavor notes
- ¼ teaspoon cayenne pepper: adjust based on your spice tolerance
For the Seasoned Flour
- 2 cups all purpose flour: creates the perfect coating base
- 1 tablespoon kosher salt: ensures a well seasoned exterior
- 1 tablespoon white pepper: provides heat without changing the coating color
- 1 teaspoon black pepper: adds classic pepper flavor and visual appeal
- 1 teaspoon garlic powder: enhances savory notes in the crispy coating
- 1 teaspoon onion powder: complements the garlic for a balanced flavor
For the Wet Batter
- ½ cup all purpose flour: creates the binding layer
- 1 large egg: adds structure and richness to the batter
- 1 cup ice cold sparkling water: the carbonation creates an exceptionally light and crispy texture
For the Honey Butter Sauce
- 4 tablespoons unsalted butter: forms the rich base of the sauce
- 2 tablespoons honey: local varieties offer the most complex flavor
- 2 tablespoons granulated sugar: balances the savory elements
- 2 tablespoons soy sauce: provides umami depth and saltiness
Additional Items
- 1 cup all purpose flour: for the initial dusting that helps the wet batter adhere
- Neutral oil for frying: choose one with a high smoke point like peanut or canola
Step-by-Step Instructions
- Season the Chicken:
- Combine chicken tenders with kosher salt, white pepper, black pepper, garlic powder, onion powder, ginger powder, and cayenne in a medium bowl. Use your hands to massage the spices into every surface of the chicken, ensuring even flavor distribution. Allow the chicken to marinate in the refrigerator for at least 30 minutes, though overnight will yield the most flavorful results.
- Prepare the Dredging Stations:
- Set up three stations in sequence. First, a bowl containing 1 cup of plain flour. Second, create your wet batter by thoroughly whisking together ½ cup flour, egg, and ice cold sparkling water until completely smooth with no lumps. Third, mix your seasoned flour by combining 2 cups flour with kosher salt, white pepper, black pepper, garlic powder, and onion powder in a large bowl.
- Create the Texture Secret:
- Add a tablespoon of sparkling water directly to your seasoned flour. Using your fingertips, gently rub the water into the flour to create small, irregular clumps. These clumps are the professional trick that creates those irresistible crispy, craggy bits on the finished chicken that everyone fights over.
- Coat the Chicken:
- Take each chicken tender through all three stations. First dust in plain flour and shake off excess. Then dip into the wet batter, allowing excess to drip off. Finally, press firmly into the seasoned flour, really packing it on to create a substantial coating with plenty of texture. Set each piece aside on a tray without overlapping.
- Rest Before Frying:
- Allow the coated chicken to rest undisturbed for 10 minutes while heating your oil. This crucial resting period helps the coating bond to the chicken, preventing it from separating during frying and ensuring maximum crispiness.
- First Fry:
- Heat about 2 inches of neutral oil in a heavy pot to exactly 350°F. Working in small batches of 3 to 4 pieces, carefully lower tenders into the hot oil, maintaining temperature. Fry for 4 to 5 minutes, turning occasionally, until the coating becomes light golden. Transfer to a wire rack over a baking sheet, not paper towels which trap steam and create sogginess.
- Second Fry for Ultimate Crispiness:
- Return oil to 350°F and refry each tender for an additional 1 to 2 minutes until deeply golden and ultra crispy. The double fry technique is essential for achieving that signature Korean fried chicken texture. Immediately sprinkle with a light dusting of salt while still hot to maximize flavor.
- Create the Honey Butter Sauce:
- In a saucepan over medium heat, melt butter completely. Add honey, sugar, and soy sauce, stirring constantly to prevent burning. Continue cooking for 1 to 2 minutes until the sauce thickens enough to coat the back of a spoon with a glossy finish.
- Apply the Sauce:
- For maximum crispiness, brush the sauce over the chicken. For fuller flavor coverage, quickly toss the chicken in the sauce. Move with purpose here as the longer the chicken sits in sauce, the more crispiness you'll sacrifice for flavor absorption.
The flavor combination of honey and butter might seem uniquely Western, but this dish actually draws inspiration from Korean honey butter chicken, which became a nationwide craze in South Korea around 2015. The first time I made it, my Korean neighbor knocked on my door asking what that incredible smell was. She ended up staying for dinner!
Make-Ahead Options
While fried chicken is always best fresh, you can prepare components ahead of time to streamline the cooking process. Marinate the chicken overnight for maximum flavor development. You can even complete the first fry up to 2 hours before serving, then do the second fry right before you're ready to eat. The sauce can be made up to 3 days ahead and gently reheated.
Perfect Pairings
This honey butter fried chicken pairs wonderfully with cooling sides to balance its richness. Try serving it with a simple cucumber salad dressed with rice vinegar, or traditional Korean pickled vegetables like kimchi. For a complete meal, offer steamed rice to soak up the delicious sauce, or wrap pieces in lettuce leaves with a smear of gochujang for a Korean fusion experience.
Troubleshooting Tips
If your coating is falling off during frying, your oil temperature is likely too low. Always verify with a thermometer to maintain 350°F. If your chicken is browning too quickly but remains raw inside, your oil is too hot. For the crispiest results, never crowd the pan when frying. Working in small batches ensures proper oil temperature and optimal crispiness.
Frequently Asked Questions
- → Why does this recipe use double-frying technique?
Double-frying is essential for achieving the signature ultra-crispy exterior that Korean fried chicken is famous for. The first fry cooks the chicken through, while the second fry at the same temperature creates that extra crunchy coating that stays crispy even after being glazed with sauce.
- → Can I make this chicken spicier?
Absolutely! For more heat, add an additional ¼ teaspoon of cayenne pepper to the marinade, or incorporate 1 tablespoon of gochujang (Korean chili paste) into the honey butter sauce for an authentic Korean-inspired kick.
- → Why use sparkling water in the batter?
The ice-cold sparkling water creates tiny air bubbles in the batter that expand when they hit the hot oil, resulting in a lighter, crispier coating. This technique helps achieve that distinctively crunchy texture that makes this chicken so special.
- → What's the purpose of creating clumps in the seasoned flour?
Adding a small amount of liquid to the seasoned flour creates little clumps that adhere to the chicken during coating. These clumps are the secret to developing those extra crispy, craggy bits on the exterior that provide amazing texture and crunch after frying.
- → How do I keep the chicken crispy after adding the sauce?
For maximum crispiness, either brush the sauce lightly over the chicken rather than tossing it, or if tossing, do it very quickly right before serving. The double-frying technique helps maintain crispiness even after saucing, but serving immediately is key for the best texture.
- → What oils work best for frying this chicken?
Neutral oils with high smoke points work best, including vegetable, canola, or peanut oil. These oils can withstand the high temperature needed (350°F) without imparting unwanted flavors to the chicken, allowing the honey butter sauce and spice blend to shine.