
 Save
Save
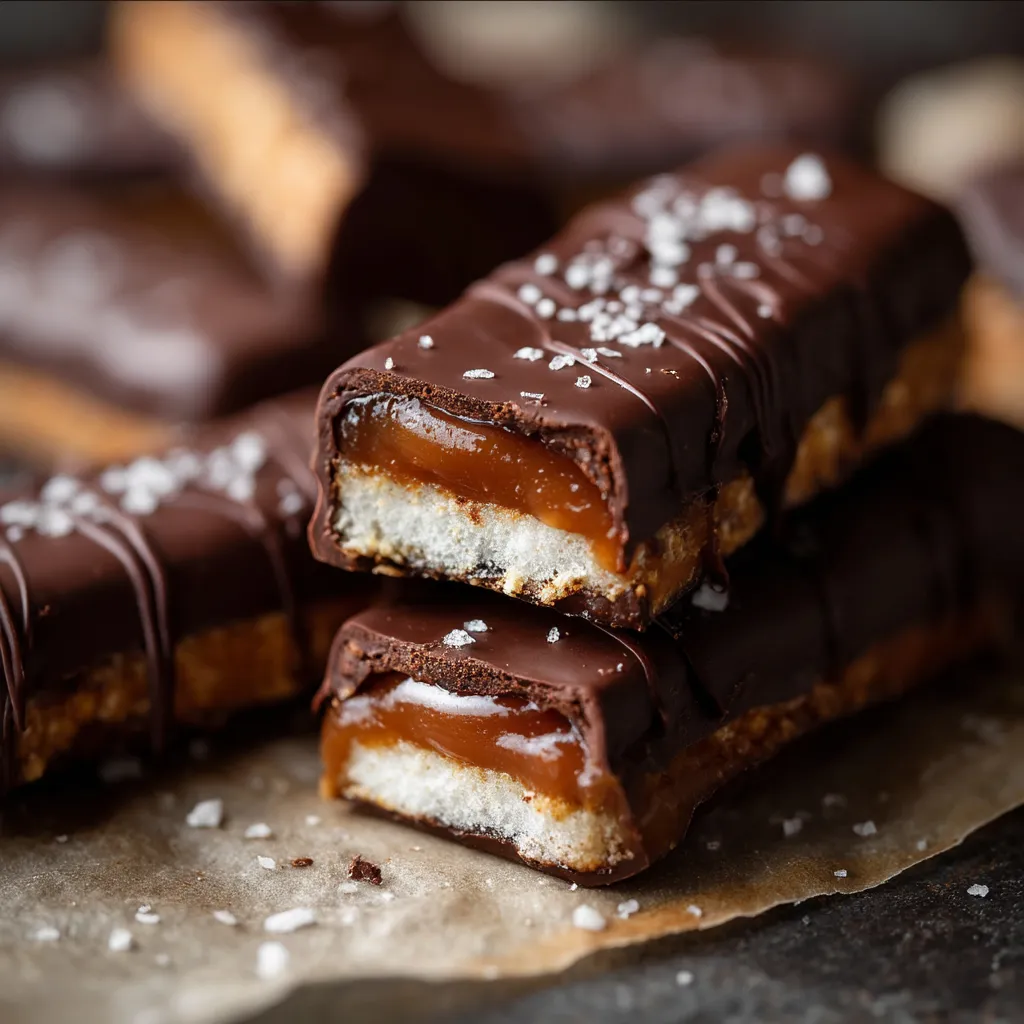
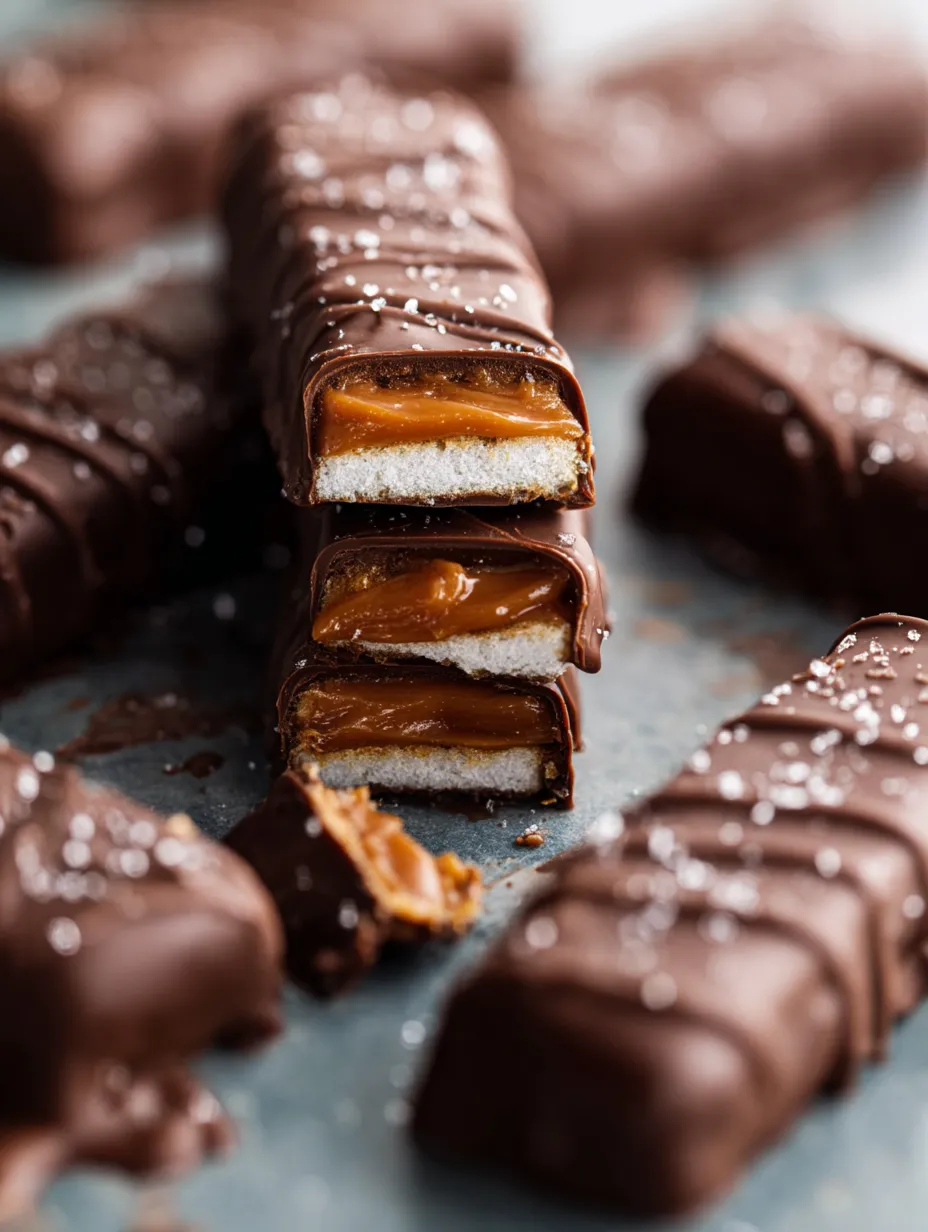
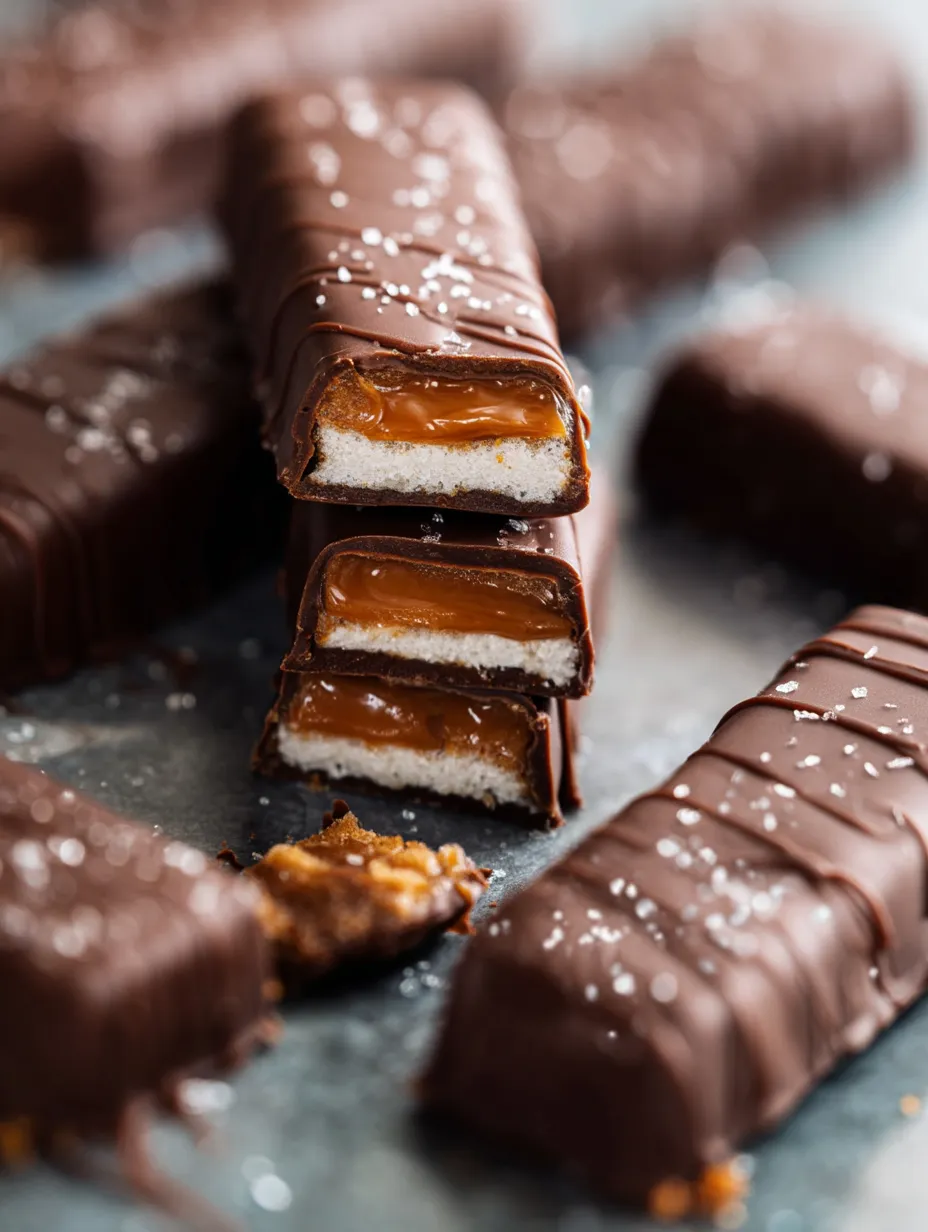
This DIY gluten-free Twix alternative turns a common indulgence into a nourishing delight while keeping that iconic chocolate-caramel-cookie trio we constantly yearn for. My time testing healthier sweets in the kitchen led to this winner that tackles sugar cravings but uses only good-for-you components.
I whipped up these bars when I needed something my friend with gluten sensitivity could safely eat during our book group meetup. They vanished quickly and now folks always ask me to bring them whenever we get together.
What You'll Need
- Almond flour: makes an ideal cookie foundation with its buttery feel without wheat. Go for finely ground blanched almonds for best texture.
- Butter: brings that true shortbread taste. Grab grass-fed for extra flavor punch.
- Maple syrup: adds natural sweetness with deeper notes. Stick with genuine maple, not breakfast syrups.
- Vanilla extract: lifts all other flavors. Real extract makes a big difference.
- Creamy peanut butter: builds your caramel section with fantastic consistency. Pick natural PB without extra stuff added.
- Chocolate chips: give you that must-have outer layer. Darker chips around 70% cocoa deliver the fullest taste.
- Coconut oil: helps your chocolate crack perfectly when bitten. Use refined kind if you don't want coconut taste coming through.
Making Your Bars
- Get your tray ready:
- Heat your oven to 350°F and put parchment in your baking dish with extra hanging over the edges. This way you can lift everything out easily without breaking your treats.
- Mix the cookie base:
- Stir almond flour, melted butter, maple syrup, vanilla, and salt together until it looks like damp sand that sticks when you squeeze it. Push the mix into your pan evenly using your fingers or a flat measuring cup until it's smooth and tight.
- Cook the foundation:
- Put your pan on the middle shelf and bake exactly 10 minutes for a tender base or 12 if you want more crunch. You want just a bit of gold color at the edges while the middle stays lighter. Let it cool completely before moving forward.
- Whip up your filling:
- In another bowl, mix peanut butter, maple syrup, vanilla, and almond flour until it's totally smooth and thick. The flour helps your filling set up right.
- Build and chill:
- Spread your PB mixture smoothly across your cooled cookie base using a flat knife for the best finish. Stick the whole thing in your freezer at least 60 minutes until the middle feels solid when touched.
- Make your chocolate top:
- Put a bowl over a pot with simmering water. Add your chips and coconut oil, stirring until fully melted and shiny. Or just zap in the microwave for 30 seconds at a time, stirring between, until smooth.
- Slice and coat:
- Take your cold base out and lift it onto a cutting board using the paper edges. Cut into 16 equal pieces with a sharp knife. Dunk each piece in chocolate using two forks to move them around, let extra drip off, then put on a paper-lined plate.
- Finish them off:
- For a fancy touch, drizzle leftover chocolate in zigzags on top and add a bit of flaky salt if you want. Put back in freezer about 10 minutes until the chocolate hardens with a nice crack when bitten.
That peanut butter filling really makes these bars stand out. My kid once told me these tasted better than regular candy bars, which made me feel amazing as a mom who cares about healthy food. Sometimes I throw in a tiny bit of cinnamon to the cookie part for a surprising warm flavor.
Keeping Them Fresh
Your homemade treats need proper storage to stay just right. Keep them in a sealed container in your fridge where they'll stay good for two weeks with the base staying crunchy and the middle perfectly chewy. If you want to keep them longer, wrap each bar in parchment and put in a freezer container for up to three months. Let them sit out about 10 minutes after freezing so they taste their best.
Smart Swaps
You can change this recipe tons of ways depending on what you like or have at home. Sunflower butter works great for folks who can't eat nuts. Try coconut sugar instead of maple syrup in the base if you want more caramel taste. Anyone avoiding dairy can use coconut oil instead of butter in the cookie layer. People on keto diets might want to swap the maple syrup with monk fruit sweetener and grab sugar-free chips for the outside.
Ways To Enjoy
Turn these simple treats into fancy desserts with a little extra thought. Serve them slightly cold on a wooden plate with cocoa nibs scattered around for a rustic look. For birthday parties or holidays, put one bar on a small dish with some whipped coconut cream and fresh fruit. They go really well with afternoon coffee or tea, especially rooibos which matches the nutty flavors. For a super indulgent snack, warm a bar for 10 seconds and add a scoop of vanilla ice cream on top.
Frequently Asked Questions
- → Can I substitute the peanut butter in these Twix bars?
For sure! If you can't eat peanuts or just want something different, try almond butter, cashew butter, or sunflower seed butter if you need to avoid nuts completely. Each option brings its own unique taste but will still give you that smooth, caramel-like middle.
- → How long do these homemade Twix bars last?
Put them in a container with a tight lid and they'll stay good for about a week in your fridge or up to 3 months if frozen. They actually taste best when they're a bit cold because this keeps the layers separate and stops the chocolate from getting too soft.
- → Can I make these Twix bars vegan?
You bet! Just swap out the butter for coconut oil or any plant-based butter you like. Don't forget to check that your chocolate chips are vegan too. Many dark chocolate options don't have dairy, but always look at what's on the package.
- → What type of chocolate works best for the coating?
Semi-sweet or dark chocolate chips make the tastiest coating and go really well with the sweet middle layer. If you like milk chocolate better, that's totally fine too! For the smoothest melting, grab some good quality chocolate chips or chop up chocolate bars instead of using candy melts.
- → Why do my bars need to be frozen before dipping?
Freezing the bars before you dip them in chocolate isn't just a random step. The cold makes both the cookie base and peanut butter layer firm up so they won't fall apart when you handle them. It also helps the chocolate harden faster after dipping.
- → Are there any tips for a neater chocolate coating?
Want cleaner-looking bars? Try using two forks when you dip each piece in chocolate, letting extra chocolate drip off. Gently tap the fork against the bowl to get rid of more excess. You can also buy special chocolate dipping tools or just drizzle chocolate over the tops if dipping the whole bar seems too tricky.