
 Save
Save
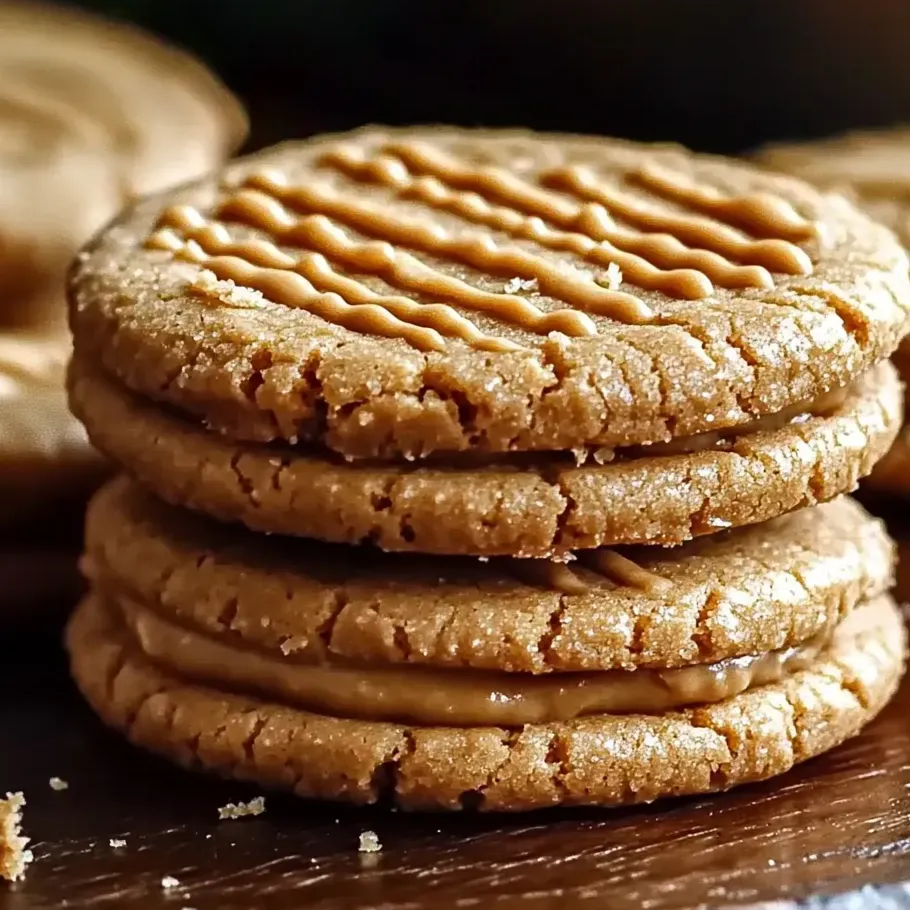
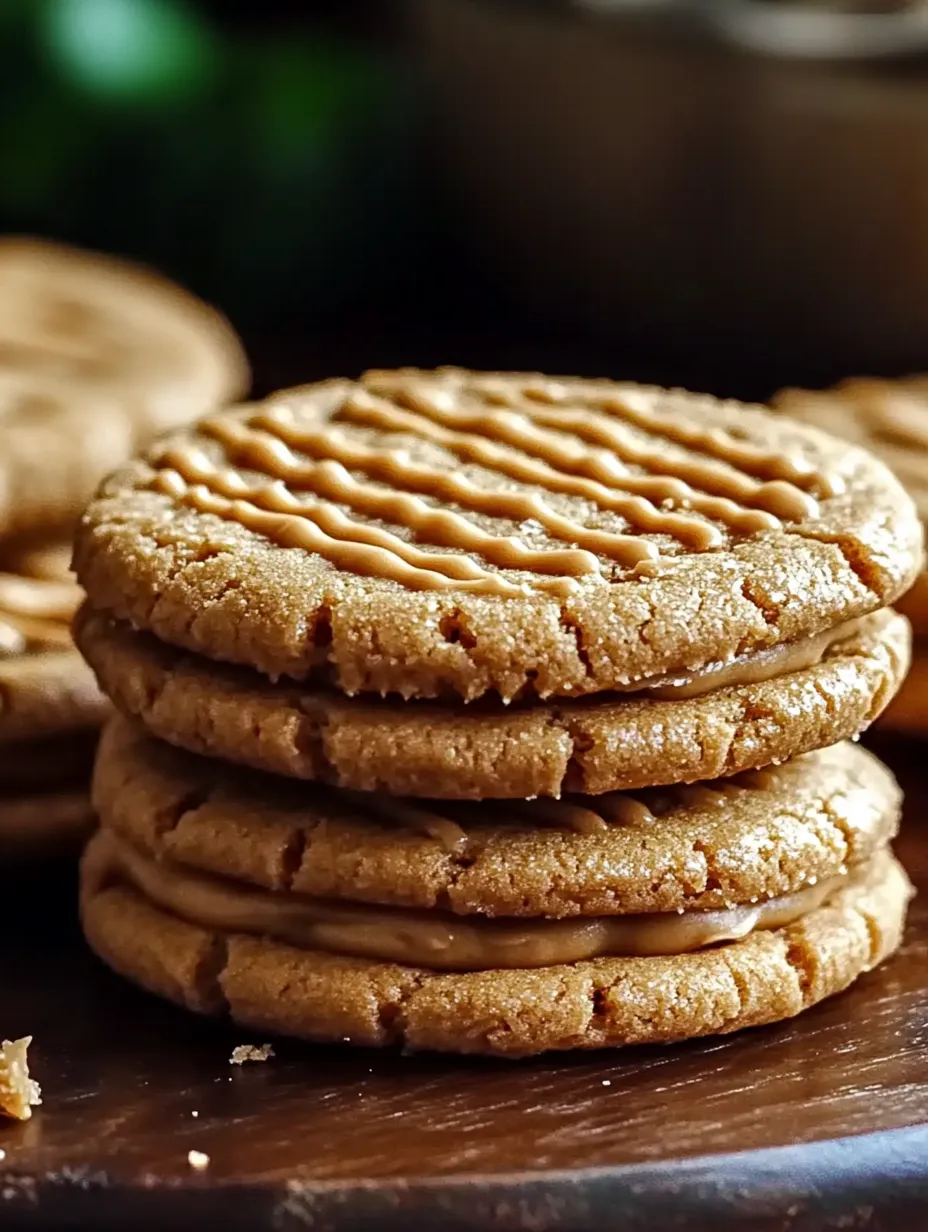
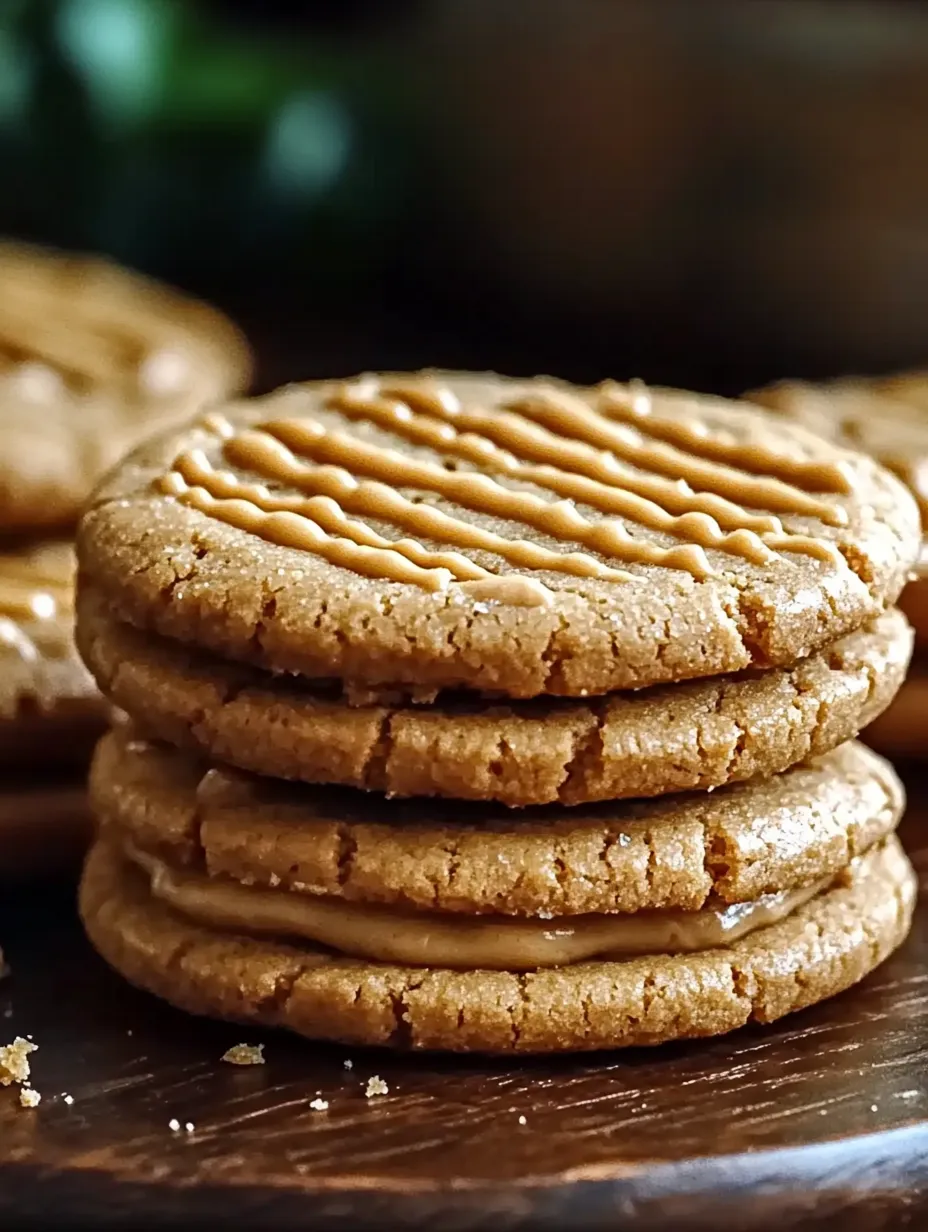
These nutty PB sandwich treats hit that sweet spot between rich, peanutty goodness and just-right sweetness that'll take you right back to your younger days. When you bite through the crispy cookies into that smooth peanut butter center, you get something that feels both wonderfully familiar and downright tasty.
I first whipped these up on a soggy weekend when my children were moaning about having nothing to do. The moment that familiar peanut butter smell filled our home, everything changed, and now they beg for these sandwich treats whenever we're celebrating something.
Ingredients
- All purpose flour: gives these cookies their just-right soft texture
- Baking soda: adds the perfect amount of puff without making them too fluffy
- Salt: brings out every taste and cuts the sweetness
- Unsalted butter: adds a rich taste and helps make those edges crispy
- Creamy peanut butter: the star of the show go for a good brand
- Granulated sugar: helps create that ideal cookie bite
- Brown sugar: brings extra flavor and keeps cookies moist
- Large egg: holds everything together
- Vanilla extract: boosts the cozy flavors
- Creamy peanut butter: makes that dreamy filling pick one without chunks
- Powdered sugar: adds sweetness and firms up the center
- Vanilla extract: gives a lovely background flavor
- Unsalted butter: creates that perfect easy-spread texture
Easy Baking Steps
- Get Ready:
- Start by warming your oven to 350°F and putting parchment on two cookie sheets. The paper stops sticking and makes cleanup super easy. Grab all your stuff before you start so everything's handy.
- Blend Dry Stuff:
- In a bowl, stir the flour, baking soda, and salt together well. Getting these mixed evenly means your cookies will turn out just right. Break up any flour lumps for the smoothest dough.
- Make Your Mix:
- In a bigger bowl, put soft butter, peanut butter, white sugar, and brown sugar. Beat until it looks lighter and gets fluffy, about 2 3 minutes. This step puts air in the mix for softer cookies.
- Put In Wet Stuff:
- Drop in the egg and vanilla, beating until everything looks smooth and shiny. Scrape the bowl sides to get everything mixed in properly.
- Mix Everything:
- Slowly add your dry stuff to the wet mix, stirring on low just until it comes together. Don't mix too much or your cookies might get tough. Stop as soon as you can't see dry spots.
- Form Your Cookies:
- Scoop out tablespoon bits of dough and roll them into balls. Put them on your cookie sheets about 2 inches apart so they can spread. Push each one with a fork to make that criss cross look, flattening them a bit.
- Cook Them Just Right:
- Bake for 10 12 minutes until the edges turn golden but the middles stay soft. They might look a little undercooked in the center, but they'll firm up while cooling. Swap the pans halfway for even baking.
- Let Them Cool:
- Let the cookies sit on the pans for 5 minutes before moving them to a cooling rack. This resting helps them set without breaking. Make sure they're totally cool before you add filling.
- Mix Up The Filling:
- While cookies cool, beat peanut butter, powdered sugar, vanilla, and soft butter until it's smooth and fluffy. The filling should be thick enough to stay put but still easy to spread. If it's too thick, add a tiny bit of milk.
- Put Them Together:
- When cookies are cool, spread plenty of filling on the flat side of one cookie. Put another cookie on top, pressing gently to make a sandwich. The filling should reach the edges but not squish out.
My favorite thing about making these treats is watching my hubby sneak them from our cookie jar. Though I've been baking them monthly for years, he still thinks I don't catch him when the pile gets smaller overnight. We've got this funny little game going that we never talk about.
Storage Solutions
These peanut butter sandwich cookies stay tasty in a sealed container at room temp for about a week. The filling actually helps the cookies stay moist longer than plain peanut butter cookies would. If you want to keep them longer, lay them flat in a freezer container with parchment between layers. They freeze really well for up to three months. Just let them sit out for about an hour before eating.
Perfect Variations
The original recipe is amazing, but you can switch things up too. Try using crunchy peanut butter instead of smooth for some extra bite in both the cookies and filling. If you love chocolate, mix tiny chocolate chips into your cookie dough or drizzle melted chocolate over your finished sandwiches. During holiday times, roll the edges in fun sprinkles or crushed peanuts to make them look festive.
Tasty Serving Ideas
These peanut butter sandwich cookies go great with a cold glass of milk or hot cup of coffee for an afternoon snack. For something extra fancy, put a small scoop of vanilla ice cream between two cookies and freeze them till firm. They also make wonderful gifts packed in pretty tins, especially for friends who love peanut butter. Add them to a plate with other cookies when you're entertaining to give people different tastes and textures.
Frequently Asked Questions
- → How long will these peanut butter sandwich cookies keep?
You can keep these cookies in a sealed container at room temp for up to a week without losing their softness or taste. If you need them to last longer, they'll stay good in the freezer for about 3 months.
- → Is it okay to use chunky peanut butter instead of smooth?
Sure thing, chunky peanut butter works fine if you want some bits in your cookies. The filling won't be as smooth, but it'll give your cookies an interesting mix of textures.
- → What's the point of making the criss-cross marks on top?
That classic grid pattern isn't just for looks—it helps flatten the cookies so they bake evenly. It's what makes them instantly recognizable as peanut butter cookies and adds a nice texture to your sandwich cookies.
- → What should I do if my dough is sticking to everything?
Pop your dough in the fridge for about 30 minutes if it's too sticky. This will firm up the butter and make it way easier to roll into balls. It'll also help your cookies keep their shape while baking.
- → When do I know it's time to take the cookies out of the oven?
Look for a light golden color around the edges after about 10-12 minutes of baking. The middle might still look a bit soft, but don't worry—they'll harden up as they cool down. Leave them in too long and you'll end up with dry cookies.
- → Can I make these cookies before my party?
You bet! You can bake these cookies a few days before your event and store them in an airtight container. For the freshest taste, you might want to make just the cookies ahead of time and add the filling the day you'll serve them.