
 Save
Save
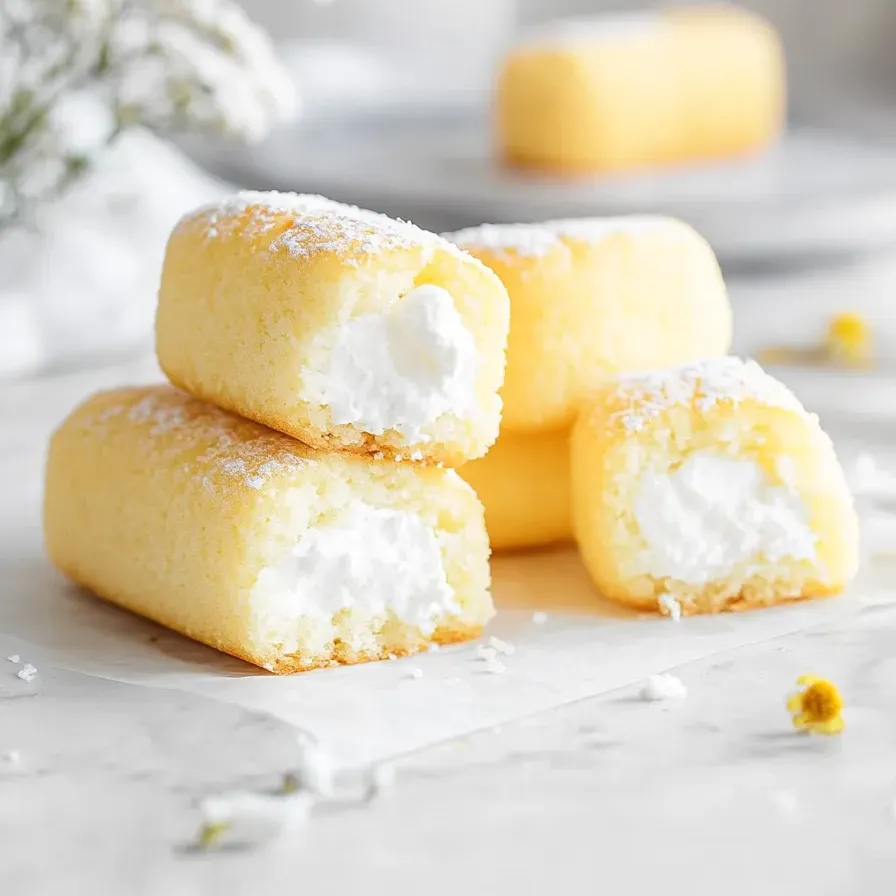
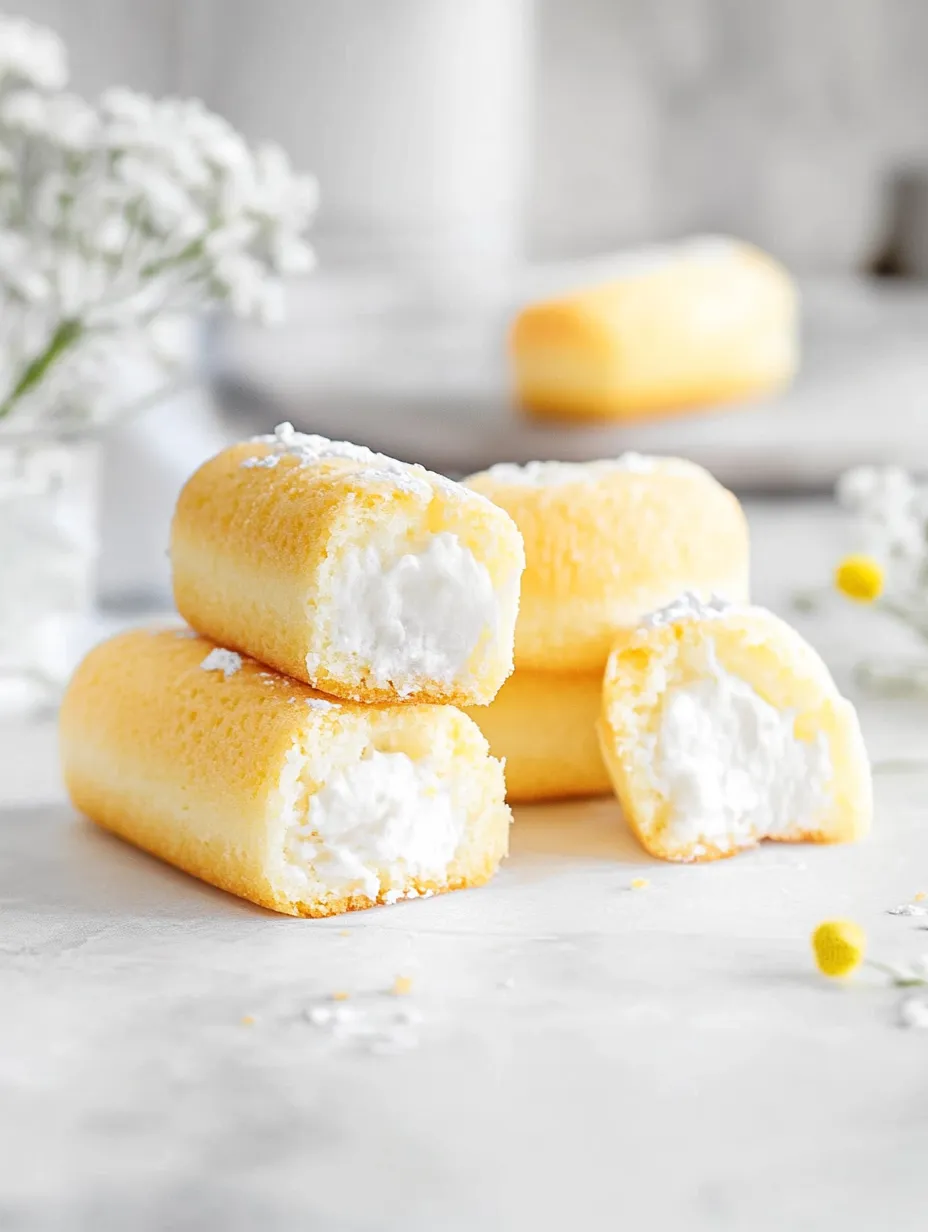
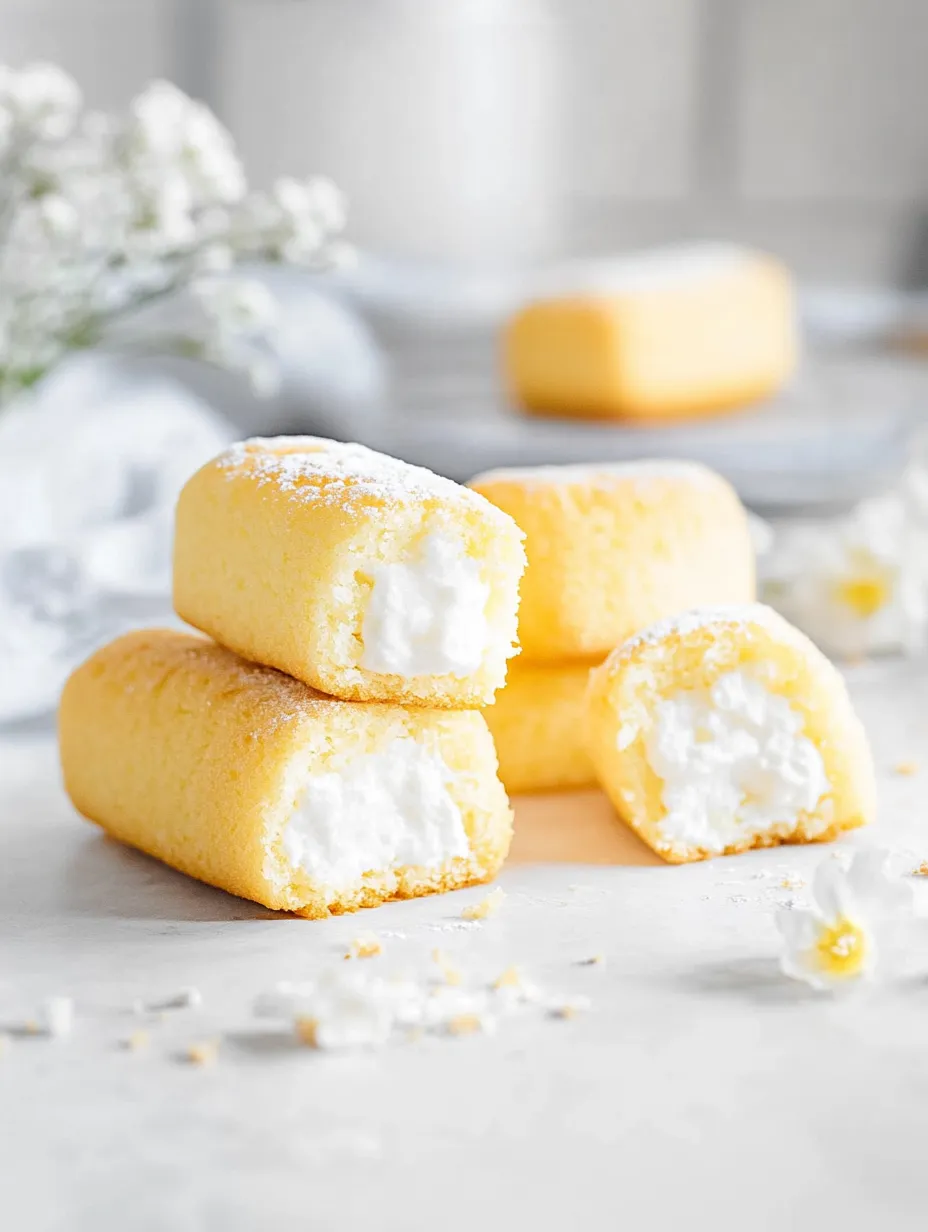
These soft vanilla cakes with a cloud-like filling are inspired by the nostalgic treats from childhood lunch boxes but made entirely from scratch. Baking these homemade Twinkies lets you control every ingredient for a fresher flavor and fluffier texture than any store-bought snack.
The first time I baked a batch, my kitchen smelled like pure vanilla and sugar. My kids rushed in for taste tests before they were even filled and since then these have become a birthday request every year.
Ingredients
- Cake flour: Sifted cake flour keeps these cakes extra tender and light Look for high-quality flour and always sift before using
- Granulated sugar: Both cake and filling need sugar for sweetness Choose fine-grain white sugar for smooth batters and glossy meringue
- Baking powder: Helps the cakes rise to a perfect fluff
- Salt: Enhances flavor and balances the sweetness Fine sea salt works best for even dispersion
- Large eggs: Room temperature eggs create smoother batters and give more rise Use fresh eggs for best structure
- Whole milk: Adds moisture and richness to the cake Use whole milk for softness
- Vegetable oil: Keeps the cakes moist and extends shelf life Neutral oils like canola work well
- Vanilla extract: The classic flavor backbone Real vanilla extract gives a much better result than imitation
- Egg whites: Only for the filling and must be completely free of yolk Using room temp whites helps the meringue whip up better
- Water: Used in the filling to make sugar syrup Filtered water helps avoid off-tastes
- Granulated sugar: Used again in the meringue filling for a marshmallowy texture See above for tips
Step-by-Step Instructions
- Prepare the Pan:
- Spray the Twinkie cake pans thoroughly with baking spray and set them aside This helps cakes release cleanly after baking
- Mix the Dry Ingredients:
- Whisk sifted cake flour granulated sugar baking powder and salt together until everything is well distributed in a large mixing bowl
- Mix the Wet Ingredients:
- In a separate bowl whisk room-temperature eggs whole milk vegetable oil and vanilla extract until fully combined and creamy
- Combine and Make the Batter:
- Pour the wet ingredients over the dry ones Whisk gently but thoroughly until the batter is smooth with no lumps over-mixing can toughen the cake
- Fill and Bake the Cakes:
- Spoon or pour the batter into the prepared pans filling each about two-thirds full Bake on the center rack for fifteen to twenty minutes until a toothpick comes out clean from the center
- Cool the Cakes:
- Let the cakes cool completely on a rack before handling This keeps them from breaking apart
- Beat the Egg Whites for Filling:
- Use an electric mixer with whisk attachment to beat egg whites on high until stiff peaks form The bowl and beaters must be spotlessly clean and free from grease
- Make the Sugar Syrup:
- In a small saucepan combine filling sugar and water Stir constantly over medium-low until melted then bring up to medium heat without stirring After it hits 119 to 121 Celsius remove from heat
- Combine Syrup with Egg Whites:
- With the mixer running slowly pour hot syrup into the whipped whites Continue to beat until the mixture is glossy thick and cool to the touch This forms your marshmallowy filling
- Prepare to Fill the Cakes:
- Fit a piping bag with a round tip and fill with the cooled meringue If you do not have a piping bag use a zip bag and snip one corner
- Fill the Cakes:
- Turn cakes upside down Insert the piping tip into three evenly spaced spots on each cake’s base Gently squeeze filling inside taking care not to overfill
Every time I use real vanilla for the filling the aroma takes me back to the first family picnic we packed these for My younger brother had two before we even unpacked lunch and he still requests them whenever he visits
Storage Tips
Store in an airtight container at cool room temperature for up to three days If you need to keep them longer refrigerate and let cakes return to room temp before serving The filling stays fluffiest if not chilled
Ingredient Substitutions
If you do not have cake flour make your own by removing two tablespoons from each cup of all-purpose flour and replacing with cornstarch Feel free to try store-bought marshmallow fluff as an easy swap for the meringue Filling with whipped cream works for an even lighter treat
Serving Suggestions
These cakes are perfect for lunch boxes after school treats or birthday spreads Serve with fresh berries or dust with extra powdered sugar Sometimes I slice them in half and fill with extra fruit and cream for a sunny brunch tray
A Bit of History
This treat was first made famous decades ago in America for its yellow sponge and signature vanilla cream Inside each homemade version you taste the nostalgia but the flavor is much fresher and real A fun activity for families to bake and fill these together
Frequently Asked Questions
- → What makes these cakes so light and fluffy?
The combination of cake flour and properly whipped eggs gives the cakes a tender, airy texture.
- → Can I substitute the filling with something else?
Yes, marshmallow fluff can be used in place of the homemade meringue for a similar creamy result.
- → How do I know when the cakes are done baking?
The cakes are ready when a toothpick inserted in the center comes out clean and the tops are golden.
- → What is the best way to fill the cakes without a piping bag?
You can use a zip-top plastic bag with a snipped corner to pipe the meringue into the cakes.
- → Why should egg whites be free of yolk when making meringue?
Even a trace of yolk can prevent the egg whites from whipping up to stiff, glossy peaks for the filling.
- → Can I use all-purpose flour instead of cake flour?
Yes, mix all-purpose flour with cornstarch to create a suitable cake flour alternative for best texture.