
 Save
Save
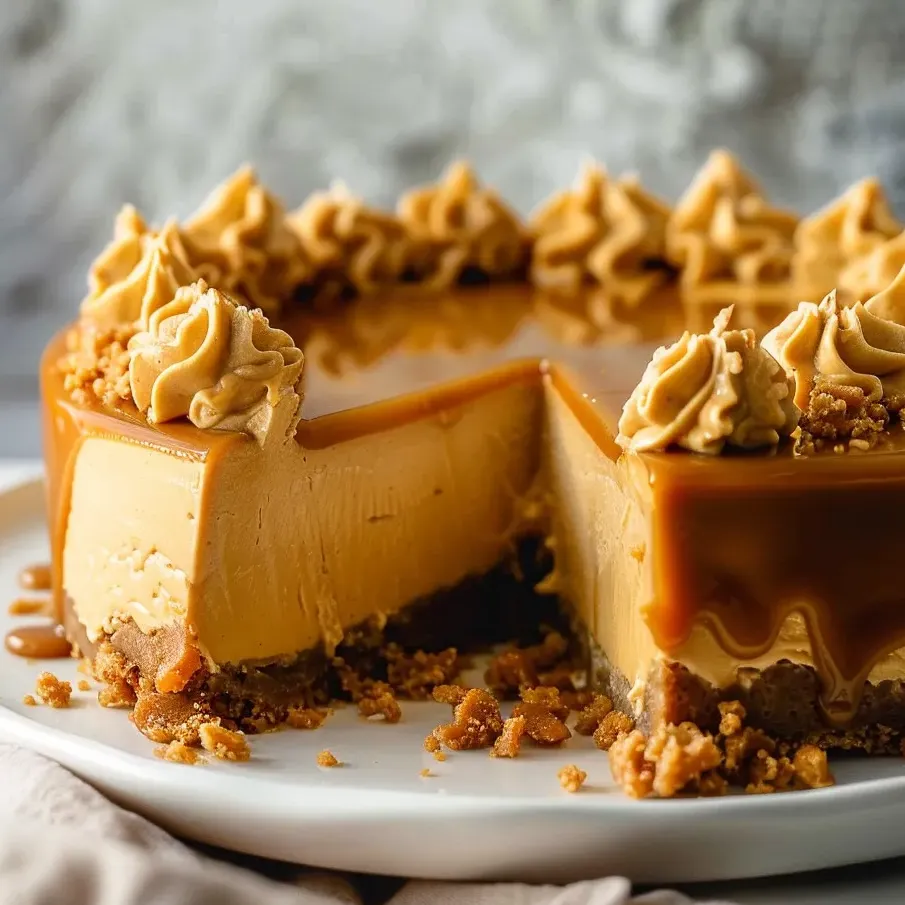
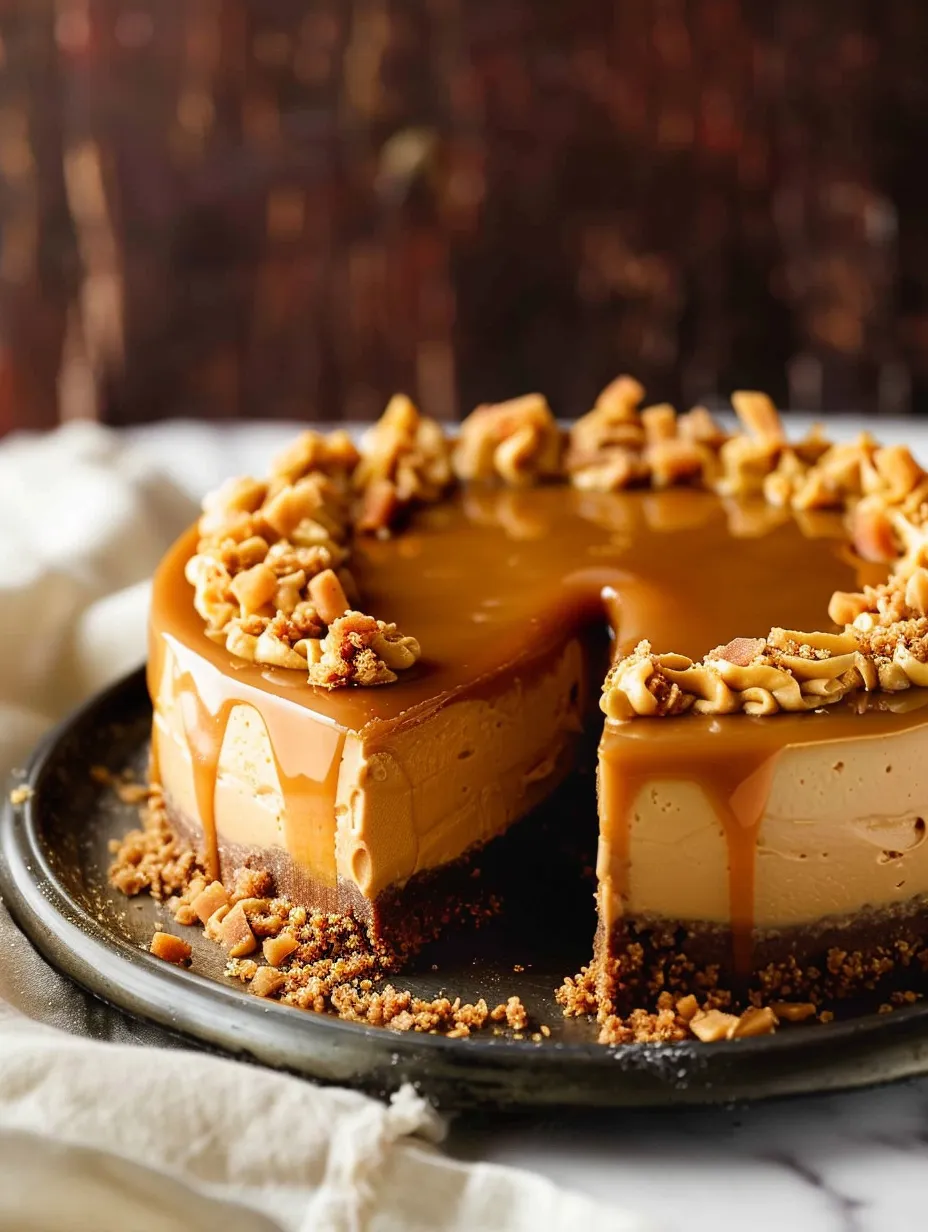
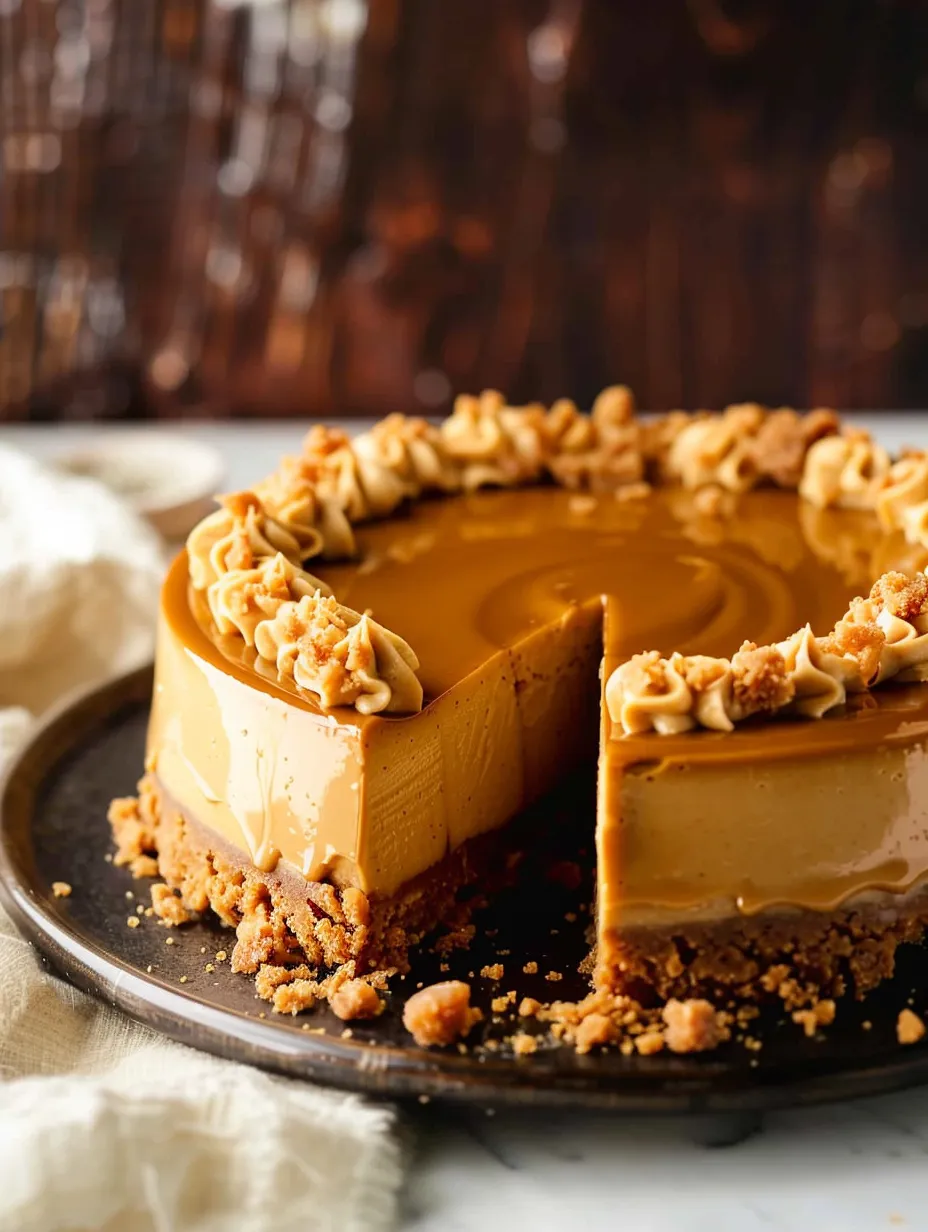
This luxurious butterscotch cheesecake turns ordinary cream cheese into a decadent treat that'll make your mouth water with every bite. The butterscotch chips blend throughout, giving a toasty caramel taste that works beautifully with the crunchy graham base.
I came up with this cheesecake when my daughter wanted something other than regular chocolate cake for her birthday. The way she smiled after trying it made this dish an immediate family favorite that now shows up at all our celebrations.
What You'll Need
- Graham cracker crumbs: They form a tasty crisp foundation for the smooth filling
- Butterscotch chips: They bring that distinctive sweet caramel flavor to both filling and topping
- Cream cheese: It's the creamy backbone; grab full fat blocks for best results
- Brown sugar: It deepens the butterscotch taste with its rich molasses hints
- Sour cream: It cuts through sweetness with a bit of tang
- Vanilla extract: It adds subtle richness to the mixture
- Heavy cream: It helps make that velvety butterscotch topping
Easy Preparation Guide
- Make your base:
- Mix graham cracker crumbs with melted butter and regular sugar until everything's wet. It should stick together when you press it. Push it down firmly into your springform pan with a measuring cup to get it nice and flat. Bake it just until it smells good and turns slightly golden at the edges. This quick bake will make sure your crust stays together when you cut it later.
- Mix the filling:
- Whip the cream cheese until it's totally smooth before you add anything else. This stops lumps from forming. Add brown sugar and beat until it's fluffy and light. Put in eggs one by one, waiting until each disappears before adding another. Keep scraping the bowl often to mix everything well. Gently stir in butterscotch chips to keep all the air you've beaten in.
- Bath baking method:
- Wrap your pan carefully with foil so no water can get in. Set it in a bigger pan and pour hot water halfway up the sides. This water bath stops cracks by keeping the heat gentle around your cheesecake. Bake until the sides are firm but the middle still wobbles a bit like Jello. Cool slowly with the oven door open to avoid sudden temperature changes that cause cracks.
- Finishing touches:
- Let your cheesecake cool all the way before putting it in the fridge for at least 6 hours or better yet, overnight. This waiting time lets flavors come together and sets the texture just right. For the topping, warm butterscotch chips with heavy cream in short microwave bursts, stirring between each until it's smooth. Let it cool a bit before drizzling over your cold cheesecake for a fancy look.
During one hot summer, we lost power in a big storm while I was making this cheesecake. Instead of giving up, I finished mixing it by hand and cooked it on our gas grill with indirect heat. The faint smoky flavor actually made the butterscotch taste even better, creating a truly unique dessert.
Avoiding Those Annoying Cracks
Using a water bath helps prevent cracks but you can do more to keep your cheesecake smooth. Get all ingredients to room temp before you start for better mixing. Don't overmix after adding eggs as too much air gets trapped. When you're done baking, let the cheesecake cool slowly in the turned-off oven with the door cracked open, then at room temp before chilling. This gradual cooling stops the quick shrinking that makes cracks appear.
Fun Twists
Take this standard butterscotch cheesecake to new heights with tasty additions. Try adding crushed Biscoff cookies to your crust for a spicy caramel kick. Want a salted butterscotch version? Just add some sea salt to your mix and sprinkle flaky salt on top. Make it chocolatey by mixing in cocoa powder or swirling dark chocolate through the filling before baking. For something extra special, try putting thin slices of caramelized bananas between the crust and filling for a banoffee-inspired dessert.
Petite Portions
Switch this recipe to single servings by using a muffin tin with paper liners or small mason jars. Cut down cooking time to about 20 minutes or until centers just barely wiggle. These smaller versions are great for watching your portions and make wonderful gifts. You can freeze them too, so you'll always have something sweet ready for surprise visitors. For a fancy touch, top each mini cheesecake with a single butterscotch chip and a tiny bit of edible gold leaf.
Frequently Asked Questions
- → Why do you bake this cheesecake in a water bath?
The water bath makes a steamy setting in the oven that helps the cheesecake bake evenly and stops the top from splitting. This gentle, moist heat keeps the cheesecake nice and creamy all the way through.
- → Can I use salted butter instead of unsalted for the crust?
Sure, salted butter works fine, but you might want to cut back on the extra sugar in the crust to keep the flavors balanced. We like unsalted butter better since you can control how much salt goes in.
- → How do I know when the cheesecake is properly baked?
Your cheesecake is done when the sides are firm but the middle still wobbles a bit when you shake the pan gently. It'll firm up as it cools down. If you bake it too long, it'll end up dry and cracked.
- → Why should I leave the cheesecake in the oven with the door open?
This lets the cheesecake cool down slowly, which stops cracks from showing up due to quick temperature drops. It's a key trick for getting that perfectly smooth top everyone loves.
- → Can I make this cheesecake without butterscotch chips?
Sure thing, you can swap the butterscotch chips for chocolate chips, peanut butter chips, or caramel chunks for a different taste. You can also skip them completely if you want a simple brown sugar cheesecake.
- → How far in advance can I make this cheesecake?
You can make this cheesecake up to 2 days ahead and keep it in the fridge. Just add the butterscotch topping right before you serve it so it looks and tastes its best.