
 Save
Save
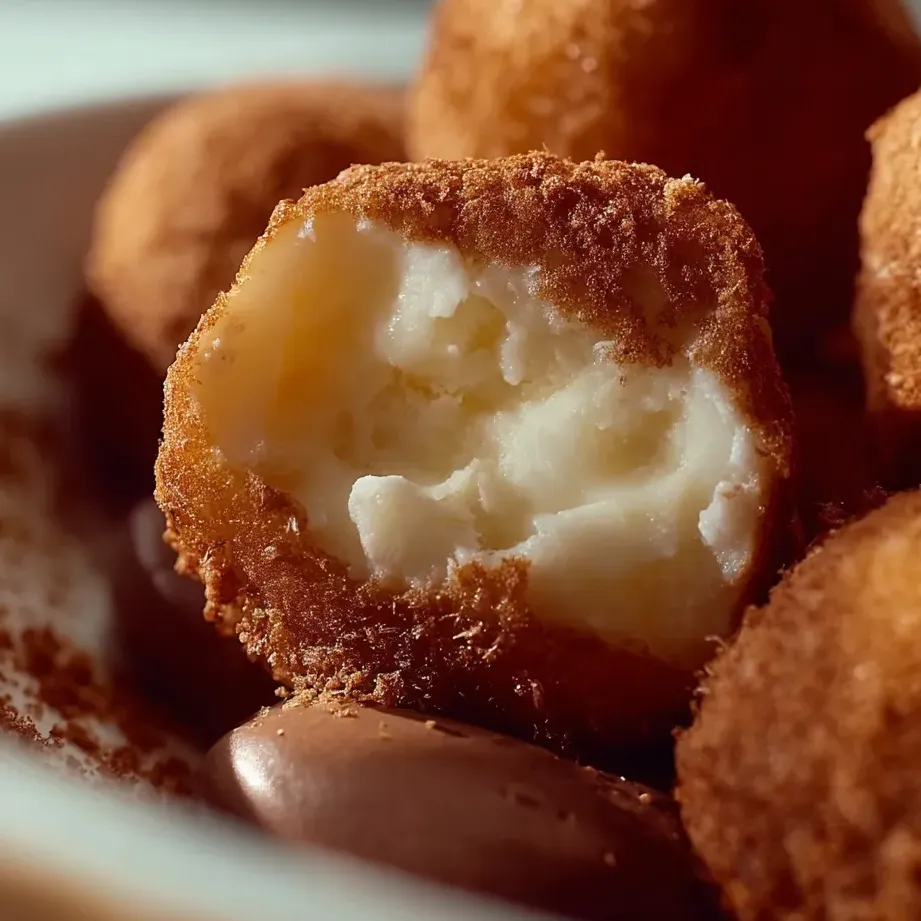
This milk mochi recipe transforms simple ingredients into delightfully chewy, sweet treats that I discovered during my Japanese cooking exploration. The pillowy texture and subtle milk flavor create the perfect canvas for various coatings, making these bite-sized delights irresistible for both casual snacking and elegant dessert presentations.
I first made these mochi bites for a multicultural food festival at my daughter's school. They were such a hit that they've become our go-to treat whenever we have unexpected guests or need a quick dessert that looks impressive.
Ingredients
- Milk 288g: provides the creamy base flavor and moisture essential for the perfect mochi texture
- Glutinous Rice Flour 150g: creates that signature chewy bounce, look for packages labeled sweet or glutinous rice flour (not regular rice flour)
- Cornstarch 36g: prevents sticking and adds a silky mouthfeel to the finished mochi
- Vegetable Oil 18g: helps create a pliable dough that won't dry out too quickly
- Sugar 46g: adds just enough sweetness without overpowering the delicate milk flavor
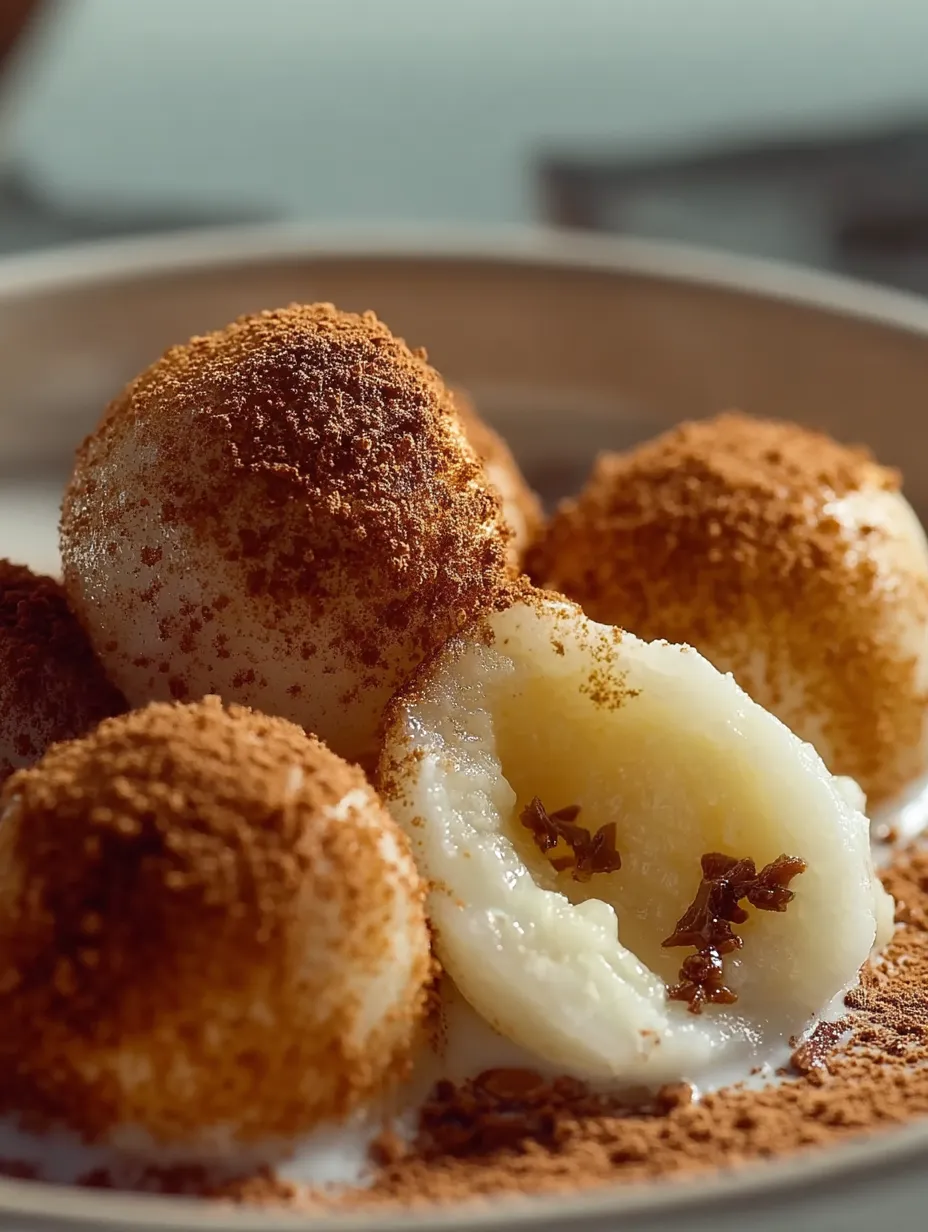
- Optional coatings: cocoa powder, milk powder, or matcha powder each brings its own flavor dimension and prevents sticking
Step-by-Step Instructions
- Mix the Base:
- Combine milk, glutinous rice flour, cornstarch, and sugar in a heat-resistant microwave-safe bowl. Whisk thoroughly until you see no dry pockets of flour and the mixture resembles a smooth, thin batter. This uniform mixture ensures no lumps in your final mochi.
- Add the Fat:
- Pour in the vegetable oil and mix until completely incorporated. The oil might seem to separate at first, but keep stirring until the mixture becomes homogeneous. This fat is crucial for preventing your mochi from becoming too sticky or tough after cooling.
- Prepare for Cooking:
- Cover your bowl with microwave-safe plastic wrap and use a fork to poke several holes in the top. These steam vents are essential to prevent the plastic from bursting during cooking and allow for even heat distribution throughout the mixture.
- Initial Cooking:
- Microwave on high power for 3 minutes. The mixture will begin to transform from opaque to slightly translucent around the edges. This initial cooking begins the gelatinization process of the glutinous rice flour, which creates the characteristic mochi texture.
- Stir and Continue Cooking:
- Remove from microwave carefully as the contents will be hot and steam will escape. Stir thoroughly with a heatproof spatula, scraping the sides and bottom where cooking happens faster. Return to microwave and cook in 1-minute intervals, stirring between each, until the mixture becomes uniformly translucent and pulls away from the bowl sides.
- Kneading Stage:
- With food-safe gloves on due to the extreme heat, transfer the cooked mochi to a clean surface dusted with cornstarch. Knead gently but quickly for about 1 minute until smooth and pliable. The texture should feel like soft playdough, elastic but not sticky.
- Portioning:
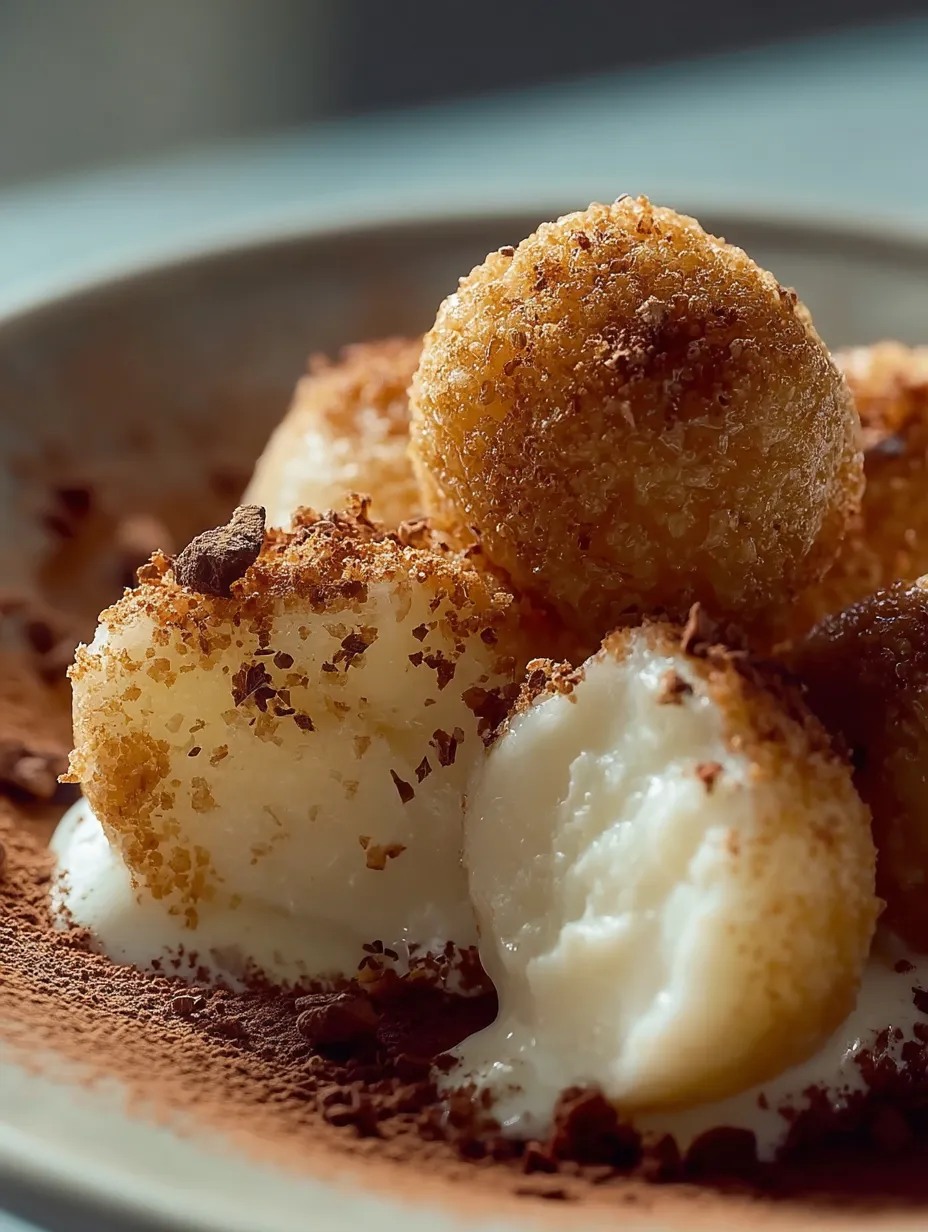
- Divide the warm mochi into approximately 20 equal pieces. Working quickly before it cools completely, roll each piece between your palms to form smooth balls about the size of a walnut. The warmth of your hands helps maintain pliability during shaping.
- Coating Application:
- Roll each formed mochi ball in your chosen coating. For cocoa coating, use dutched cocoa for rich flavor; for matcha, use ceremonial grade for best color and taste; and for milk powder coating, choose full-fat for maximum flavor. Press gently to ensure the coating adheres well to all surfaces.
The glutinous rice flour is my favorite ingredient in this recipe despite its potentially misleading name. It contains no gluten but gets its name from the sticky texture it creates. I discovered its amazing properties while traveling through Asia where street vendors would pound and stretch it into incredible shapes. The first time I made these mochi bites my kitchen transformed into a science lab as I watched the transformation from liquid to that signature chewy texture.
Storage Solutions
These milk mochi bites stay best when stored in an airtight container with parchment paper between layers to prevent sticking. At room temperature, they remain fresh for about 1-2 days developing a slightly firmer exterior while maintaining that chewy center. In the refrigerator, they can last up to 5 days, though the texture becomes slightly firmer. For longer storage, freeze the mochi individually on a tray until solid, then transfer to a freezer bag. They thaw in about 30 minutes at room temperature, returning surprisingly close to their original texture.
Perfect Pairings
The neutral milk flavor of these mochi bites makes them incredibly versatile for pairing. Serve alongside a strong matcha or hojicha tea for a traditional Japanese experience. The contrast between the hot bitter tea and the sweet chewy mochi creates a beautiful balance. For a more contemporary dessert plate, arrange several differently coated mochi bites with fresh berries and a small scoop of vanilla ice cream. The temperature and texture contrasts create an elevated dessert experience that looks far more complicated than it actually is to prepare.
Troubleshooting Tips
If your mochi becomes too sticky during handling, add a light dusting of cornstarch to your hands and work surface. Work quickly as the mochi becomes more difficult to shape as it cools. Should your mochi turn out too firm, you likely overcooked it slightly. Next time, reduce your cooking time by 1-2 minutes. Mochi that tears easily was likely undercooked. Return it to the microwave for additional 30-second intervals until properly gelatinized. The perfectly cooked mochi should be translucent, stretchy, and pull away cleanly from the sides of the bowl.
Frequently Asked Questions
- → Why is my mochi still sticky after cooking?
If your mochi remains too sticky, it likely needs additional cooking time. The mixture should become translucent and pull away from the bowl when properly cooked. Additionally, ensure you're using enough cornstarch when handling the mochi, as this prevents excessive stickiness.
- → Can I make milk mochi bites without a microwave?
Absolutely! While microwaving is quicker, you can steam the mochi mixture over boiling water for 20-30 minutes until the dough becomes translucent. Stir occasionally to ensure even cooking throughout the mixture.
- → How long do homemade milk mochi bites stay fresh?
Milk mochi bites are best enjoyed fresh within 24-48 hours. Store them in an airtight container at room temperature. If you need to keep them longer, refrigerate for up to 3 days, but note that the texture will become firmer. Let refrigerated mochi come to room temperature before serving.
- → Can I add fillings to these mochi bites?
Yes! Once you've mastered the basic technique, you can add fillings like red bean paste, ice cream, or fruit. To incorporate fillings, flatten a small portion of mochi, place your filling in the center, then carefully wrap and seal the mochi around it before rolling in your chosen coating.
- → What's the difference between regular rice flour and glutinous rice flour?
Glutinous rice flour (also called sweet rice flour) is essential for making mochi and cannot be substituted with regular rice flour. Despite its name, it doesn't contain gluten but gets its name from its sticky, glutinous texture when cooked. Regular rice flour would produce a completely different, less chewy texture.
- → Why do I need to wear gloves when handling mochi?
Freshly cooked mochi is extremely hot and sticky. Gloves protect your hands from both the heat and the stickiness, making the mochi easier to handle and shape without burning yourself or creating a mess. Food-grade plastic or silicone gloves work best.