
 Save
Save
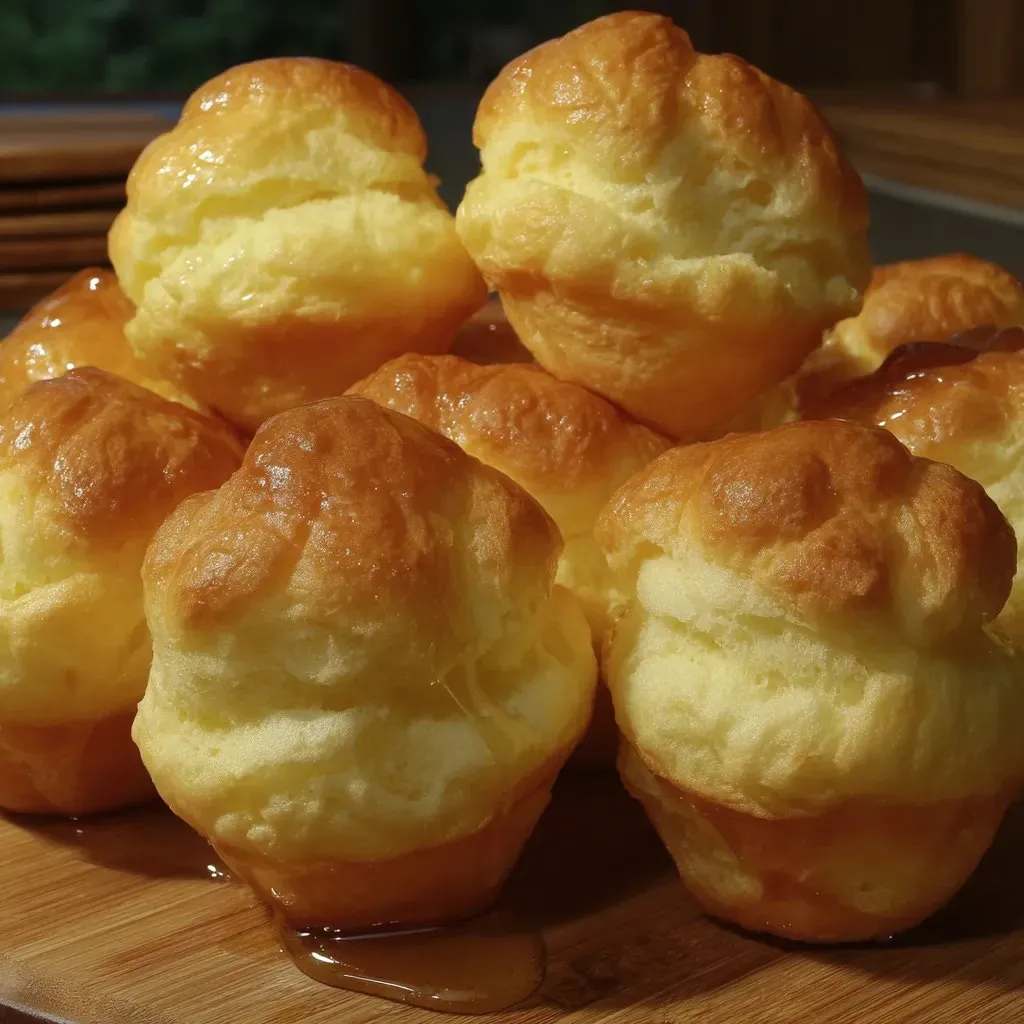
This light and airy Nun's Puffs recipe has been my secret weapon for impressing weekend brunch guests for years. These golden, puffy treats offer the perfect balance of crisp exterior and soft, hollow interior just waiting to be filled with something sweet or savory.
I first discovered this recipe during a monastery visit in France where the nuns served these delightful puffs drizzled with local honey. One bite and I was transported to pastry heaven. I've been making them ever since, experimenting with different fillings each time.
Ingredients
- 1 stick unsalted butter: provides richness and helps create that perfect hollow interior. Use good quality butter for best flavor.
- 1 cup whole milk: adds tenderness to the puffs. Avoid using lower fat milk as it affects the texture.
- 3/4 cup all purpose flour: creates the structure. No need for fancy flour here.
- 4 large eggs: at room temperature are crucial for proper rising. Cold eggs will not incorporate properly.
- Sugar: for both dough and topping creates a lovely sweetness and crisp exterior. Use fine granulated for best results.
- Optional serving additions: like honey whipped cream and fresh berries elevate these puffs to special occasion status.
Step-by-Step Instructions
- Prepare Your Oven and Pan:
- Preheat your oven to 375°F. Thoroughly grease a 12 cup muffin pan including the rims. Be generous with the greasing as these puffs tend to stick. The proper preparation prevents heartbreak when removing them later.
- Create The Base Mixture:
- In a medium saucepan melt the butter completely over medium heat. Add milk and bring to a gentle boil watching carefully for small bubbles forming around the edges. The temperature needs to be hot enough to cook the flour in the next step.
- Form The Dough:
- Add all flour at once to the hot liquid and stir vigorously with a wooden spoon. Keep stirring over low heat until the mixture forms a smooth ball that pulls away from the pan sides. This cooking process gelatinizes the starches in the flour which will help trap air later.
- Cool The Mixture:
- Remove from heat and let the dough cool for about 5 minutes. This cooling period is crucial. If the dough is too hot when adding eggs they will scramble instead of incorporating. The dough should feel warm but not hot to the touch.
- Add The Eggs:
- Add eggs one at a time mixing vigorously after each addition until fully incorporated. The dough will initially look broken and separated with each egg but keep stirring until smooth before adding the next. Add optional sugar with the final egg if using. This gradual incorporation creates the structure needed for rising.
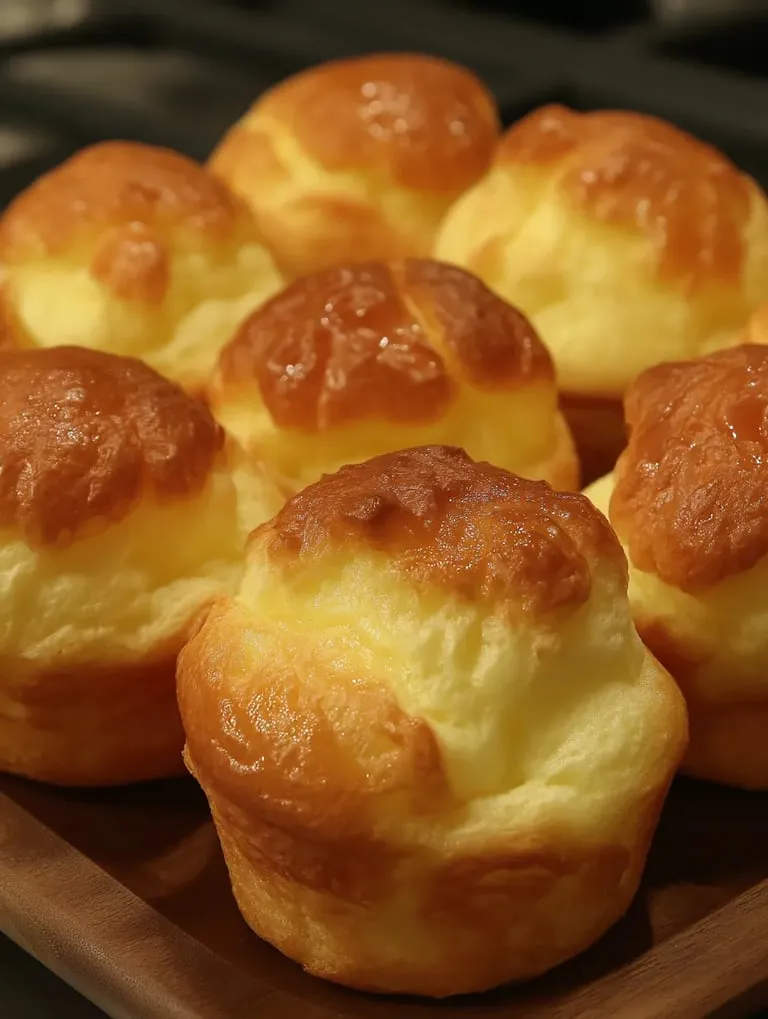
- Fill The Pan:
- Divide the batter evenly among the prepared muffin cups filling each about 2/3 to 3/4 full. Sprinkle generously with sugar which will create a delightful crisp sweet top. Avoid overfilling as these puffs rise dramatically.
- Bake To Perfection:
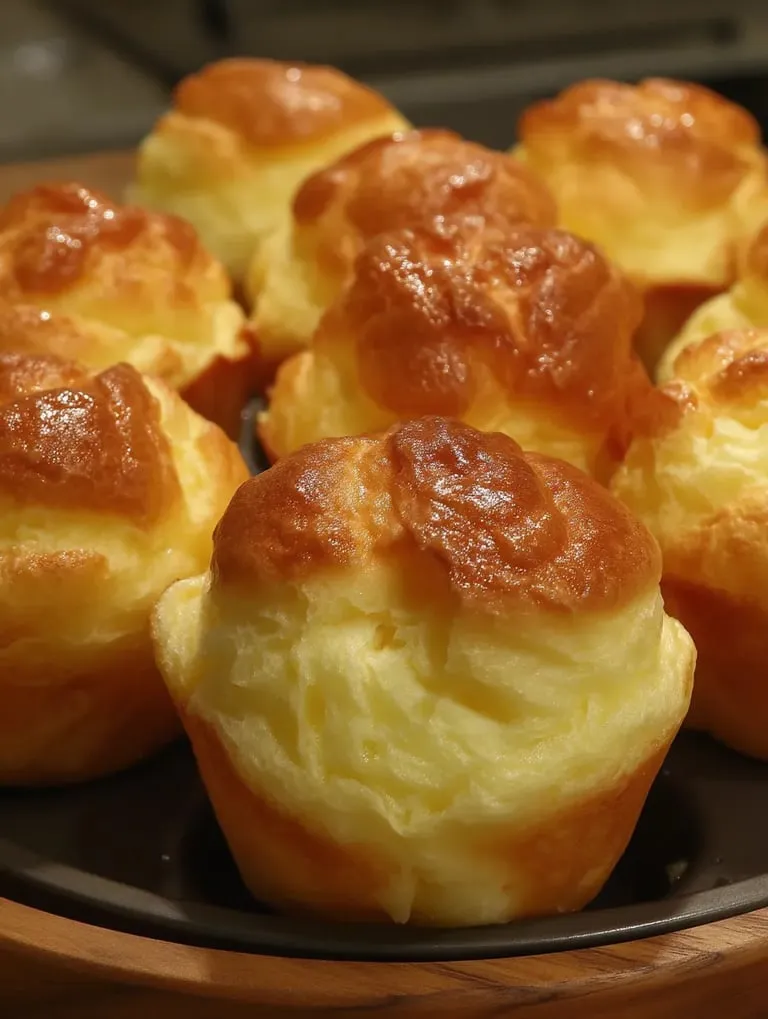
- Bake for approximately 30 minutes until well risen puffy and golden brown. Resist opening the oven during the first 20 minutes as temperature fluctuations can cause collapse. The puffs should feel light and hollow when properly baked.
- Serve While Warm:
- Remove from oven and let cool just 2 3 minutes before carefully removing from the pan. Serve immediately while warm drizzled with honey. Add whipped cream and fresh berries for an extra special presentation.
My favorite way to serve these is still the traditional honey drizzle the way the nuns taught me but my children love them filled with vanilla pastry cream and topped with fresh strawberries. The versatility of this recipe has made it a staple in our home for every special occasion.
The History Behind Nun's Puffs
These delightful treats have a long history in European monastery cooking dating back several centuries. The name comes from their origin in convent kitchens where nuns would prepare these simple yet impressive pastries for special religious celebrations. The recipe evolved as a simpler version of choux pastry requiring less technique but delivering similar results. Nuns were often skilled in creating delicious food with minimal ingredients making these puffs a perfect example of monastic culinary ingenuity.
Make Ahead Options
While Nun's Puffs are best served fresh you can prepare components ahead of time. The batter can be made up to 2 hours before baking and kept at room temperature covered with plastic wrap pressed directly on the surface. Already baked puffs can be refreshed in a 350°F oven for 5 minutes to restore some crispness though they will never be quite as perfect as freshly baked. For longer storage freeze completely cooled puffs in an airtight container for up to 1 month and reheat directly from frozen in a 350°F oven for 8 10 minutes.
Flavor Variations
Transform these versatile puffs by adding different ingredients to the base recipe. For chocolate lovers fold 2 tablespoons of cocoa powder into the flour before adding to the milk mixture. Cheese lovers can add 1/4 cup of grated parmesan or gruyere with the last egg for a savory option perfect for dinner parties. Add 1 teaspoon of citrus zest or 1/2 teaspoon of cinnamon to the batter for subtle flavor variations. The possibilities are endless making this one recipe that can appear in different forms throughout your cooking repertoire.
Frequently Asked Questions
- → Why are they called Nun's Puffs?
Nun's Puffs have a historical connection to convent cooking traditions. These light, airy pastries earned their name from nuns who would prepare them in monasteries, particularly in European religious communities. The simple ingredients and impressive results made them popular for special occasions in convent kitchens.
- → Can I make the dough ahead of time?
You can prepare the dough up to 24 hours in advance and store it in an airtight container in the refrigerator. When ready to bake, allow the dough to come to room temperature for about 30 minutes, then transfer to your greased muffin tin and bake as directed. However, the puffs will have the best texture when the dough is freshly made.
- → Why did my puffs collapse after baking?
Puffs typically collapse for a few key reasons: opening the oven door too early during baking, underbaking, or not properly incorporating the eggs. Ensure you don't open the oven during the first 20 minutes, bake until deeply golden brown, and thoroughly mix each egg into the dough until smooth before adding the next one.
- → Can I make savory versions of these puffs?
Absolutely! For savory Nun's Puffs, simply omit the sugar from the dough and topping. You can add herbs like thyme or rosemary to the dough, or fold in grated cheese like Gruyère or Parmesan. Once baked, fill the hollow centers with savory fillings such as chicken salad, herbed cream cheese, or smoked salmon.
- → How do I store leftover Nun's Puffs?
Nun's Puffs are best enjoyed the day they're made, but leftovers can be stored in an airtight container at room temperature for up to 2 days. To refresh them, warm in a 350°F oven for 5 minutes to crisp up the exterior. Note that they will lose some of their initial crispness and lightness after the first day.
- → Can I freeze Nun's Puffs?
Yes, you can freeze baked Nun's Puffs. Cool them completely, then place in a freezer-safe container for up to 1 month. To reheat, place the frozen puffs directly in a 350°F oven for about 8-10 minutes until warmed through and crisp again. Do not thaw before reheating as this can make them soggy.