
 Save
Save
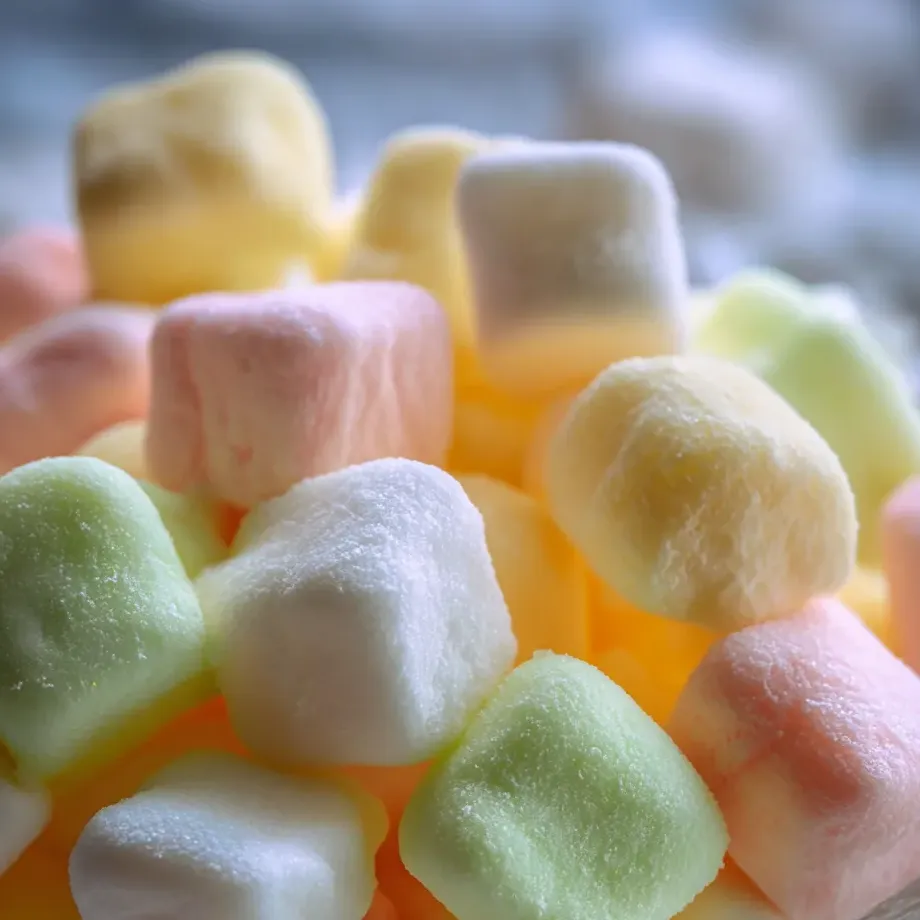
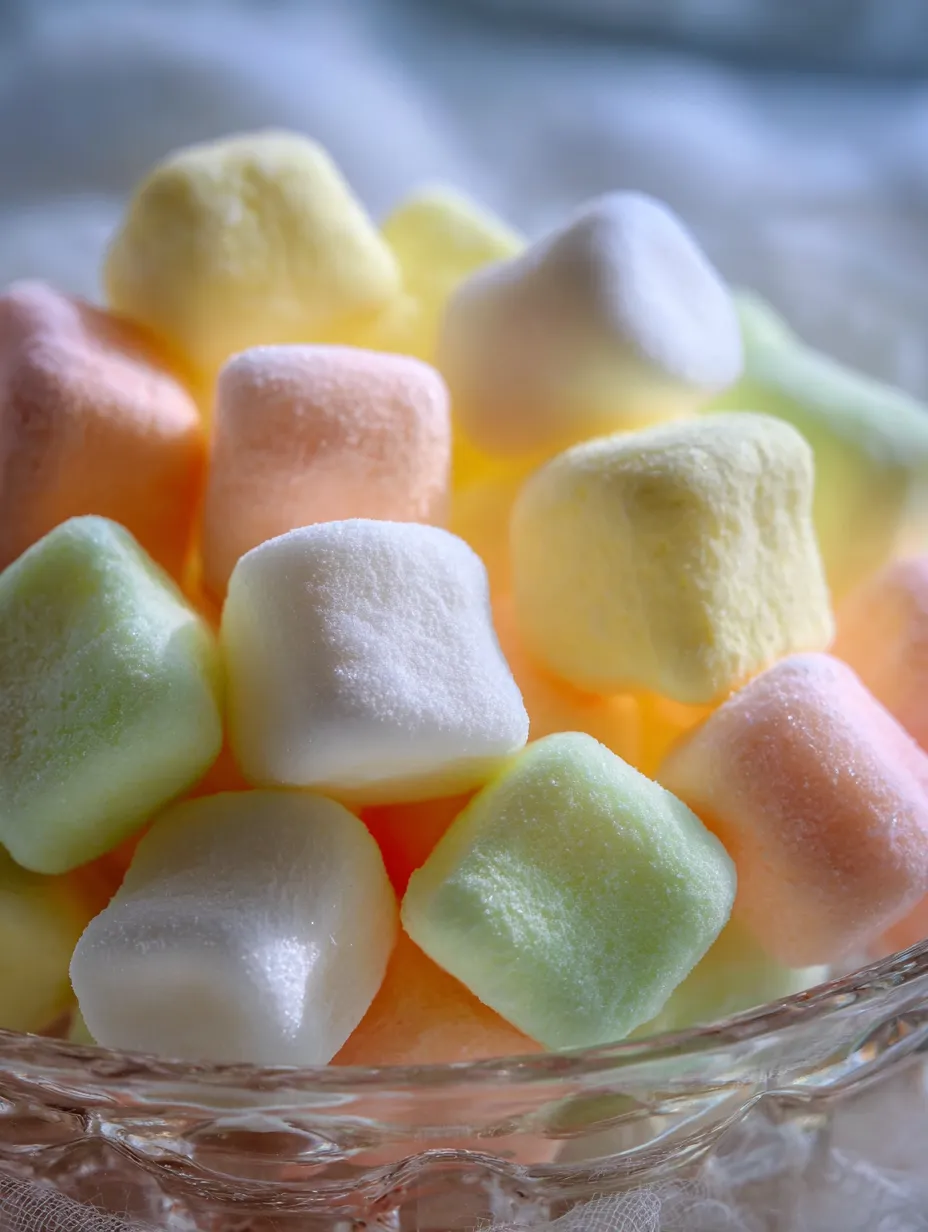
Old fashioned butter mints are a sweet little treat perfect for gifting or brightening up a dessert tray at any gathering. These melt-in-your-mouth morsels have just the right hint of peppermint and a soft pastel color that always brings a bit of nostalgia for family holidays. The best part is how easily you can make them at home with simple ingredients and no fancy equipment.
I first made these butter mints with my grandmother after Sunday dinner. Rolling the colorful dough with her while sneaking a few bites is a memory I treasure and now I love making them with my own kids for birthdays and Easter.
Ingredients
- Unsalted butter: The creamy foundation that gives these mints their unmistakable melt in your mouth texture Look for European style butter if you want extra richness
- Powdered sugar: This sweetens and sets the dough A fine powder is key for a smooth finish Sift if yours is clumpy
- Sweetened condensed milk: Adds richness and plenty of smoothness Check the label for one with two or three ingredients for best flavor
- Peppermint extract: The classic flavor you remember Quality extracts make a big difference Pure peppermint will have the freshest taste
- Vanilla extract: Rounds out the mintiness and adds softness Real vanilla is always my pick over imitation
- Food coloring: That signature pastel look Choose gel or paste colors for vibrant shades without watering down the dough
Step-by-Step Instructions
- Cream the Butter:
- Beat the softened butter in a mixing bowl with an electric mixer until silky and smooth This takes about thirty to forty five seconds The butter should look slightly fluffy and have no lumps This is the key to a soft dough later
- Mix the Dough:
- Add the powdered sugar sweetened condensed milk peppermint extract and vanilla extract Mix on low speed at first so powdered sugar does not puff everywhere Once it comes together increase the speed and beat until a thick dough forms If it sticks to your fingers knead in a bit more powdered sugar until tacky but not gooey
- Divide and Color:
- Portion the dough into three or four balls depending on how many colors you want Add a few drops of food coloring to each and gently knead until streaks blend for a lovely marbled effect Slip on gloves to avoid colored hands
- Shape the Mints:
- Pinch off a ball of colored dough about two inches wide On a clean cutting board roll it into a long thin rope about half an inch thick Use a pizza cutter or sharp knife to slice the rope into small pillow pieces Each piece should be bite sized
- Dry the Mints:
- Lay the mints out in a single layer on a baking sheet with space between them Allow them to air dry uncovered at room temperature for a full day This creates the signature crisp shell with a creamy middle
My favorite part is the swirl of color through the dough It reminds me of marble swirl fudge my mom would make during holidays We always debated which color tasted best even though they are all the same
Storage Tips
Keep finished butter mints in an airtight container in the refrigerator where they will last for several weeks Or store them in a freezer safe container and freeze for up to two months Let them come to room temperature before serving if frozen to soften a bit
Ingredient Substitutions
For the classic flavor I always use peppermint and vanilla but you can swap in almond orange or lemon extracts for a unique twist If you prefer a dairy free option try vegan butter and coconut condensed milk though the flavor will change a bit

Serving Suggestions
These little candies are perfect for filling jars tied with ribbon for hostess gifts Party trays wedding favor bags or baby showers are all great excuses for making a batch I also love to have a bowl on the dessert table for family get togethers
Cultural and Historical Context
Butter mints have been found on the tables of Southern weddings tea parties and church gatherings since at least the early twentieth century Before store bought mints were popular cooks made their own at home Each family had their own color and flavor traditions
Frequently Asked Questions
- → Can I use different flavor extracts besides peppermint?
Yes, you can substitute other extracts, such as almond, lemon, or orange, to customize the mints' flavor.
- → How do I prevent the dough from sticking to my hands?
Knead in extra powdered sugar as needed and wear gloves when mixing in food coloring to keep your hands clean.
- → How long should the mints air dry before storing?
Allow the mints to air dry at room temperature for about 24 hours to achieve their signature texture.
- → What is the best way to color the mints?
Add a few drops of your favorite food coloring to each portion of dough and knead until evenly distributed. Gloves help prevent staining.
- → How should I store the finished butter mints?
Keep the mints in an airtight container in the refrigerator for several weeks, or freeze for up to two months.