 Save
Save
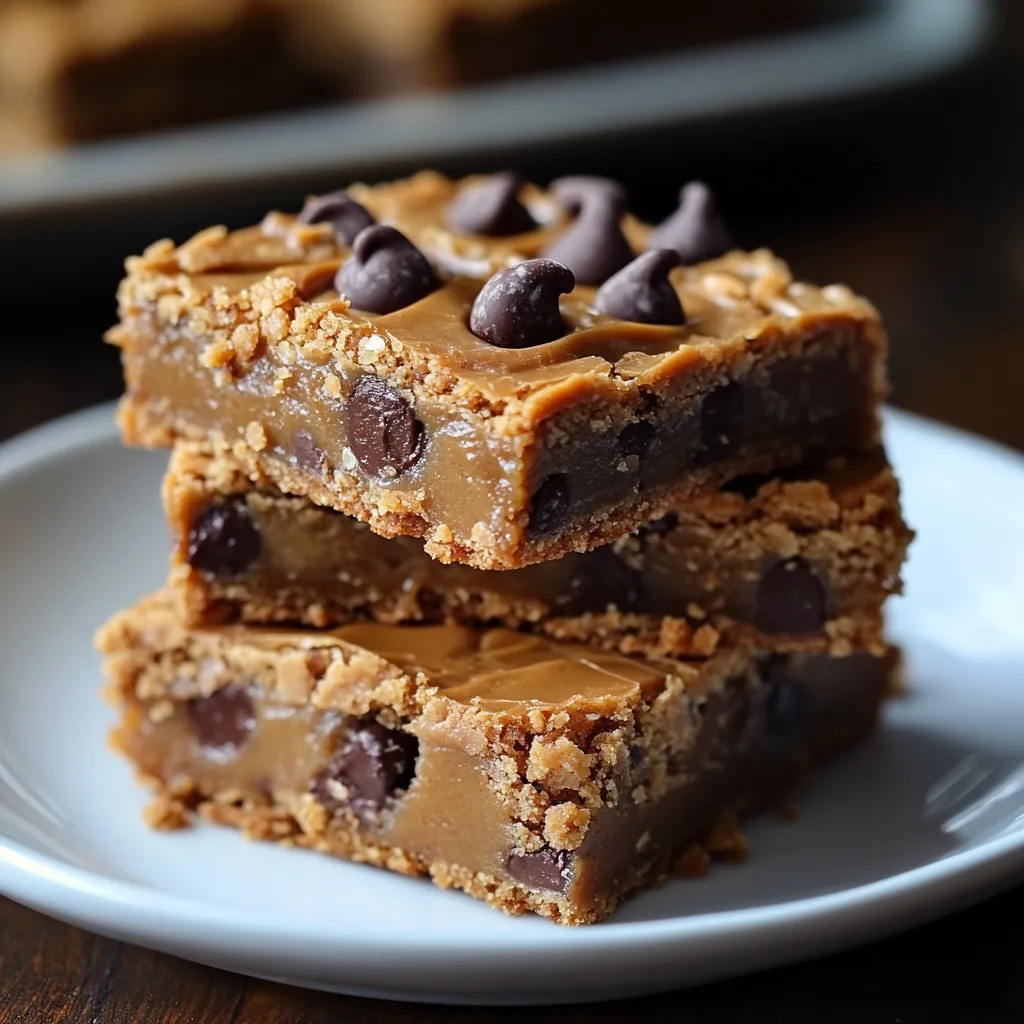
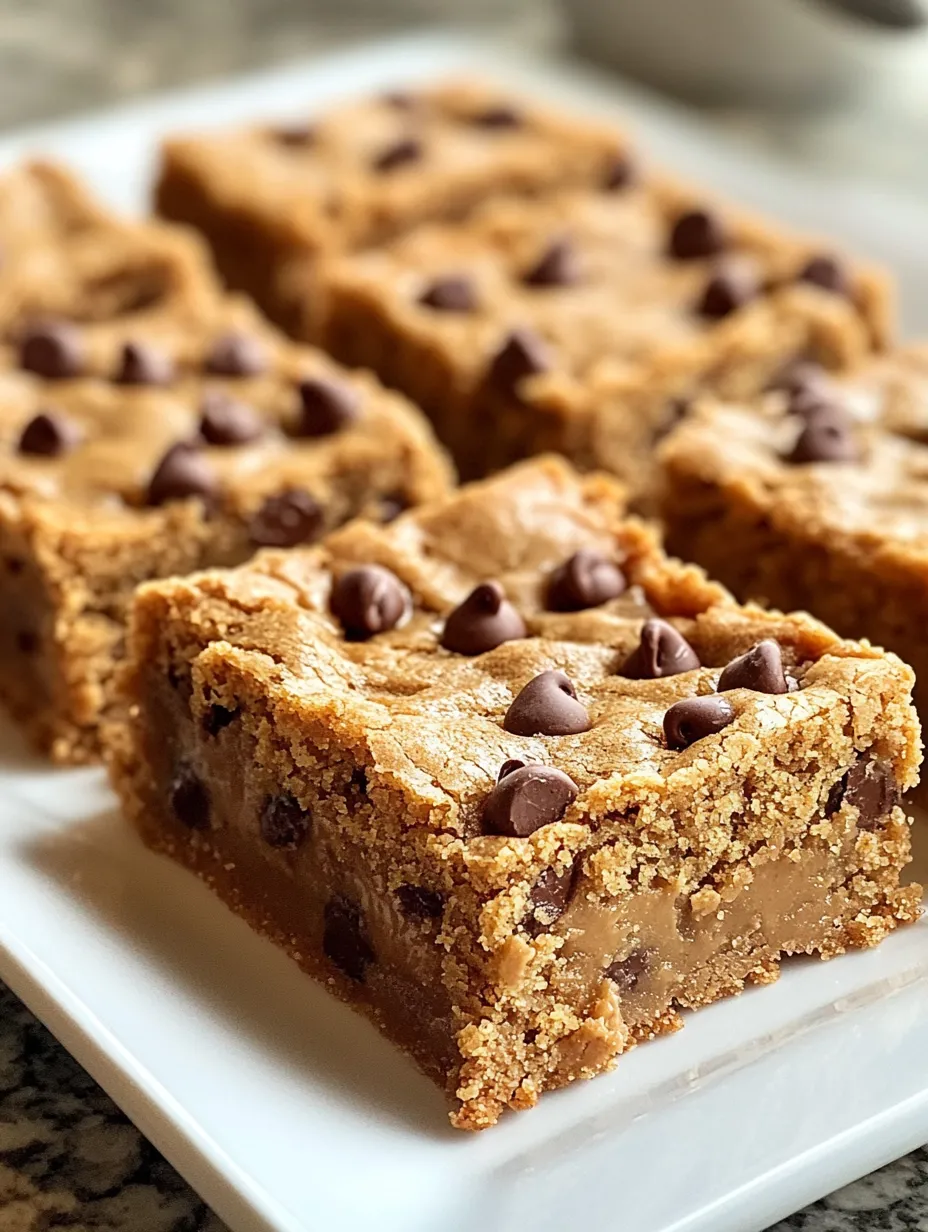
These peanut butter bar cookies turn your favorite PB cookie into an easy, shareable snack that's perfect for gatherings, school events, or just fixing your sweet craving without making individual cookies. The mix of peanut butter, chocolate, and that soft, chewy bite makes these bars impossible to resist for anyone who tries them.
I whipped these bars up when my kid's baseball squad needed snacks for their big tournament. They were gone faster than all other treats, and now everybody in my family asks for them whenever we get together.
What You'll Need
- All purpose flour: builds the right foundation for these bars while keeping them soft
- Baking powder: adds just enough rise without making them too fluffy
- Fine sea salt: brings out the taste of everything else, particularly the sweet notes
- Creamy peanut butter: delivers that main flavor - stick with familiar brands like Jif or Skippy for the best outcome
- Unsalted butter: brings luxury and helps create that wonderful chewy feel
- Granulated sugar: sweetens and helps form crispy edges
- Light brown sugar: gives extra flavor dimension and keeps everything moist
- Large eggs: hold it all together and add stability
- Vanilla extract: boosts all the other flavors
- Peanut butter chips: pump up the peanutty goodness throughout
- Semi sweet chocolate chips: cut through the sweetness with a bit of rich bitterness
Detailed Method
- Get Everything Ready:
- Warm your oven to 375°F and put parchment paper in your baking pan with extra hanging over the sides. This setup makes taking them out easy and lets you cut perfect squares later.
- Combine Dry Stuff:
- Stir flour, baking powder, and salt together in a bowl until they're mixed well. This step gets rid of lumps and makes sure the baking powder spreads evenly.
- Mix The Fats:
- Blend the softened butter and peanut butter until they're smooth and fully combined. Don't use melted butter - just softened for the best result.
- Put In Sugars:
- Slowly add both sugars to your butter mix, beating until it looks lighter and gets fluffy. This adds air and sets you up for great texture.
- Add Eggs And Vanilla:
- Drop in eggs one by one, mixing in the first completely before adding the next one. This keeps your mix from breaking. Then stir in the vanilla until just mixed.
- Join Wet And Dry Ingredients:
- Add the flour mix to your wet ingredients bit by bit, stirring gently until barely combined. Don't mix too much here or your bars might get tough.
- Throw In Chips:
- Fold the peanut butter and chocolate chips in by hand with a spatula. This careful approach prevents overmixing and spreads the chips evenly through the dough.
- Put In Pan:
- Dump the dough into your ready pan and spread it out to the corners. Use a spatula or spoon back to flatten the top so it bakes evenly.
- Bake Until Done:
- Cook for 25 to 30 minutes, looking for golden edges and a mostly clean toothpick test. The middle might still be a bit soft since they'll keep setting as they cool down.
- Let Cool And Slice:
- Let the bars cool all the way in the pan before lifting out and cutting into squares. Full cooling makes for clean cuts and lets the texture develop properly.

I really enjoy using both chocolate and peanut butter chips in these bars. My grandma always told me that peanut butter needs chocolate just like bread needs butter, and this recipe totally follows her kitchen wisdom.
Prep Ahead And Storage
These cookie bars stay fresh in a sealed container at room temp for up to 5 days. If you want to keep them longer, wrap each square in plastic and freeze them for up to 3 months. Just let them sit out for about an hour before eating. They stay amazingly consistent even after freezing, so they're great for dessert emergencies or surprise visitors.
Different Ways To Make Them
While the original version is tough to improve on, you can switch these bars up in tons of ways. Try using half butterscotch chips instead of chocolate for a taste that reminds you of Butterfinger candy. White chocolate with dried cranberries makes a nice sweet-tangy combo. For extra fancy bars, pour some melted chocolate or thinned peanut butter over the cooled bars. You can even put peanut butter frosting between two thin bars for an amazing dessert treat.

Ways To Serve
These bars taste great on their own, but they're really something when served a bit warm with vanilla ice cream on top. For a fancy dessert plate, cut them tiny and mix them with brownie bites and blondies. They also work perfectly as ice cream sandwich bases. In the morning, I sometimes enjoy them with coffee, though I try to keep my kids from finding out about that habit.
Frequently Asked Questions
- → Can I swap creamy peanut butter for chunky?
Sure thing, chunky peanut butter works great. You'll get some nice bits of peanut throughout your bars. Use the same amount (1/2 cup), but remember your bars will have a bit more texture.
- → How can I tell when my bars are done baking?
Look for golden brown edges and grab a toothpick to test the middle. If it comes out mostly clean with just a bit of stickiness, they're ready. A little moisture means they'll stay gooey instead of turning out dry.
- → Is it okay to freeze these bars?
For sure! These freeze amazingly well. Once they've cooled down completely, cut them up, wrap each piece in plastic, and toss them in a freezer container. They'll stay good for up to 3 months. Just let them warm up on the counter before eating.
- → What can I use if I don't have peanut butter chips?
No PB chips? No problem. Try butterscotch chips, white chocolate chunks, or just add more semi-sweet chocolate chips instead. Chopped up peanut butter cups would make them extra fancy too.
- → Can I make a gluten-free version?
Definitely. Just swap out the regular flour for a 1:1 gluten-free baking mix. Double check that your other stuff, especially the baking powder, doesn't contain gluten.
- → What's the best way to keep these bars fresh?
Put them in an airtight container and they'll stay good on your counter for about 5 days. Stick some baking paper between layers so they don't stick together. If you need them to last longer, keep them in the fridge for a week or freeze them as mentioned earlier.
