
 Save
Save
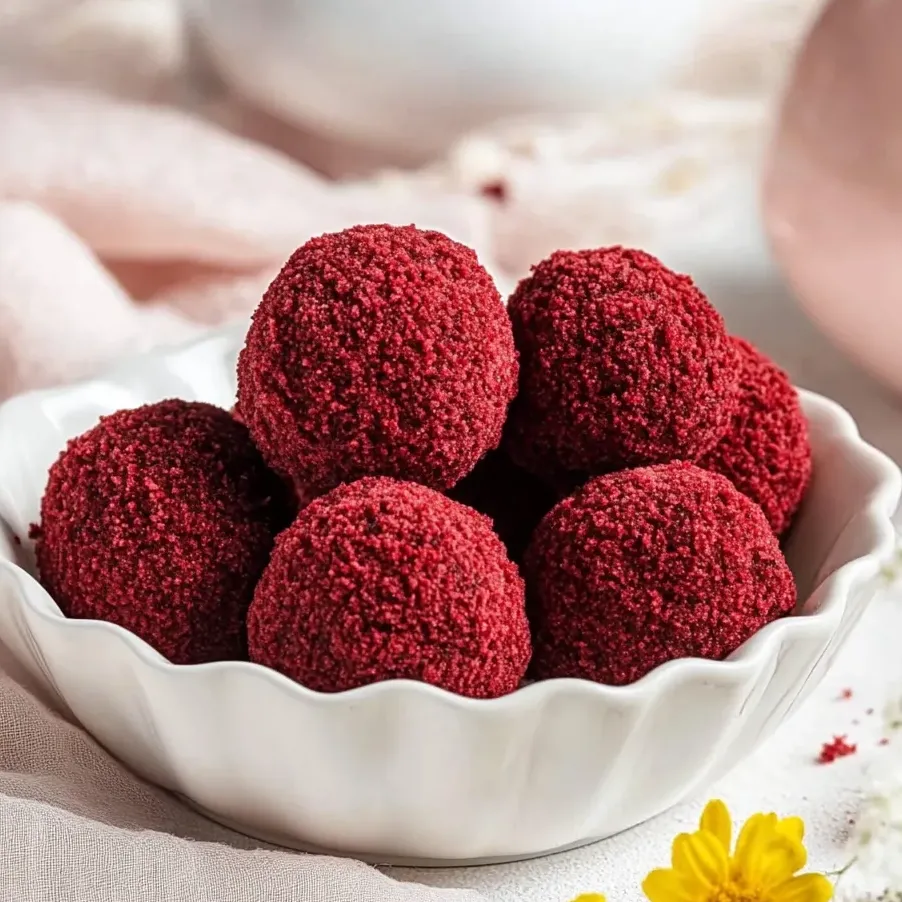
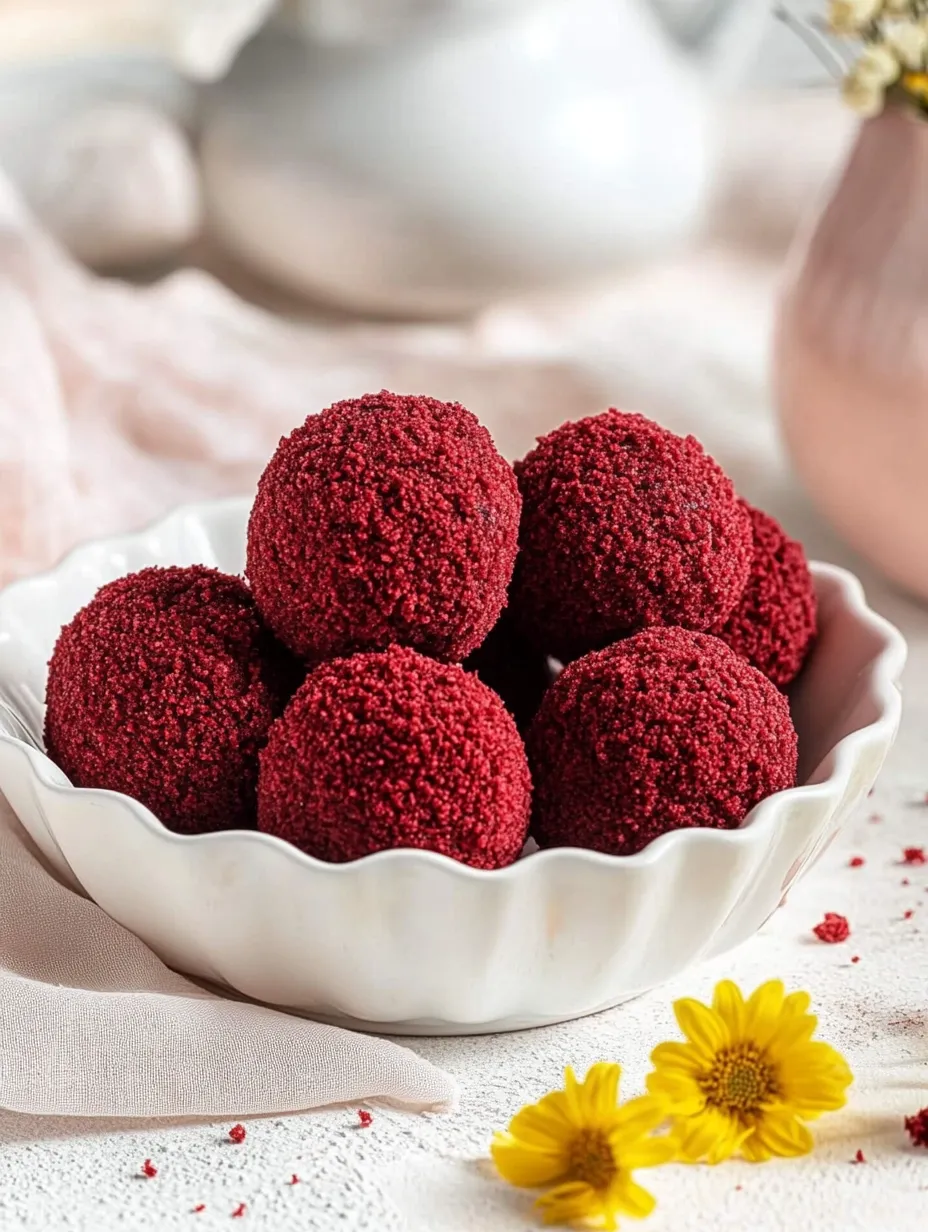
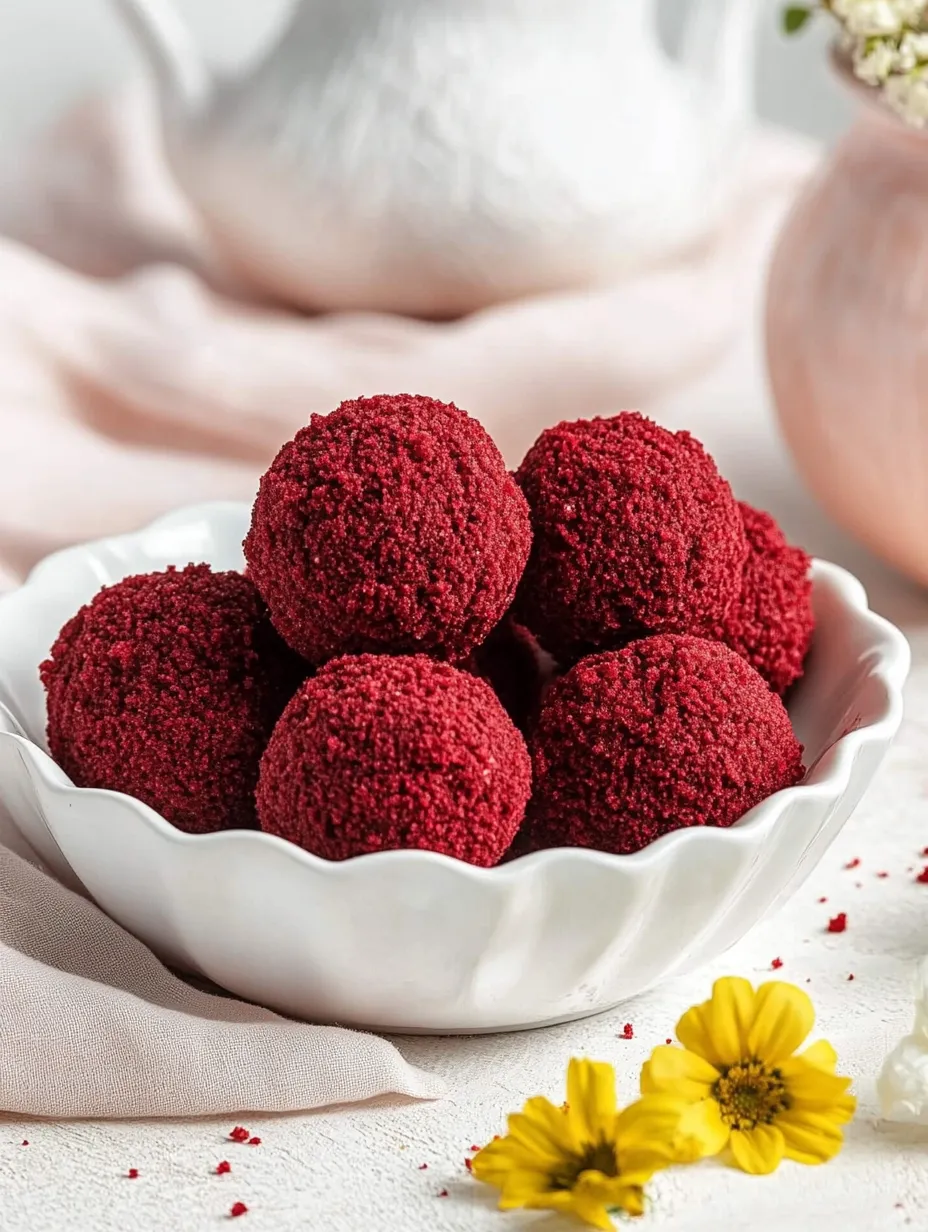
These decadent red velvet cheesecake bites turn ordinary cake into stunning mini desserts that balance tangy cream cheese with deep red velvet flavors. They're my favorite shortcut when I want to wow guests without slaving away in the kitchen all day.
I whipped these up for my kid's birthday when she wanted something "kinda fancy but not too fancy" and now we can't celebrate anything without them. Everyone thinks I bought them from a bakery because that creamy center paired with the soft cake outside looks so professional.
What You'll Need
- 1 box red velvet cake mix: This forms your base and gives that gorgeous ruby color
- Ingredients called for on box: Typically eggs, oil, water - stick exactly to box instructions for best outcome
- 16 ounces cream cheese, softened: Go with full-fat for a creamier, richer center
- 4 tablespoons butter, softened: Pick unsalted to manage saltiness yourself
- 1/2 cup powdered sugar: Blends in smoothly without the crunch of regular sugar
- 2 cups graham crackers, smashed up: Brings a nice crunch and hint of honey to match the cream cheese
- 1 teaspoon vanilla extract: Real extract works better than imitation here
Making Your Cheesecake Bites
- Get Your Cake Ready:
- Heat oven to 350°F and line pans with parchment or grease them well. Mix up your cake batter following the box directions exactly. Don't eyeball anything - measurements matter for the right texture.
- Cook and Let It Rest:
- Pour batter into pans and bake for about 25-30 minutes as directed. Let it cool totally - at least an hour. Don't rush or you'll end up with sticky clumps instead of nice crumbs.
- Make Your Crumbs:
- Break up the cooled cake and rub it between your fingers until it looks like sand. If it feels too wet, spread the pieces on a baking sheet and dry them in the oven at 350°F for about 5 minutes. Watch them closely so they don't burn.
- Mix Up The Filling:
- Beat the soft cream cheese and butter until they're fluffy - about 3 minutes with a mixer. Add the powdered sugar and keep beating until everything's smooth. You shouldn't see any lumps at all.
- Finish The Filling:
- Gently stir in the crushed graham crackers and vanilla with a spatula. Don't overmix or it'll get too dense. You want it firm enough to scoop but still nice and creamy.
- Shape The Middles:
- Use a small cookie scoop (about 2 teaspoons) to portion out your cream cheese mix onto a lined tray. Roll each scoop between your hands to make smooth balls. Work fast since they get sticky as they warm up. Chill for at least an hour until they're firm.
- Finish The Bites:
- Roll each chilled ball in your red velvet crumbs, pushing gently so they stick all over. Cover each one completely, reshaping if needed. That white and red contrast is what makes them look so fancy.
- Ready To Eat:
- Put them on a plate and serve right away, or keep them in the fridge until party time. They actually taste better after sitting overnight.
The graham crackers are my sneaky little trick. When I first tried making these, I wanted that cheesecake crust taste without having to bake anything. Mixing crushed crackers right into the filling gives you that authentic cheesecake feel while keeping everything super simple.
Keeping Them Fresh
Store your red velvet bites in the fridge in a sealed container with parchment between layers. They'll stay delicious for about 5 days, though the red coating might get a bit softer over time. Want to make them way ahead? Freeze them up to a month - just lay them out on a tray until solid, then pop them in a freezer bag. Let them thaw in the fridge overnight before you plan to serve them.
Fun Twists To Try
The basic recipe tastes amazing, but you can switch things up tons of ways. Try using chocolate cake instead of red velvet for a cookies-and-cream vibe. Regular white cake with food coloring works great for holidays - maybe green for St. Patrick's or orange for Halloween. You could also dip the finished bites in melted white chocolate, add a dark chocolate drizzle on top, or roll them in colorful sprinkles for parties.
Impressive Ways To Serve
These fancy little bites look stunning on a tiered stand with some fresh berries and mint around them. For extra special occasions, put each one in a mini cupcake paper and set them out on a silver tray. They go perfectly with after-dinner coffee or a glass of bubbly at celebrations. At my dinner parties, I like to sprinkle some cocoa powder on a plate, arrange the bites on top, and add a few fresh raspberries for a pop of color.
Why This Recipe Works
Getting these bites just right comes down to managing temperature throughout. You need room-temp cream cheese and butter to make that filling super smooth, while proper chilling helps them hold their shape. The cake crumbs naturally stick to the slightly tacky cream cheese mixture, creating that amazing texture contrast that makes everyone grab seconds.
Frequently Asked Questions
- → Can I use store-bought red velvet cake instead of making it from scratch?
For sure! A cake from the store works great too. Just make sure it's totally cool before you crumble it up. If your cake seems really moist, you might still want to dry the crumbs in the oven as the steps say to get them just right for coating.
- → How long do these Red Velvet Cheesecake Bites stay fresh?
Put them in an airtight box in your fridge and they'll stay yummy for about 5 days. They actually taste better after they've chilled for a few hours.
- → Can I freeze these cheesecake bites?
You bet! Just put the finished bites on a baking tray until they're frozen solid, around 2 hours, then move them to a freezer-safe container. They'll be good for up to 3 months. Let them thaw in the fridge when you want to eat them.
- → What can I substitute for graham crackers in the filling?
You can try tea biscuits, vanilla wafers, ginger cookies, or even Oreos without the filling. Just make sure whatever you pick gets crushed into tiny crumbs so your filling has the right feel.
- → How can I make these Red Velvet Cheesecake Bites look more elegant for a special occasion?
Want to fancy them up? Try adding white chocolate drizzles on top, a light sprinkling of powdered sugar, or put each one in a mini cupcake paper. For really special events, you can stick on tiny bits of edible gold or a small mint leaf.
- → Can I make this dessert without an electric mixer?
You can mix by hand if your cream cheese and butter are super soft. Leave them out until they're room temperature, then grab a wooden spoon and get ready for an arm workout. Mix until everything's smooth and well combined, though a mixer does make the filling fluffier.