
 Save
Save
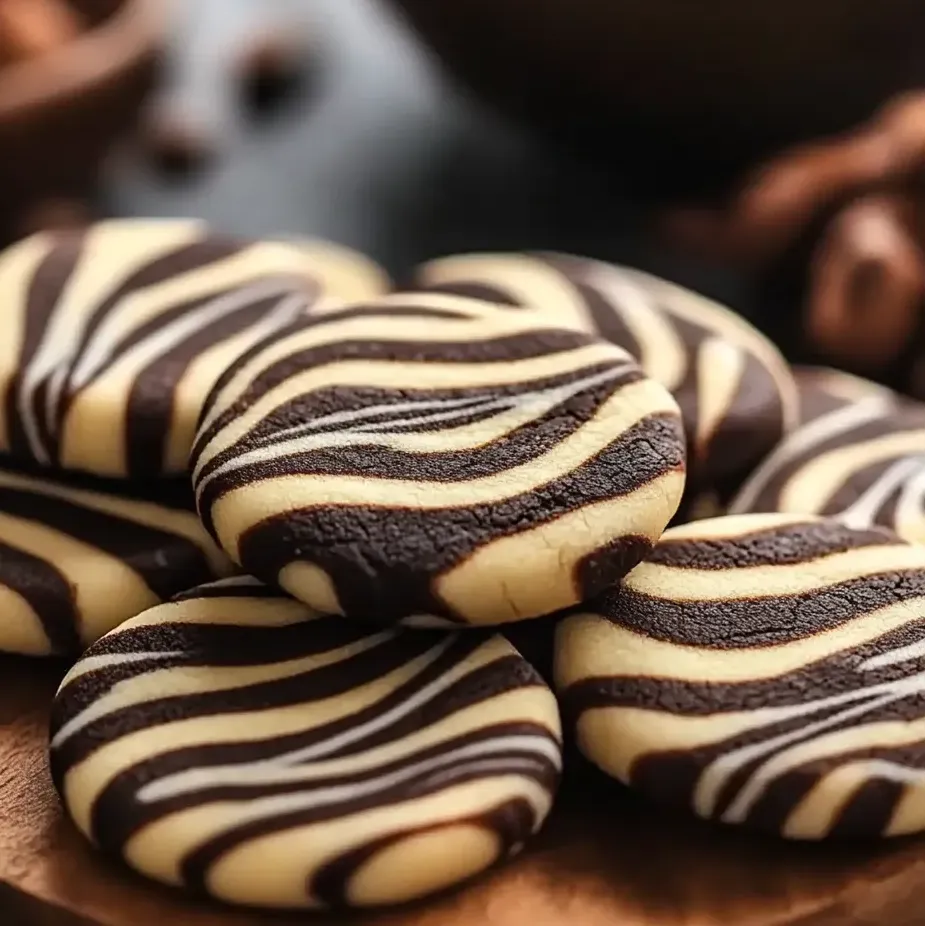
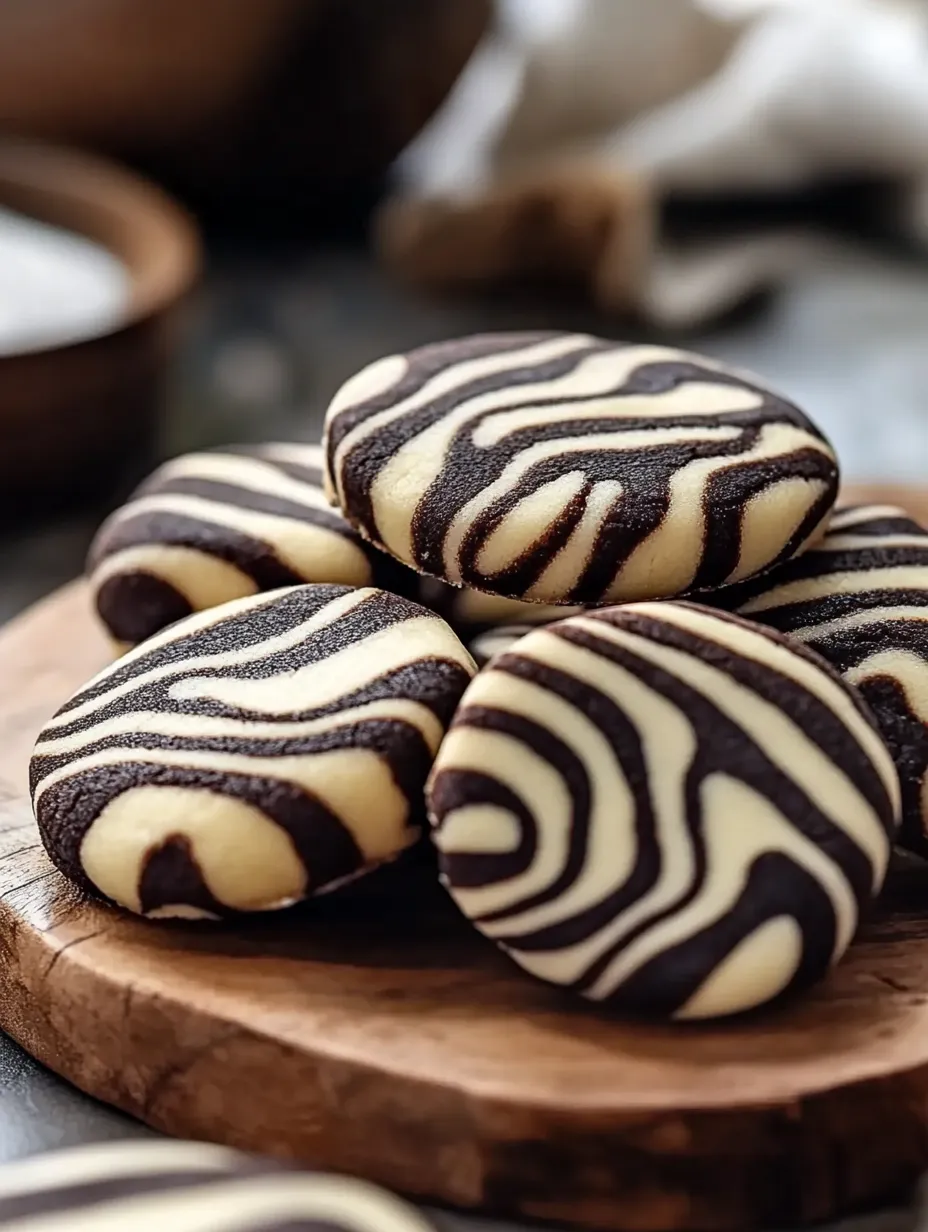
Zebra Cookies Chocolate Swirl are my go-to treat when I want cookies that look like bakery perfection but are totally doable at home. These gorgeous marbled cookies combine classic vanilla and rich chocolate dough in every bite. Their pretty stripes catch everyone’s eye at cookie swaps and holiday spreads but the best part is how easy they are to make.
The first time I made these cookies was for a bake sale and they vanished faster than anything else on the table. Now it is my most requested cookie for family gatherings.
Ingredients
- All-purpose flour: gives the cookies structure for a chewy yet soft bite. Choose unbleached flour for best flavor.
- Unsalted butter: adds richness and allows you to control the saltiness. Look for European style for an extra buttery taste.
- Granulated sugar: sweetens and helps the cookies spread just enough while baking. Use fresh sugar free from any clumps.
- Large eggs: provide moisture and help bind the dough. Always start with eggs at room temperature for easy mixing.
- Vanilla extract: brings classic vanilla flavor to the swirl. Pure extract works best for a natural aroma.
- Unsweetened cocoa powder: turns half the dough into rich chocolatey goodness. Dutch process offers a deeper color.
- Salt: sharpens all the flavors without making the dough taste salty.
- Baking powder: ensures the cookies rise gently and bake up with a soft center.
Step-by-Step Instructions
- Cream the Butter and Sugar:
- Blend softened butter with granulated sugar using a hand or stand mixer. Continue for several minutes until the mixture is light fluffy and pale. This step helps the finished cookies puff gently and stay soft.
- Add the Eggs and Vanilla:
- Add eggs one at a time blending after each addition so the dough stays smooth. Stir in vanilla extract until the mixture is evenly scented and glossy.
- Combine Dry Ingredients:
- In a separate bowl whisk together flour salt and baking powder. This avoids clumps and ensures even leavening. Gradually add the dry mixture to the wet ingredients mixing just until a dough forms.
- Divide Dough and Flavor:
- Split the dough into two equal parts. One will remain plain for the creamy vanilla stripes.
- Add Cocoa for Chocolate Dough:
- Mix cocoa powder into one portion until fully blended. You need a smooth uniform color for lovely chocolate marbling.
- Layer and Swirl:
- Drop alternating spoonfuls of vanilla and chocolate dough onto a lined baking sheet. Use a toothpick or skewer to swirl the dough gently making sure not to overmix or you will lose the zebra effect.
- Bake and Cool:
- Preheat your oven to 175 degrees Celsius or 350 degrees Fahrenheit. Bake for 10 to 12 minutes just until edges are set. Leave the cookies to cool on the sheet for a few minutes before moving them to a wire rack.
Making the chocolate layer rich and dark is my favorite part. I once watched my nephew’s face light up as he tried to swirl his own batch for the first time and now he asks to help every time he visits.
Storage Tips
Store these cookies in an airtight container at room temperature for up to a week. For longer freshness freeze them in single layers between pieces of parchment paper and thaw before serving for perfect texture.
Ingredient Substitutions
Swap the all-purpose flour for a one-to-one gluten-free blend if you need a wheat-free version. You can use plant-based margarine for dairy free friends but choose one with a high fat content for best results. Try natural or Dutch process cocoa for different shades of chocolate.
Serving Suggestions
These cookies look beautiful on a dessert tray alongside fresh fruit or a bowl of vanilla ice cream. They make lovely edible gifts especially when wrapped in cellophane with a ribbon. Try serving them with afternoon tea for an elegant treat.

Cultural Context
These cookies get their name from their striking zebra stripes but marbled cookies have roots in European baking traditions where swirling doughs shows off a baker’s skill. They are a favorite for festive gatherings and bake sales because of their showy look and classic flavors.
Frequently Asked Questions
- → How can I ensure a vivid marbled look?
Swirl the vanilla and chocolate doughs just enough to create streaks, avoiding overmixing, which can muddy the pattern.
- → Can I use salted butter instead of unsalted?
Yes, but reduce the added salt in the dough to avoid oversalting the finished cookies.
- → How do I prevent the cookies from spreading too much?
Chill the shaped dough briefly before baking, especially if your kitchen is warm, to help maintain shape.
- → What is the best way to mix in the cocoa powder?
Mix cocoa thoroughly into half of the dough until no dry streaks remain, ensuring a rich chocolate layer.
- → Can these cookies be frozen?
Yes, bake and cool the cookies fully, then store in an airtight container in the freezer for several weeks.