
 Save
Save
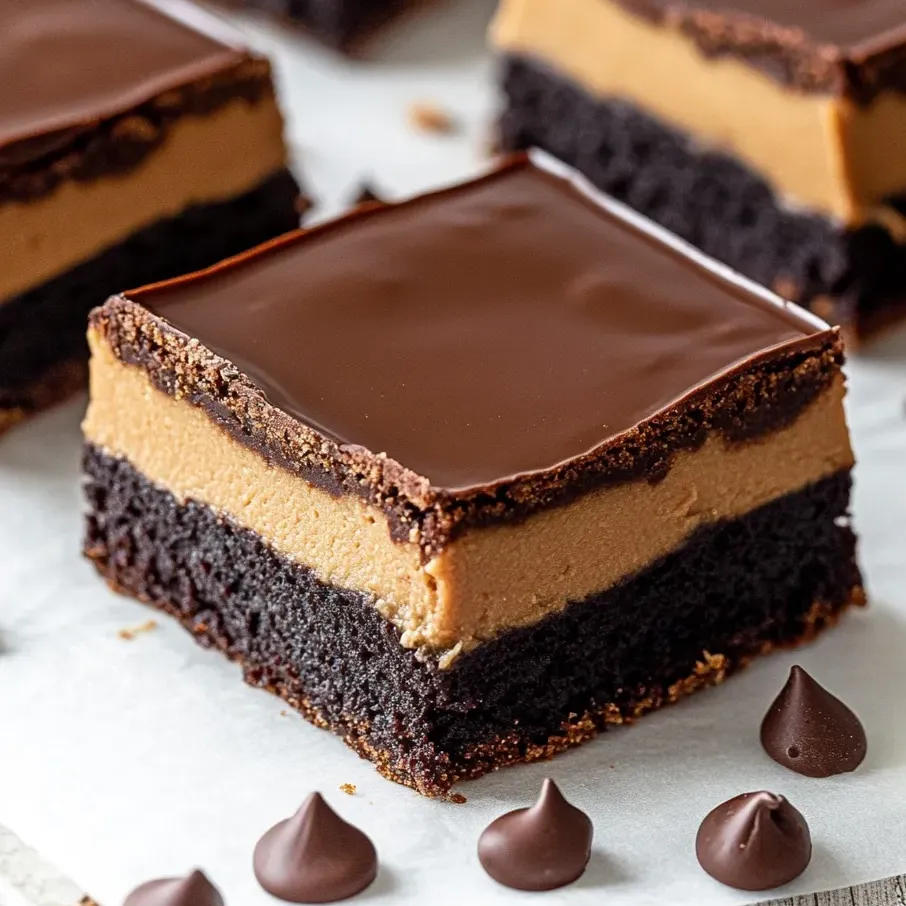
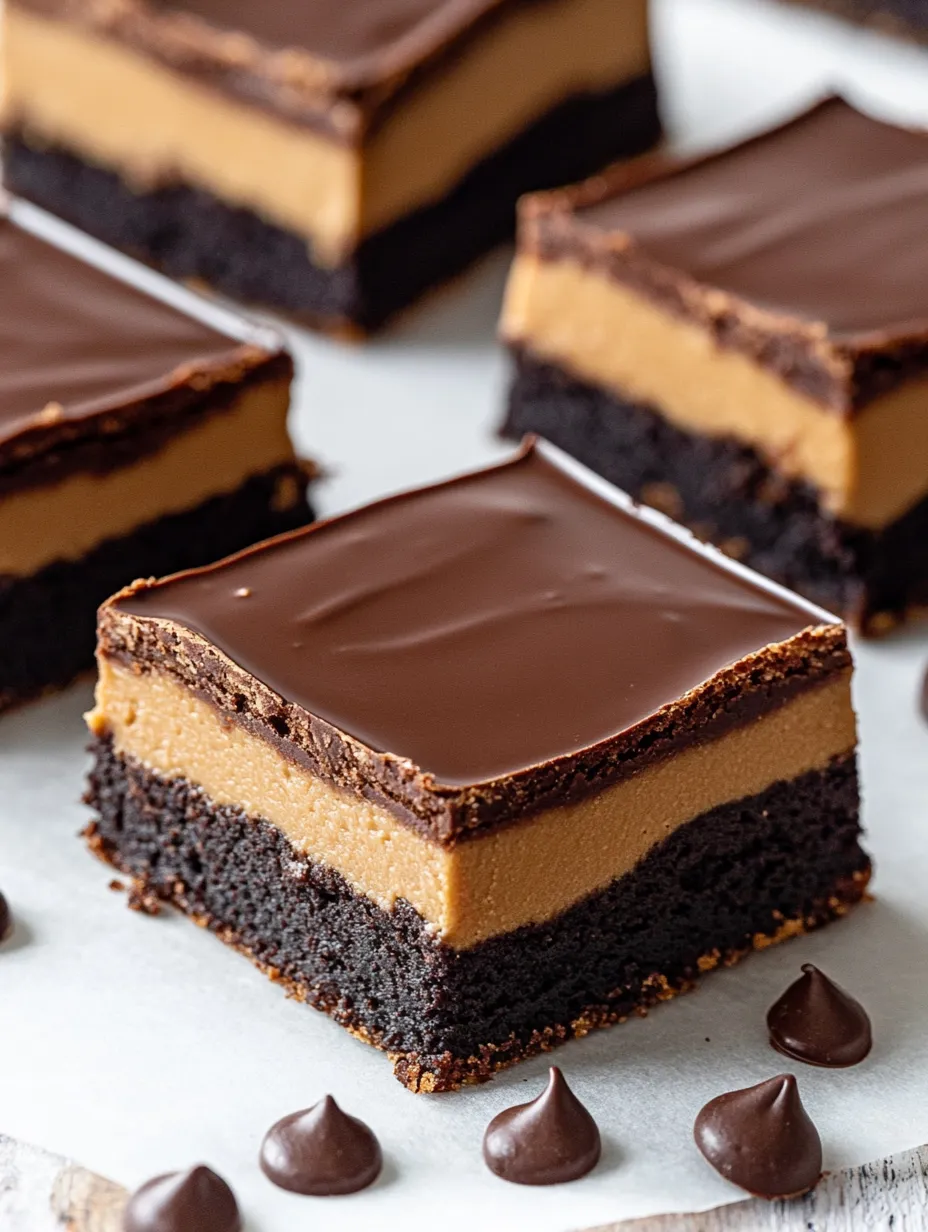
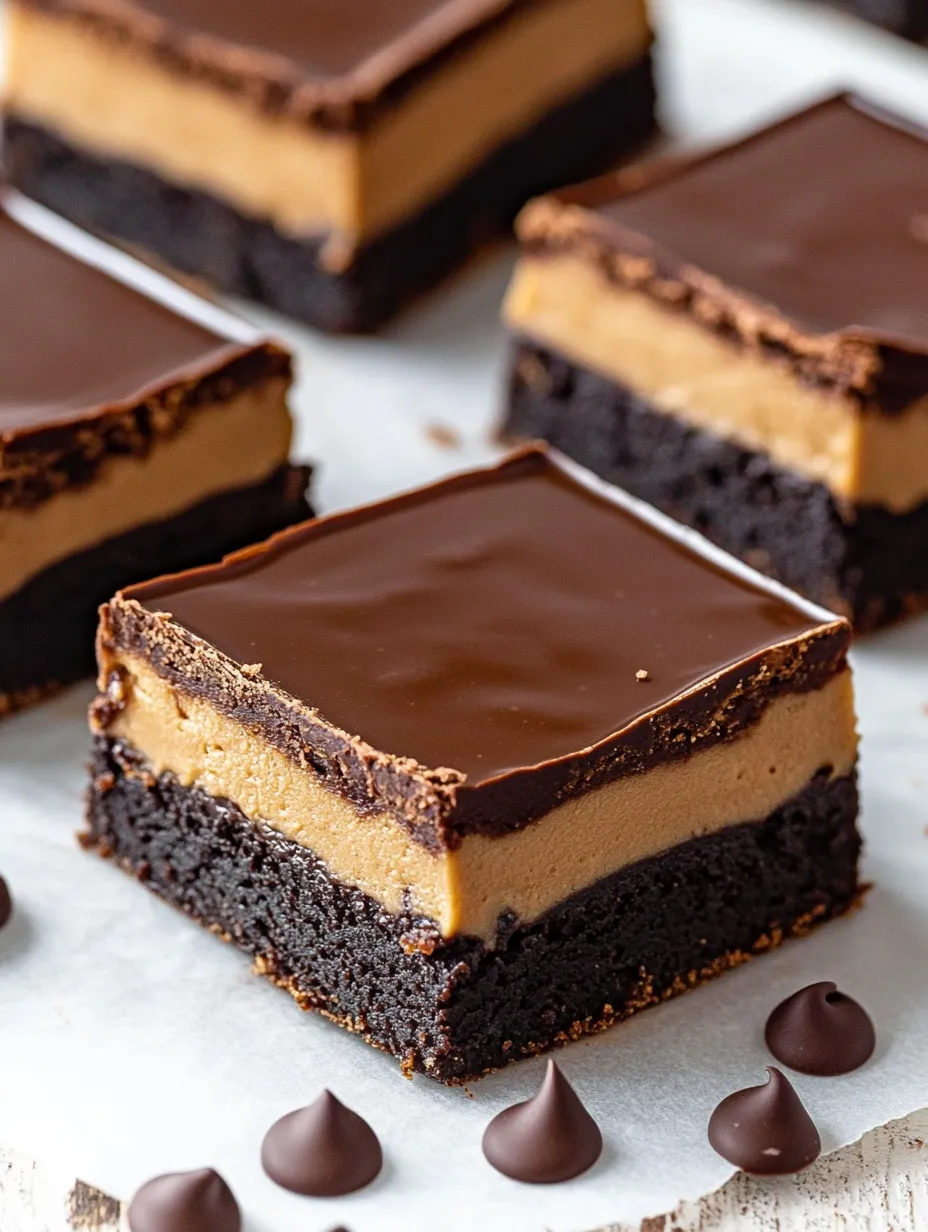
This triple-layer chocolate and peanut butter brownie recipe transforms the classic Ohio Buckeye candy into an irresistible dessert bar. The fudgy chocolate base supports a creamy peanut butter center, all crowned with a glossy chocolate ganache that sets to perfection.
I first created these brownies for a potluck where they disappeared faster than any other dessert. Now they're requested by name whenever I ask what I should bring to a family gathering.
Ingredients
- For the brownies
- 1 cup unsalted butter: essential for creating that rich, fudgy texture rather than cakey consistency
- ½ cup semi sweet chocolate chips: provides depth to the brownie base without overwhelming sweetness
- 2 cups granulated sugar: balances the cocoa powder and creates that shiny crackly top
- 4 large eggs: brings structure and moisture to create the perfect brownie texture
- 1 teaspoon pure vanilla extract: enhances the chocolate flavor with subtle warmth
- ¾ cup unsweetened cocoa powder: use Dutch processed for a smoother chocolate flavor
- 1 cup all purpose flour: just enough for structure without making brownies dry
- ½ teaspoon kosher salt: heightens all flavors and balances sweetness
- ½ teaspoon baking powder: gives a slight rise without making brownies cakey
- For the peanut butter filling
- ¾ cup unsalted butter, melted: creates a silky smooth peanut butter layer
- 1 ½ cups creamy peanut butter: choose conventional brands for best texture and stability
- 1 teaspoon pure vanilla extract: complements the peanut butter with subtle sweetness
- 3 cups powdered sugar: creates the distinctive buckeye flavor and firmer texture
- For the ganache
- 1 ½ cups dark chocolate chips: provides a sophisticated bittersweet finish
- 6 Tablespoons heavy whipping cream: creates the perfect pourable yet settable ganache
Step-by-Step Instructions
- Prepare Your Base:
- Preheat oven to 350°F and prepare your baking dish with parchment paper. This temperature creates the perfect environment for brownies to develop their fudgy interior while maintaining structure. The parchment makes removal effortless after cooling.
- Create The Brownie Batter:
- Melt butter in a saucepan over medium heat until completely liquified but not bubbling. Remove from heat before adding chocolate chips and sugar. The residual warmth will melt the chocolate while avoiding scorching. Stir continuously until completely smooth with no visible chocolate pieces remaining.
- Incorporate The Eggs:
- Add eggs one at a time, fully mixing after each addition. This method incorporates air gradually without overmixing. The mixture will become glossy and slightly thicker with each egg. Add vanilla and stir just until evenly distributed throughout the batter.
- Add Dry Ingredients:
- Gently fold in cocoa powder, flour, salt, and baking powder using a spatula with a light hand. Stop mixing as soon as no dry streaks remain visible. Overmixing activates gluten and creates tough brownies instead of fudgy ones.
- Bake The Brownie Layer:
- Pour batter into the prepared pan, using your spatula to spread evenly into corners. Bake for exactly 23 to 25 minutes. The brownies should be set around the edges but still slightly soft in the center. A toothpick should come out with a few moist crumbs attached.
- Create Peanut Butter Layer:
- While brownies are still warm, combine melted butter, peanut butter, vanilla, and powdered sugar in a mixing bowl. Beat until completely smooth with no sugar lumps remaining. The mixture should be thick but spreadable, similar to cookie dough consistency.
- Apply The Peanut Butter Layer:
- Gently spread peanut butter mixture over warm brownies. The warmth helps the layer adhere properly. Use your fingertips dipped in powdered sugar to press the filling into an even layer without tearing the brownie base. Work from the center outward for best results.
- Prepare The Ganache Topping:
- Combine chocolate chips and heavy cream in a microwave safe bowl. Heat for precisely one minute, then remove and stir vigorously until completely smooth and glossy. If any chocolate pieces remain, heat in additional 10 second increments, stirring between each.
- Finish The Layers:
- Pour warm ganache over the peanut butter layer, using an offset spatula to spread quickly before it begins to set. Work methodically from the center outward to create a perfectly smooth top layer that will set to a glossy finish.
- Chill And Serve:
- Refrigerate brownies for at least 2 hours or until completely set. Use a sharp knife dipped in hot water and wiped clean between cuts for perfect squares. For best flavor, allow to sit at room temperature for 10 minutes before serving.
The peanut butter layer is truly what makes these brownies special. I discovered that using conventional peanut butter brands rather than natural varieties creates that authentic buckeye candy texture I remember from childhood visits to Ohio. My daughter now requests these instead of birthday cake every year.
Storage And Freezing
These brownies keep exceptionally well in the refrigerator for up to five days when stored in an airtight container. The flavors actually develop and improve after the first day as the layers meld together. For longer storage, cut into individual squares and freeze with parchment paper between layers. Thaw overnight in the refrigerator for best texture restoration.
Ingredient Variations
While the classic recipe creates authentic buckeye flavor, several variations work beautifully. Try crunchy peanut butter for added texture in the middle layer. White chocolate can replace dark chocolate in the ganache for a sweeter finish. For a more intense brownie base, add an additional ¼ cup of cocoa powder and reduce flour by the same amount. Those who enjoy a hint of salt can sprinkle flaky sea salt over the ganache while still warm.
Serving Suggestions
Serve these brownies slightly chilled for the best texture contrast between layers. For an elevated dessert presentation, warm each plate slightly and add a scoop of vanilla ice cream alongside. A drizzle of warm peanut butter sauce creates an impressive finish for special occasions. These brownies pair beautifully with coffee, milk, or even a sweet dessert wine like port.
The Ohio Connection
Buckeye candies are named after the nuts of Ohio's state tree, which resemble an eye of a deer. Traditional buckeyes feature a peanut butter ball partially dipped in chocolate. This brownie version transforms the beloved regional candy into a sophisticated layered dessert while maintaining the classic flavor combination. Ohio natives immediately recognize the distinctive appearance and taste that reminds many of autumn football games and holiday gatherings.
Frequently Asked Questions
- → Why are these called Buckeye Brownies?
These brownies are inspired by Buckeye candies, a popular Ohio treat named after the buckeye nut. Traditional Buckeyes are peanut butter balls dipped in chocolate to resemble the nut. These brownies feature the same beloved chocolate-peanut butter combination in a layered brownie form.
- → Can I use natural peanut butter in this recipe?
Standard creamy peanut butter works best for this recipe. Natural or sugar-free varieties have different oil content and consistency that may affect the texture of the filling, making it potentially too oily or not smooth enough.
- → How should I store these brownies?
Store these brownies in an airtight container in the refrigerator for up to 5 days. They can also be frozen for longer storage, up to 3 months. When freezing, separate layers with parchment paper to prevent sticking.
- → Why do the brownies need to be refrigerated before cutting?
Refrigerating for at least 2 hours allows all three layers to set properly, particularly the ganache topping. This chilling time ensures clean cuts and prevents the layers from smearing together when sliced.
- → Can I substitute dark chocolate chips in the ganache?
Yes, you can substitute semi-sweet or milk chocolate chips for the dark chocolate in the ganache if preferred. This will give a slightly sweeter, less intense chocolate flavor to the top layer.
- → What's the best way to get even layers?
For the brownie layer, spread the batter evenly in the pan before baking. For the peanut butter layer, allow the brownies to cool slightly, then use your fingertips as directed to gently spread without tearing the brownie base. For the ganache, pour slowly and use an offset spatula to ensure even coverage.