
 Save
Save
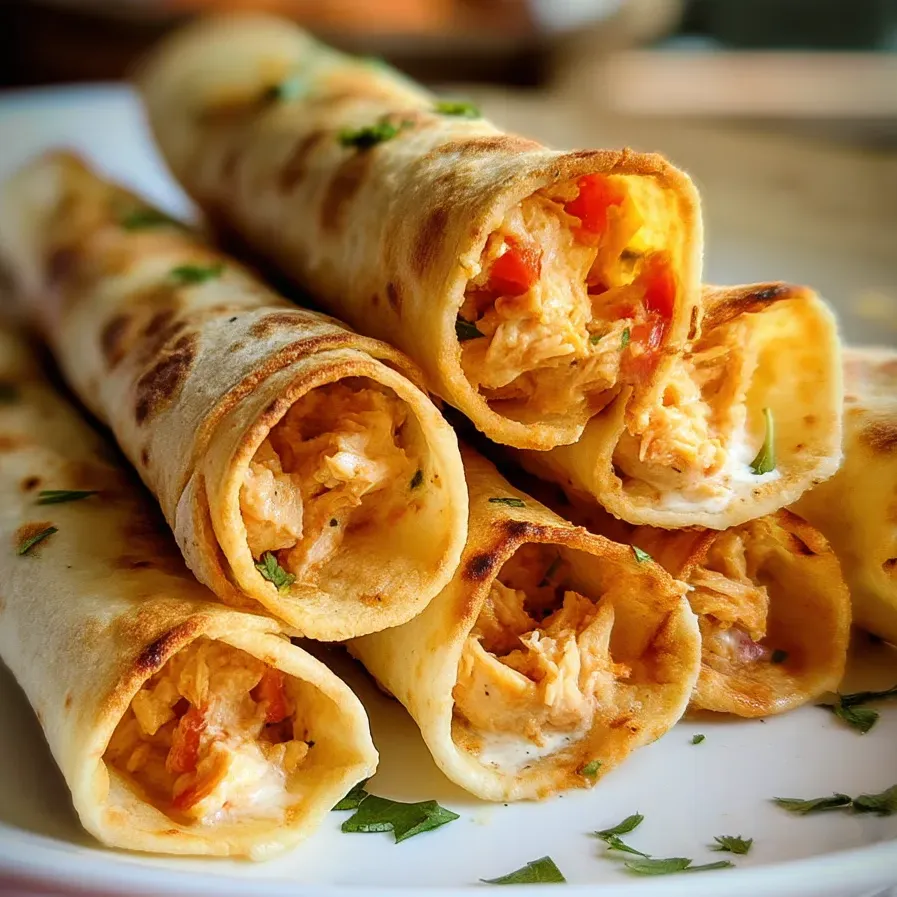
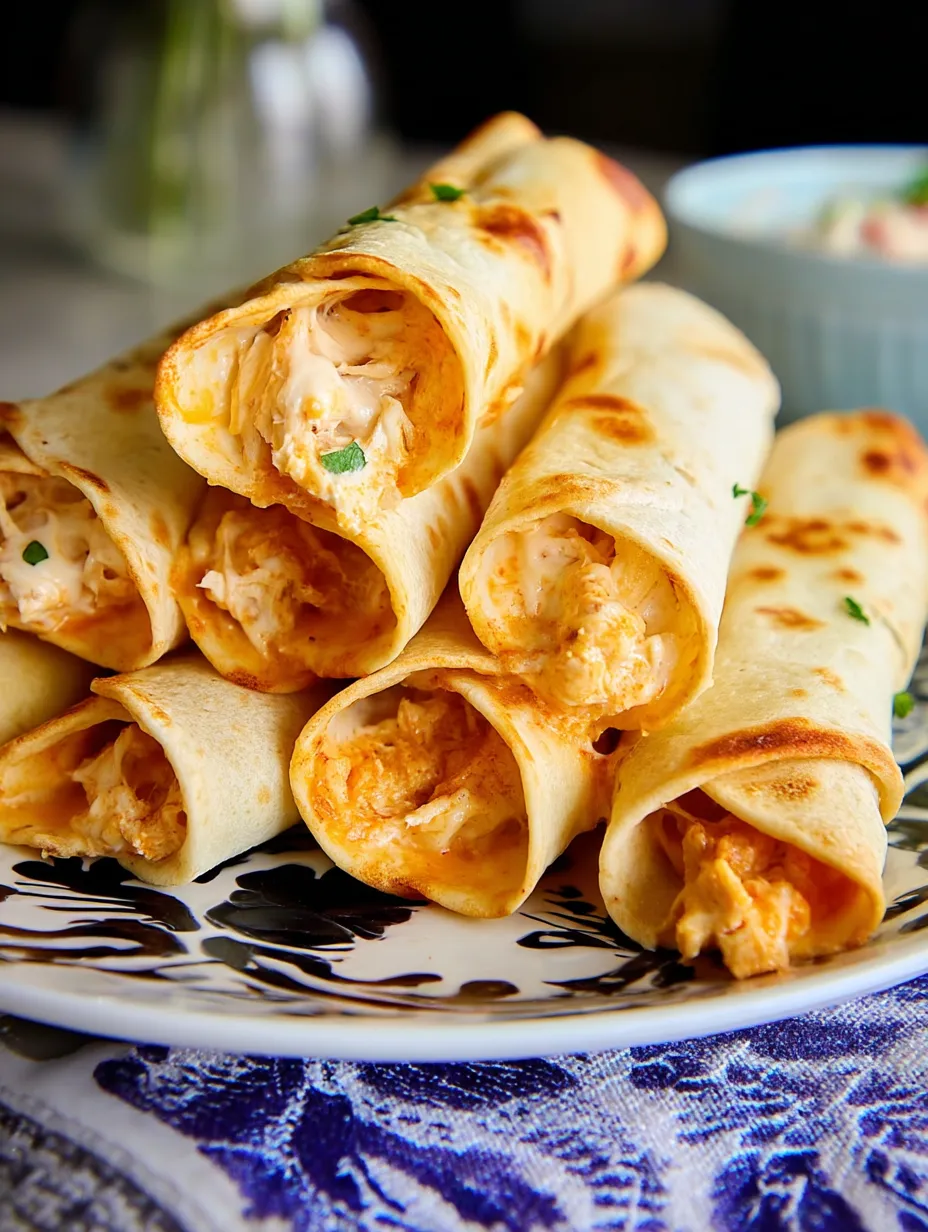
This creamy, cheesy chicken taquito recipe transforms leftover chicken into a crispy, crowd-pleasing meal that balances convenience with homemade flavor. Baking instead of frying gives you all the satisfying crunch without the mess, while the cream cheese filling creates an irresistible richness that keeps everyone coming back for more.
I first made these taquitos for a last-minute game day gathering when I had leftover rotisserie chicken in the refrigerator. They disappeared so quickly that I now deliberately buy extra chicken just to make a double batch. My family particularly loves the contrast between the crispy exterior and the creamy, flavorful filling.
Ingredients
- Shredded chicken: provides the protein foundation perfect for using up leftover roasted chicken or rotisserie chicken for convenience and depth of flavor
- Cream cheese: creates the luscious creamy texture that makes these taquitos special choose full-fat for the best melting properties
- Cheddar cheese: adds sharp flavor and stretchiness look for freshly grated rather than pre-shredded for better melting
- Salsa: contributes moisture and built-in seasoning select your preferred heat level to customize the spice
- Garlic powder: delivers aromatic flavor without the need for fresh mincing
- Onion powder: adds savory depth without the texture of raw onions
- Cumin: brings essential warming Mexican flavor profile toast it briefly before adding for enhanced aroma
- Flour or corn tortillas: serve as the crispy vessel choose 6-inch size for perfect proportions
- Cooking spray: ensures even browning without excess oil
Step-by-Step Instructions
- Prepare the oven:
- Preheat your oven to a hot 425°F which creates the perfect environment for crisping the tortillas without burning. Line your baking sheet with parchment paper to prevent sticking and make cleanup simpler. This preparation step ensures the taquitos will release easily after baking.
- Mix the filling:
- Combine the shredded chicken with room temperature cream cheese, shredded cheddar, and salsa in a mixing bowl. The softened cream cheese is crucial here as it will incorporate smoothly without leaving lumps. Add the seasonings and mix thoroughly until you achieve a uniform consistency where the cream cheese completely coats the chicken.
- Prepare the tortillas:
- Warm your tortillas to make them pliable and prevent cracking during rolling. Cold tortillas will split and tear, allowing filling to escape. A quick 20-30 seconds in the microwave wrapped in damp paper towels provides just enough warmth and moisture to make them flexible without becoming soggy.
- Assemble the taquitos:
- Place approximately 2-3 tablespoons of filling along the bottom third of each tortilla in a neat line. Avoid overfilling which can cause the taquitos to burst during baking. Roll each tortilla tightly starting from the filled end, keeping tension consistent as you roll to create a compact cylinder. Place each rolled taquito seam-side down on the baking sheet to prevent unraveling.
- Prepare for baking:
- Brush or spray each taquito with a light coating of oil which promotes even browning and creates a crispy exterior. Pay special attention to the seams and ends which tend to dry out first. This thin layer of oil makes all the difference between pale, soft taquitos and golden, crispy ones.
- Bake to crispy perfection:
- Bake the taquitos for 15-18 minutes in the preheated oven until they reach a beautiful golden brown color with crispy edges. Position the baking sheet in the middle rack of your oven for the most even heat distribution. The filling will be bubbling hot and may ooze slightly from the ends which indicates they are thoroughly heated.
- Rest and serve:
- Allow the taquitos to cool for 2-3 minutes after removing from the oven. This brief resting period allows the molten filling to set slightly which prevents burning your mouth and makes them easier to handle. Serve with your favorite dipping options arranged on the plate for maximum visual appeal.
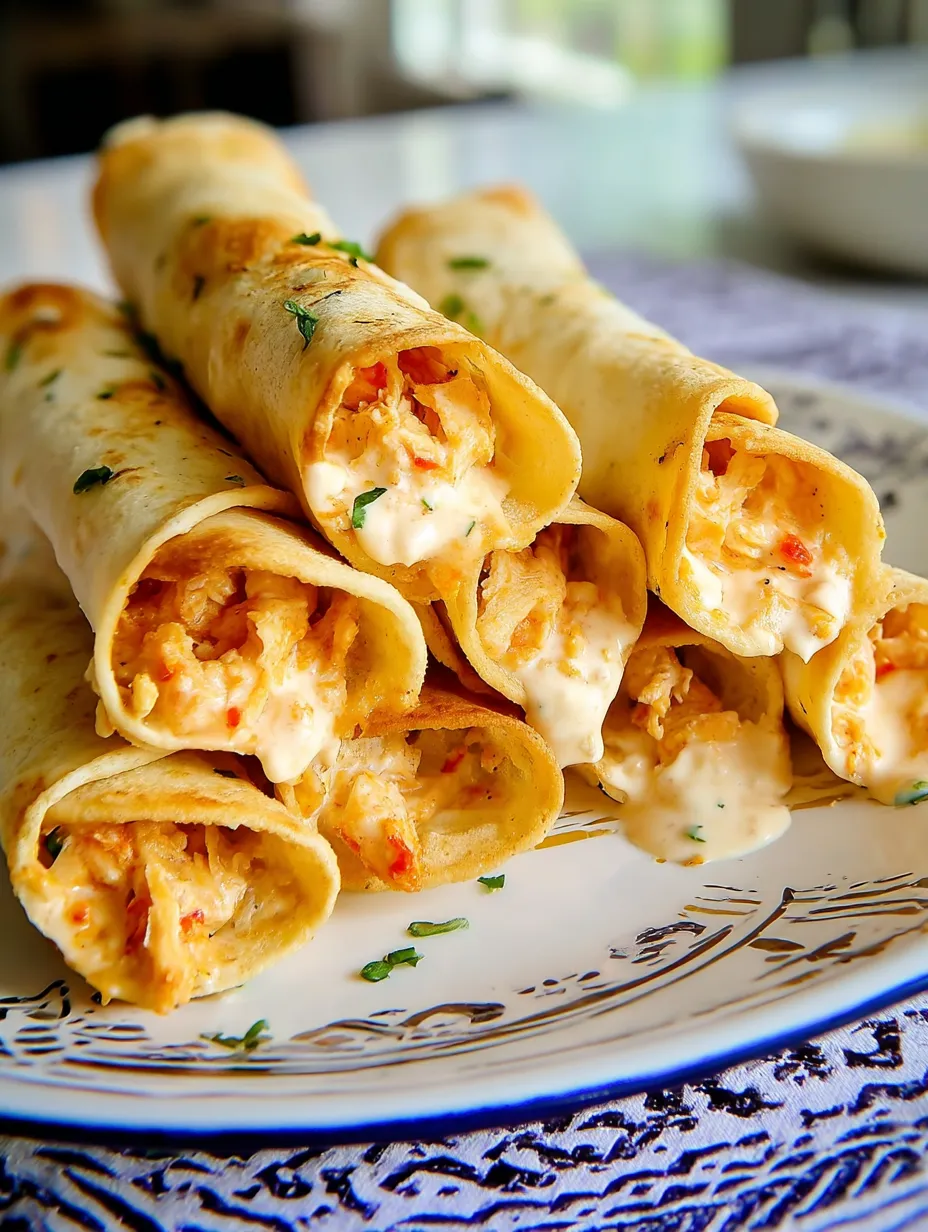
The cream cheese is truly the secret weapon in this recipe. I discovered its magic by accident when I was low on ingredients and needed to stretch my chicken filling. Now I wouldn't make them any other way. The cream cheese creates a silky texture that holds the filling together while adding richness that balances perfectly with the crispy tortilla exterior.
Make-Ahead Options
These taquitos work beautifully as a prepare-ahead meal. You can assemble them completely, place them on a baking sheet, cover with plastic wrap, and refrigerate for up to 24 hours before baking. When ready to cook, simply remove from the refrigerator while the oven preheats, brush with oil, and bake as directed, adding an extra 2-3 minutes to account for the chilled filling. For longer storage, freeze the assembled but unbaked taquitos in a single layer, then transfer to a freezer bag once solid. Bake directly from frozen by adding 5-7 minutes to the cooking time.
Flavor Variations
The basic recipe provides an excellent template for endless customization. For a spicy version, add diced jalapeños or a few dashes of hot sauce to the filling. Create a more complex flavor profile by incorporating chopped cilantro, lime zest, or a teaspoon of adobo sauce from canned chipotles. For a verde variation, substitute salsa verde for the traditional red salsa and use Monterey Jack cheese instead of cheddar. You can even create breakfast taquitos by using scrambled eggs and breakfast sausage in place of the chicken.
Serving Suggestions
While these taquitos shine as a standalone appetizer with dipping sauces, they also make a fantastic complete meal when paired with complementary sides. Serve alongside Mexican rice and refried beans for a restaurant-style dinner plate. A simple cabbage slaw dressed with lime and cilantro provides a refreshing contrast to the rich, creamy filling. For a festive presentation, arrange the taquitos on a large platter surrounded by small bowls of various toppings like pickled red onions, diced avocado, and crumbled cotija cheese, allowing everyone to customize their plate.
Frequently Asked Questions
- → Can I make these taquitos ahead of time?
Yes! You can prepare the filling and assemble the taquitos up to 24 hours in advance. Store them covered in the refrigerator, then brush with oil and bake when ready to serve. You can also freeze the assembled unbaked taquitos for up to 3 months - just add a few extra minutes to the baking time when cooking from frozen.
- → What's the best way to reheat leftover taquitos?
For the crispiest results, reheat leftover taquitos in an oven or toaster oven at 350°F for about 10 minutes. You can also use an air fryer at 350°F for 3-4 minutes. While microwaving works in a pinch (1-2 minutes), the tortillas won't retain their crispness.
- → Can I use corn tortillas instead of flour?
Absolutely! Corn tortillas create a more authentic taquito and are naturally gluten-free. Just be sure to warm them before rolling to prevent cracking. Wrap the stack in damp paper towels and microwave for 20-30 seconds, or briefly heat each tortilla in a dry skillet until pliable.
- → How can I make these taquitos spicier?
You can easily adjust the heat level by using hot salsa in the filling, adding diced jalapeños or a few dashes of hot sauce to the chicken mixture, or incorporating 1/4-1/2 teaspoon of cayenne pepper with the other seasonings. Serving with spicy salsa on the side lets everyone customize their heat preference.
- → What sides go well with these taquitos?
These taquitos pair perfectly with traditional Mexican-inspired sides like Mexican rice, refried or black beans, a simple green salad with cilantro-lime dressing, or elote (Mexican street corn). For a complete fiesta, serve with guacamole, pico de gallo, and lime wedges on the side.
- → Can I use a different protein instead of chicken?
Yes! This versatile filling works well with shredded beef, pork, or even cooked ground meat. For a vegetarian version, substitute the chicken with black beans, pinto beans, or a mixture of sautéed vegetables like bell peppers, corn, and zucchini while keeping the cream cheese base for creaminess.