
 Save
Save
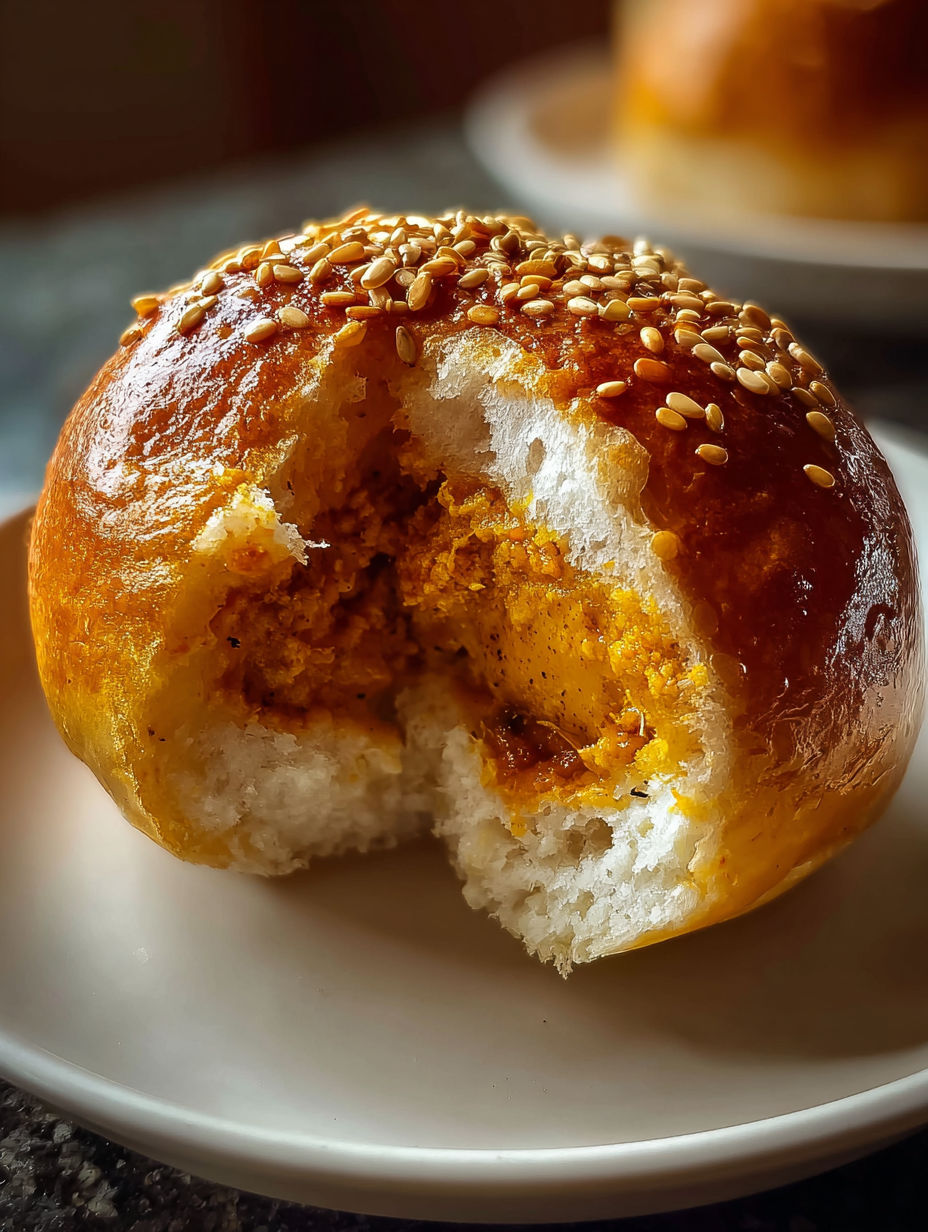
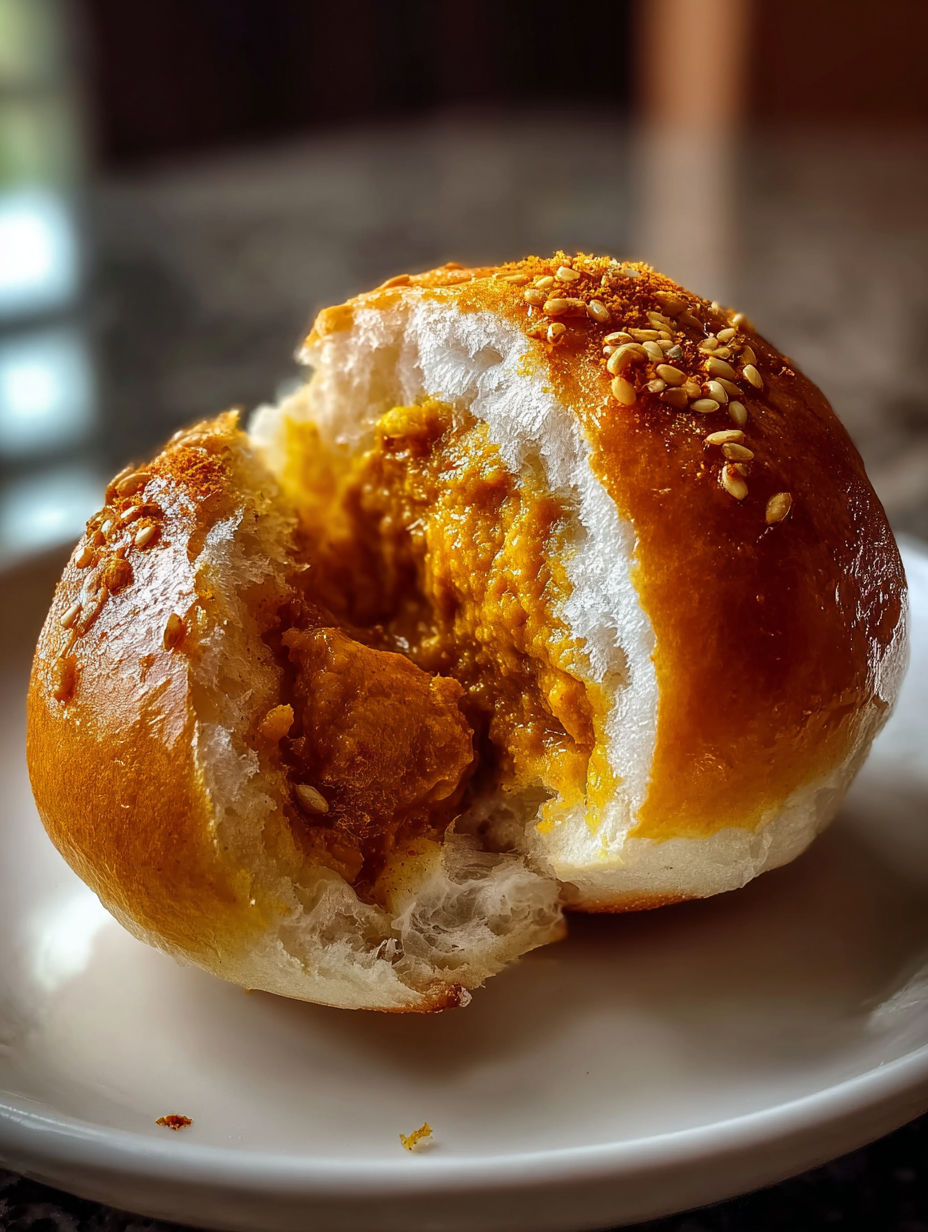
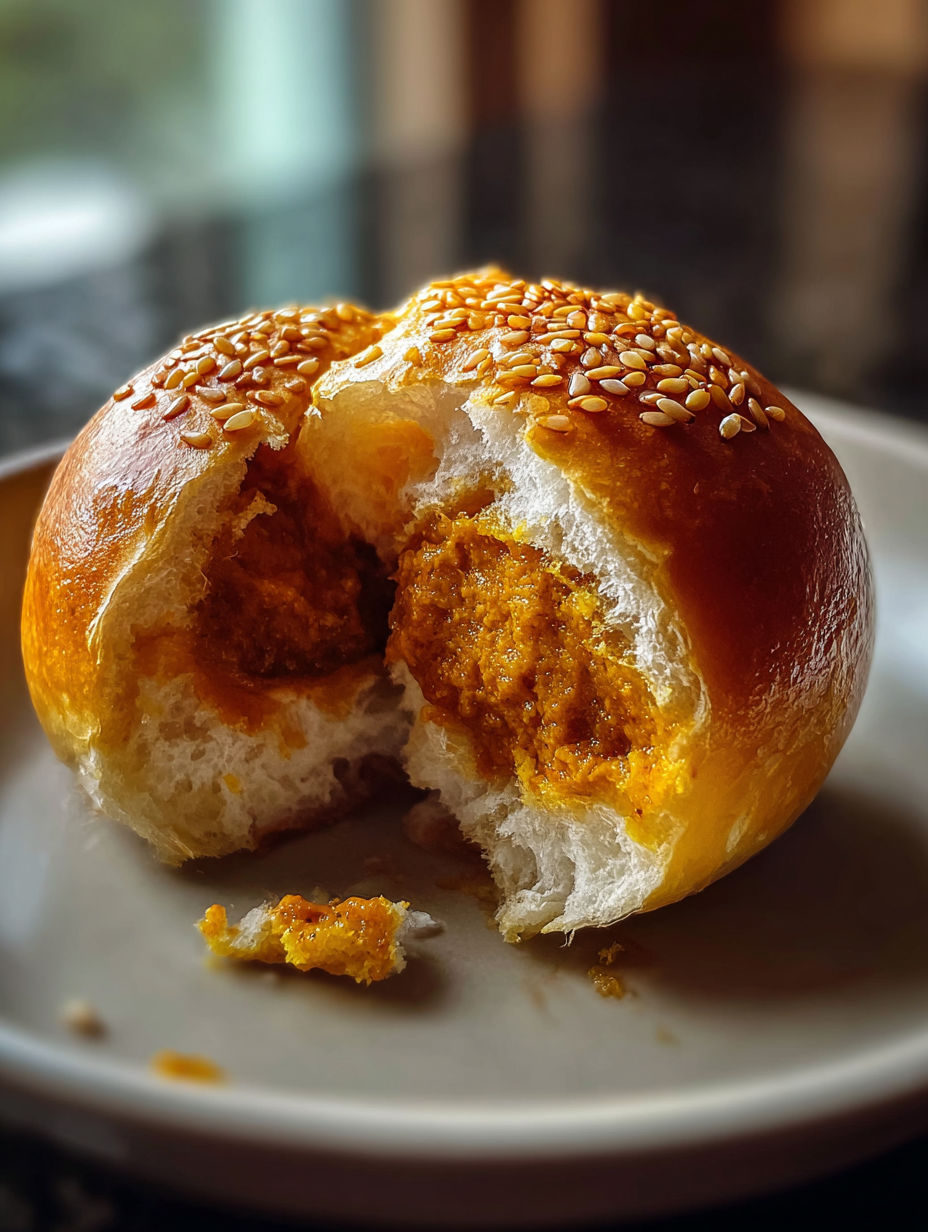
These golden fried buns filled with rich, savory Japanese curry are a snack that brings warmth and satisfaction with every bite. Crispy on the outside yet soft and pillowy inside, they capture the essence of comforting street food right in your own kitchen.
I first tasted Japanese curry buns from a small food stall and knew I had to recreate them at home. The process quickly turned into a fun weekend project, and now these buns are a highlight for our family gatherings.
Ingredients You Need
- All-purpose flour: provides structure and softness choosing fresh flour helps achieve a tender crumb
- Warm water and milk: combine to create a moist dough suitable for fermentation
- Sugar and yeast: work together to activate fermentation and yield a light airy bun
- Salt: enhances the overall flavor balancing the sweetness and richness
- Cooked curry filling: brings authentic Japanese flavors homemade or good quality store-bought both work well
- Oil for frying: needs to be neutral and with a high smoke point to ensure even golden crispness
Detailed Cooking Directions
- Mix Dry Ingredients:
- Combine the flour sugar salt and yeast in a large bowl ensuring the yeast is evenly distributed for consistent rising
- Add Liquids and Knead:
- Pour in warm water and milk gradually kneading the mixture into a smooth elastic dough that springs back when pressed
- First Rise:
- Cover the dough with a damp cloth and leave it in a warm place for about one hour allowing it to double in size
- Divide and Fill:
- Punch down the dough and divide it into eight equal portions Flatten each portion gently then spoon a generous amount of curry filling into the center
- Shape the Buns:
- Carefully fold and pinch the dough around the filling to seal completely then shape into a smooth round bun preventing leaks
- Second Rise:
- Place the sealed buns on a tray cover loosely and let them rise for an additional thirty minutes to develop fluffiness
- Heat Oil and Fry:
- Fill a deep pan with oil and heat it until shimmering Fry the buns a few at a time turning occasionally until they turn golden brown on all sides
- Drain and Serve:
- Remove buns from oil and place on paper towels briefly before serving warm to enjoy the best texture and flavor
A favorite memory is the first time I shared these buns at a potluck they disappeared quickly and started requests for repeats even by hesitant eaters
Smart Storage Tips
Store leftover buns in an airtight container in the refrigerator and reheat in an oven or toaster oven to maintain crispiness
Ingredient Variations
Try replacing the traditional Japanese curry with a spicy beef or chicken filling for added protein and heat
Perfect Pairing Ideas
Enjoy these buns alongside a bowl of pickled vegetables or a simple green salad dressed with sesame oil and rice vinegar
Enjoy these golden pockets of joy warm from the pan as a perfect treat that brightens any day and encourages inviting conversations around the table
Frequently Asked Questions
- → What type of flour is best for the dough?
All-purpose flour is ideal as it provides the right balance of gluten for a soft yet sturdy dough that holds the filling well.
- → Can I use store-bought curry for the filling?
Yes, both homemade and store-bought curry can be used, but ensure the filling is thick enough to prevent leaking during frying.
- → How do I know when the oil is hot enough for frying?
Heat the oil to around 350°F (175°C). Test by dropping a small piece of dough in; it should sizzle and quickly rise to the surface without browning too fast.
- → What is the best way to seal the buns?
Pinch and fold the edges firmly to completely enclose the filling and prevent any leaks during frying.
- → How should the buns be served for best flavor?
Serve the buns warm shortly after frying to enjoy the crispy exterior and soft, savory interior at their best.