
 Save
Save
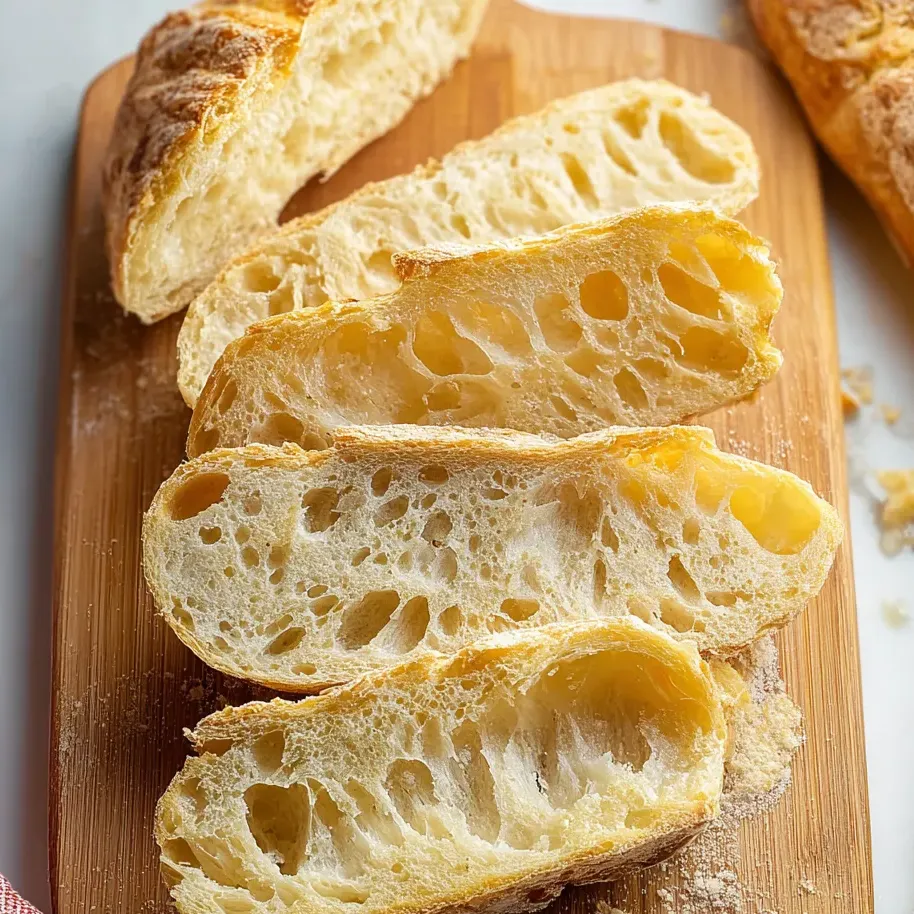
No knead bread has completely simplified homemade baking for me. With barely any effort and no fancy tools, you too can enjoy a loaf that is crisp on the outside and moist inside. This method takes the intimidation out of bread making and is perfect alongside soups, dips, or just slathered with butter.
This recipe came to my rescue the first time I ran out of sandwich bread. It felt like magic to pull a bakery-style loaf out of my little oven.
Ingredients
- Instant yeast: for that reliable rise each time Active or rapid rise will work too Pick a fresh packet for best lift
- Sugar: jumpstarts the yeast so bread rises fully Any regular granulated sugar is perfect
- Barely warm water: wakes up the yeast Use a thermometer if you have one Aim for about body temperature
- Bread flour: makes the crumb light and springy Weigh it if possible for accuracy All purpose flour is okay in a pinch but bread flour makes it extra lofty
- Salt: rounds out flavor and strengthens the dough I prefer a non iodized salt for best taste Look for Redmond Real Salt or a natural sea salt if you can
- Olive oil: keeps the interior moist and adds subtle richness Go for a fruity extra virgin if possible
- Butter: creates a beautiful golden crust and adds flavor Choose a real, good-quality butter for best results
Step-by-Step Instructions
- Mix the Yeast
- Stir together the yeast sugar and warm water in a small bowl Cover and let sit for five minutes until foamy
- Combine the Dough
- Mix the flour and salt in a large bowl Add olive oil and your water yeast mixture Stir thoroughly with a silicone spatula until combined The dough will be sticky
- Give Time to Rise
- Shape the dough into a rough ball Spray the top with cooking spray and cover snugly with plastic wrap and a towel Let rise for two to three hours until doubled in size For big flavor rest in the fridge up to three days after this rise
- Shape for Baking
- Turn the risen dough onto floured parchment paper Fold the outer edges over into the middle a few times until the dough feels stronger Spray the top and cover with wrap Let rest and rise again for forty five minutes while preheating the oven
- Preheat the Oven
- Heat oven to four hundred twenty five degrees with your Dutch oven inside Check your Dutch oven manual to make sure this is okay
- Bake the Bread
- Carefully lift the parchment with dough and drop into the hot Dutch oven Lid on and bake for forty minutes Brush the top with melted butter and return uncovered for ten to twelve minutes until deeply golden
- Cool and Serve
- Let the bread cool at least five minutes before slicing This helps keep the crumb light and airy

My all time favorite part of this bread is that magical scent it fills my kitchen with during baking My kids gather around just waiting to tear off the end piece It feels like such a cozy family ritual we all look forward to
Storage Tips
After fully cooling store your bread in an airtight container at room temperature for up to five days If you want to keep it longer refrigerate for up to ten days or freeze for as long as three months Slicing before freezing makes it fast to grab bread for breakfasts and lunches
Ingredient Substitutions
If you do not have bread flour all purpose flour can take its place You will get a slightly denser crumb but it is still totally delicious Different salts can be used but keep in mind that iodized table salt might taste a bit more bitter If you really want to play with flavor try adding fresh chopped herbs to the dough

Serving Suggestions
This bread’s sturdy crust makes it perfect for dipping into olive oil or serving alongside a big bowl of chili It is wonderful for toasted sandwiches especially grilled cheese I love to slice it thin and top with soft cheese or jam as a breakfast treat
Cultural and Historical Context
No knead bread became wildly popular after its slow rise method was featured by Jim Lahey and Mark Bittman in the early 2000s The approach removes bread’s usual intimidation for home bakers and lets you make beautiful rustic loaves with minimal elbow grease Bread has always been a symbol of sharing and comfort and this recipe makes that easy for anyone to enjoy
Frequently Asked Questions
- → Can I use all-purpose flour instead of bread flour?
Yes, all-purpose flour can be used, though bread flour yields a chewier texture with more structure. Adjust hydration as needed.
- → How do I get a crispier crust?
Creating steam during baking, either using a Dutch oven or placing a pan of water in the oven, helps develop a crispier outer crust.
- → Is there a way to develop a tangier flavor?
Letting the dough rest in the refrigerator for up to three days allows flavors to deepen for a more complex, tangy bite.
- → My dough isn't rising well. What should I do?
Ensure your yeast is active and provide gentle warmth while rising. Try placing the covered dough in a slightly warmed oven or near a warm spot in your kitchen.
- → How should I store leftover bread?
Keep in a covered container at room temperature for up to 5 days, refrigerate up to 10 days, or freeze for up to 3 months.
- → Can I make this bread without a Dutch oven?
Yes! Shape and bake on a floured sheet or skillet and use a pan of water in the oven to achieve a similar crust.