
 Save
Save
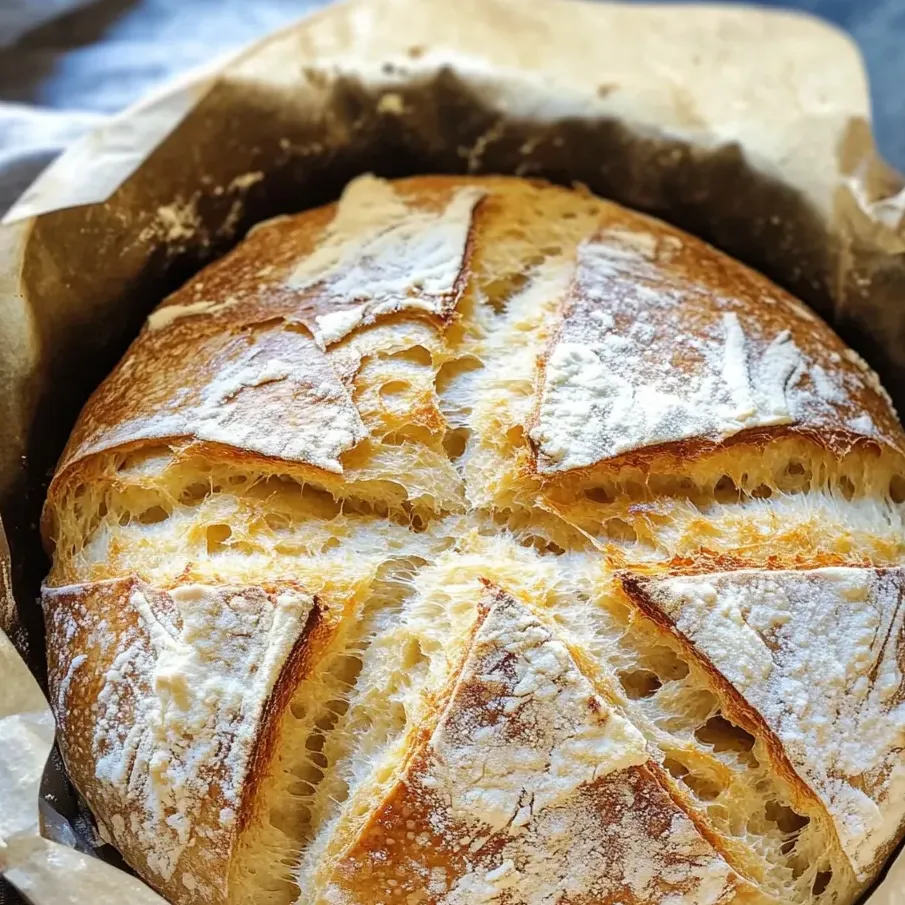
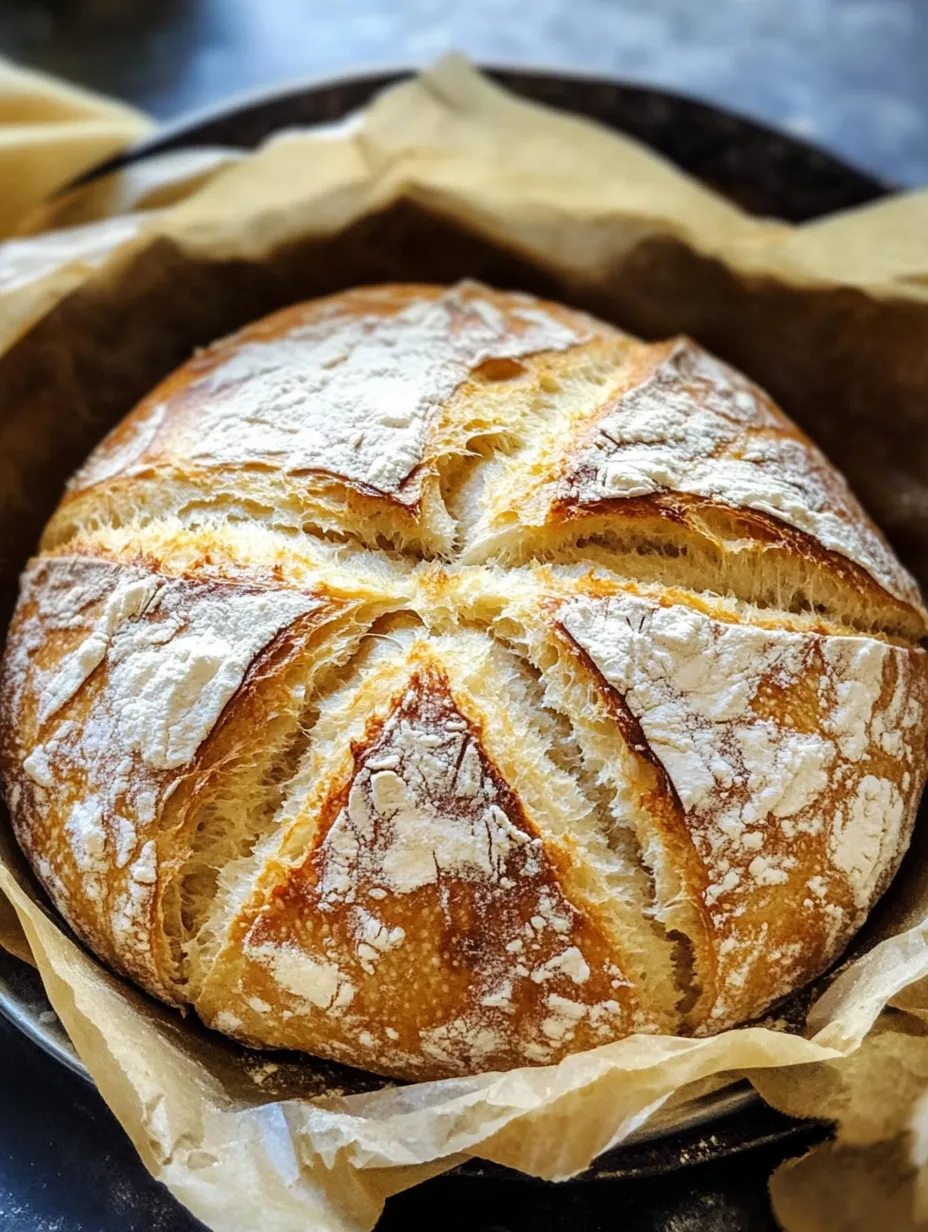
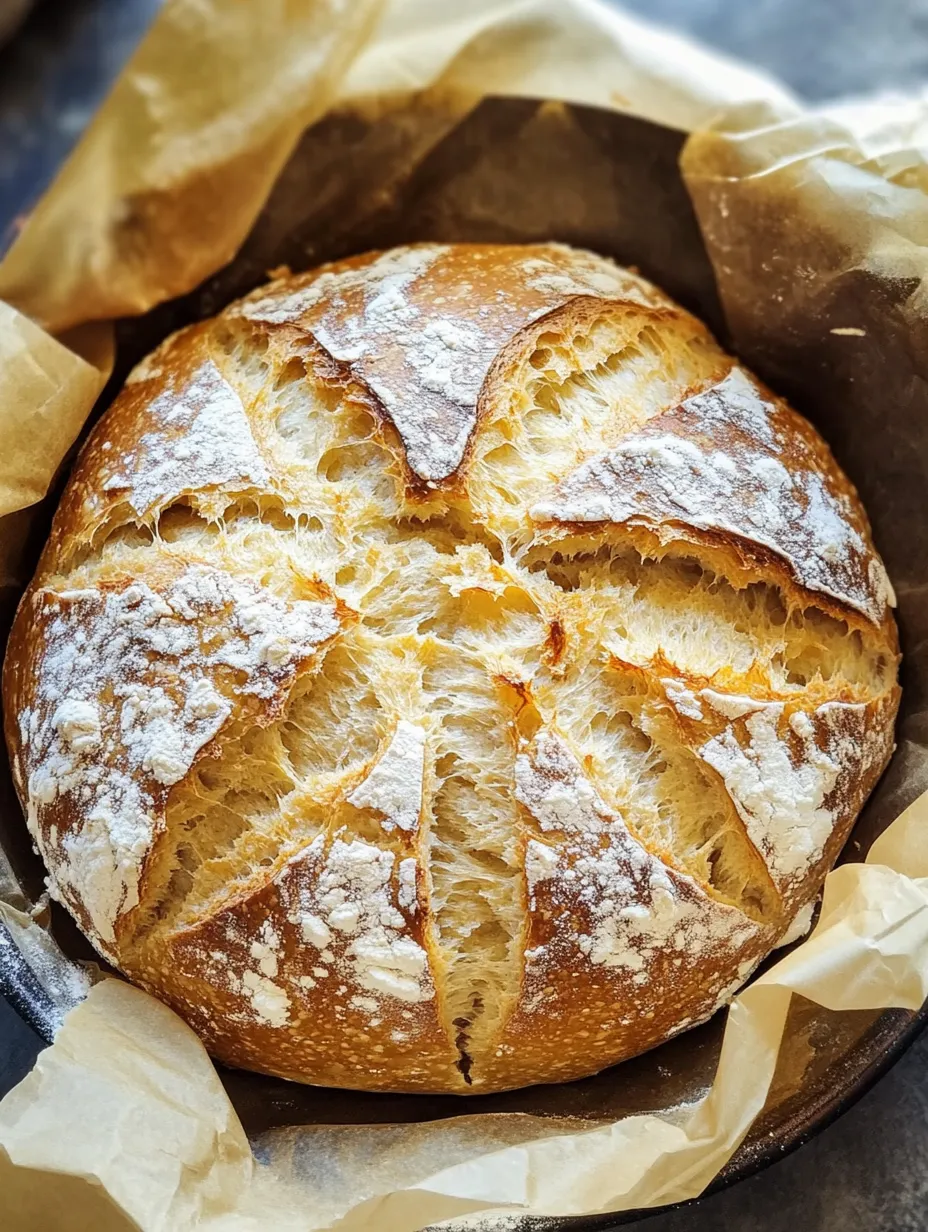
This rustic French bread is pure comfort with its chewy crumb and golden crust right from your own kitchen. Using a Dutch oven gives the loaf a bakery-style texture that never fails to impress. It is a staple recipe you will come back to whenever you want something hearty to pair with dinner or a slice warm from the oven.
I first made this loaf to celebrate a cozy winter weekend and now I often pull it out when friends are coming over because everyone devours it slice by slice.
Ingredients
- All-purpose flour: This gives the bread great structure while still being tender. Choose unbleached if possible for more flavor
- Sugar: A little helps the yeast activate and adds subtle sweetness. Use granulated and measure carefully
- Salt: Essential to bring out flavor in the dough. Try a fine sea salt for even distribution
- Active dry yeast: This is the leavener that makes the dough rise with lots of airy bubbles. Make sure it is fresh and not expired for best results
- Water: Warmed to 105 to 115 degrees Fahrenheit. This is the sweet spot to wake up the yeast properly. Always check temperature with a food-safe thermometer if you are new to bread baking
Step-by-Step Instructions
- Bloom the Yeast:
- Combine yeast warm water and sugar in the bowl of your stand mixer. Let it rest for about 5 minutes until you see a foamy top form. This matters because it proves your yeast is alive and working
- Make the Dough:
- Add half the flour and all the salt to the yeast mixture. Use the dough hook on medium-low. Gradually add the rest of the flour until a shaggy sticky dough forms. Do not overmix. The dough should just come together but feel tacky
- First Rise:
- Transfer dough to a lightly floured bowl. Cover with a towel and leave it at room temperature for 2 hours. The dough should double in size and become airy
- Shape and Second Rise:
- Tip your dough onto a well-floured parchment or board. Shape into a smooth ball gently. Sprinkle a little more flour on top and cover with a large bowl to rest another 30 minutes. This second rise helps develop the open crumb
- Preheat the Dutch Oven:
- Heat your oven to 425 degrees Fahrenheit and place the Dutch oven with lid inside for 20 minutes. This gets the pan blazing hot and sets up an amazing crust
- Score and Bake:
- With a sharp knife, make a few slashes on top of your dough. Gently lift the dough using the parchment and set it in the hot Dutch oven. Bake covered for 30 minutes then uncover and bake 10 more minutes. The bread should be golden brown with a hollow sound when tapped and 210 degrees internal temperature
- Cool and Store:
- Take the bread out and place on a rack. Let it cool completely before slicing to avoid a gummy texture. Store in a bag or container at room temperature for up to 5 days
I love the sound of the crust crackling as it cools on the rack and watching my family sneak slices while it is still a little warm with butter melting into every crevice
Storage Tips
Cool the bread completely before placing it in a paper bag or a bread box to help maintain the crust. For longer storage wrap in plastic and freeze slices. Reheat straight from frozen in a toaster or oven for best results. Avoid the fridge since it dries out the crumb faster
Ingredient Substitutions
If you want a chewier texture you can swap half the all-purpose flour with bread flour. For extra flavor sprinkle in some fresh rosemary or thyme just as you finish kneading. A touch of olive oil in the dough will make it even softer inside
Serving Suggestions
This loaf is made for sharing at the table. Tear off big rustic pieces to dip in olive oil. Serve with French butter or soft cheese. It also makes outstanding sandwiches with roasted vegetables or ham and cheese the next day
A Brief Slice of History
Dutch ovens are a time honored way of baking crusty breads going back generations in French home kitchens. Baking with the lid on traps steam which is the secret behind that shattering crisp crust and open crumb that defines great European loaves
Frequently Asked Questions
- → What gives the bread its signature crust?
Baking inside a preheated Dutch oven traps steam, resulting in a crisp, deeply golden crust typical of rustic French loaves.
- → Can I substitute bread flour for all-purpose flour?
Yes, bread flour can be used for a slightly chewier texture and enhanced gluten development, if desired.
- → How warm should the water be to activate the yeast?
Water temperature should be in the 105–115°F (40–46°C) range for optimal yeast activation and rise.
- → Why is the dough kept slightly sticky before baking?
A slightly sticky dough creates better oven spring and a light, airy crumb once baked, contributing to the bread's structure.
- → How do I store the loaf for maximum freshness?
Once completely cooled, place the bread in a bag or airtight container at room temperature for up to five days.
- → What is the purpose of scoring the dough?
Scoring helps control expansion and gives the loaf its traditional artisan appearance during baking.