
 Save
Save
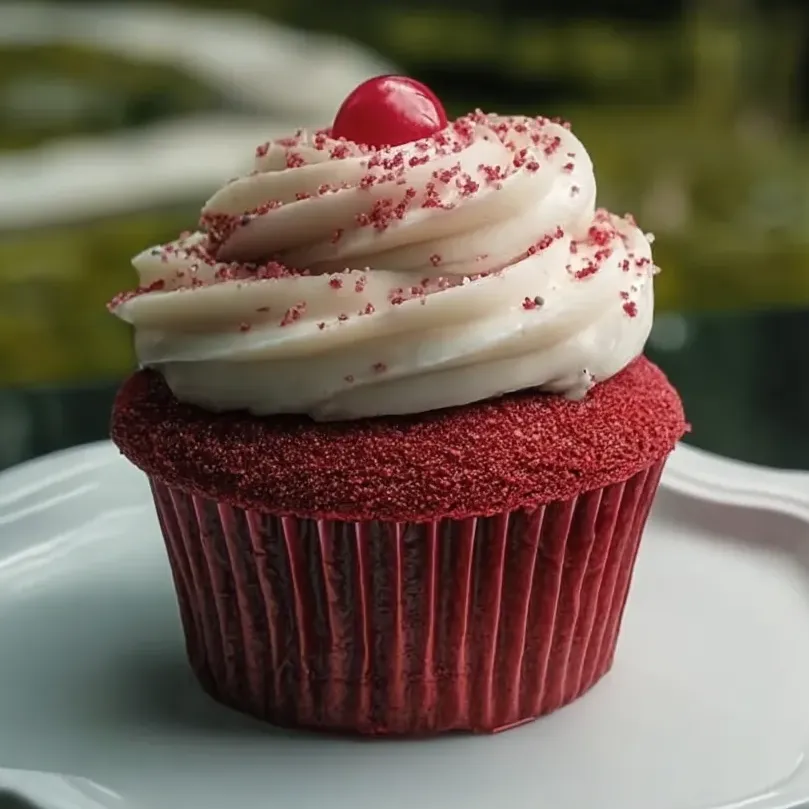
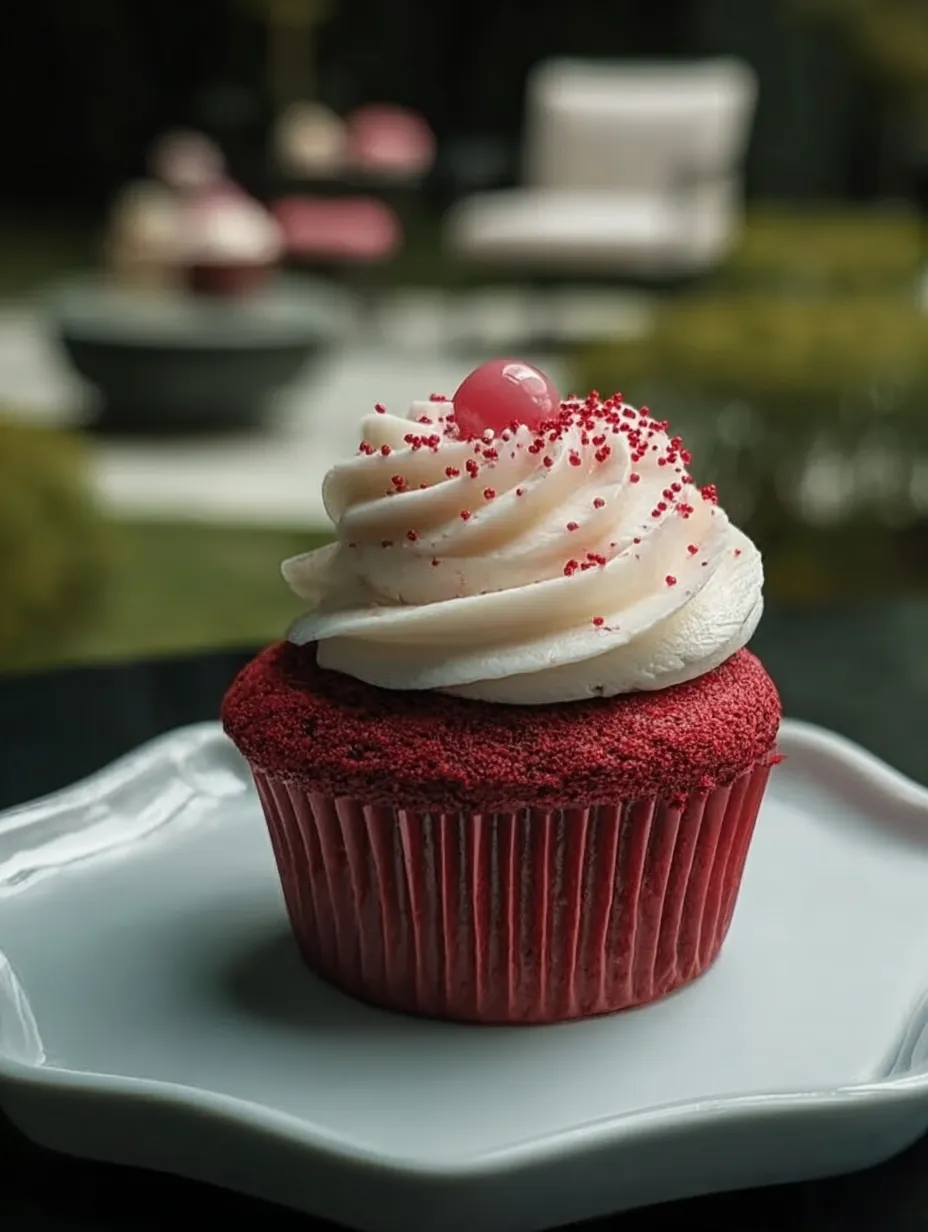
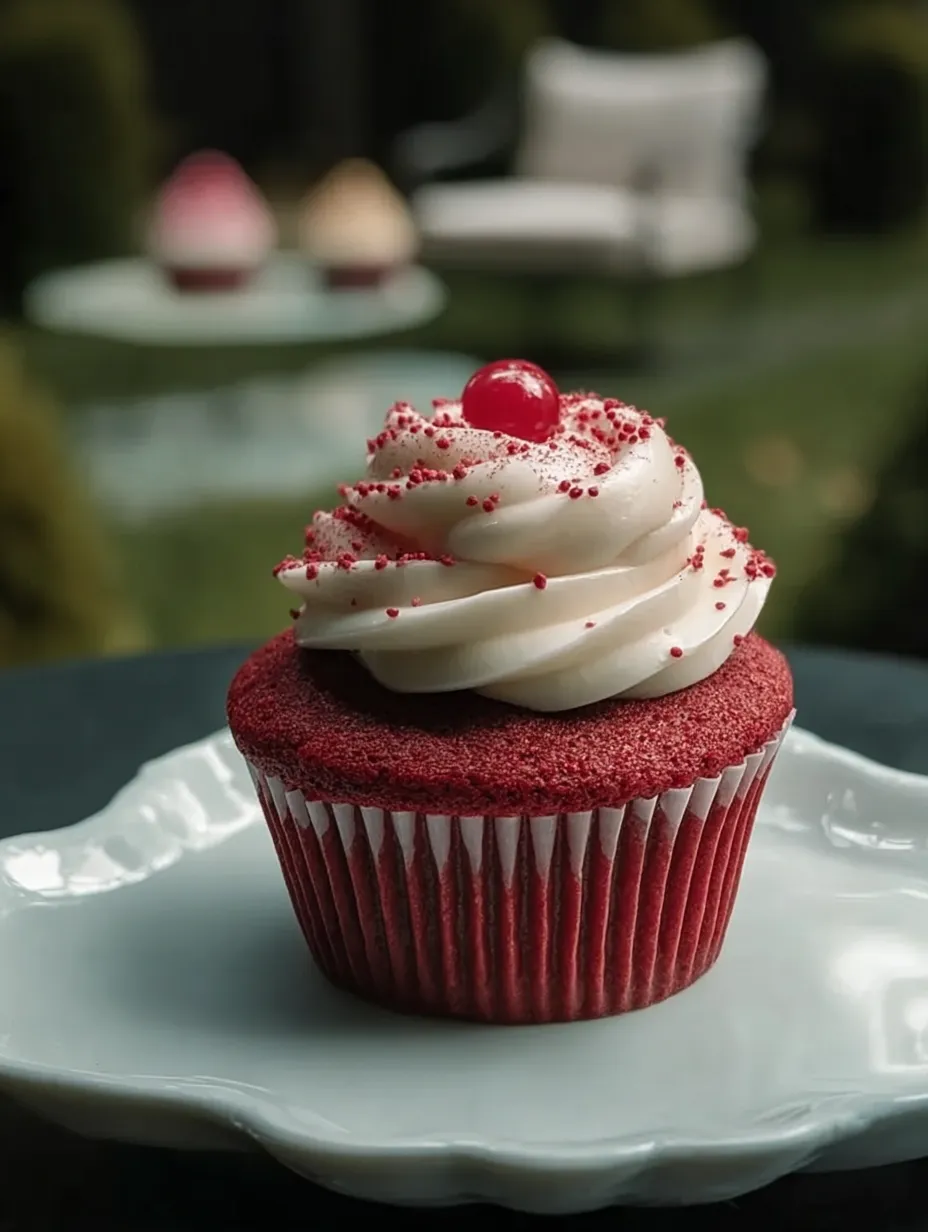
There is just something irresistible about moist homemade red velvet cupcakes topped with a generous swirl of tangy cream cheese frosting. These cupcakes are easy enough for a casual weekend treat but taste like something from your favorite bakery. Each bite brings a delicate blend of cocoa, vanilla, and a soft crumb that keeps everyone reaching for seconds.
I first baked a batch for a birthday and they disappeared faster than any cake I have ever made. Now these are requested for every special occasion and family gathering.
Ingredients
- All purpose flour: Creates the perfect fluffy cupcake texture Choose a brand you trust for consistent results
- Granulated sugar: Gives structure and sweetness to the batter Opt for fine sugar to avoid graininess
- Baking soda: Helps the cupcakes rise for a soft airy crumb Check that your baking soda is fresh
- Fine salt: Balances the sweetness and deepens flavor Use kosher or sea salt for clean taste
- Cocoa powder: Adds the classic hint of chocolate flavor Use natural unsweetened cocoa for authentic results
- Vegetable oil: Keeps the cupcakes tender and moist Use a light flavored oil like canola for best results
- Buttermilk: Gives tangy flavor and tenderness Make sure it is at room temperature for smooth mixing
- Eggs: Provide structure and richness Use large eggs at room temperature for a strong emulsion
- Red food coloring: Gives the cupcakes their signature color Gel color gives the brightest hue with no bitterness
- White vinegar: Enhances the cocoa flavor and deepens the red color Choose distilled white for a neutral taste
- Vanilla extract: Boosts aroma and the classic bakery cupcake flavor Pure vanilla is worth the splurge
- Cream cheese: The key to rich tangy frosting Use full fat cream cheese at room temperature
- Unsalted butter: Combines with cream cheese for a smooth base Use quality butter for best flavor
- Powdered sugar: Sweetens the frosting and gives lightness Sift before using for lump free results
- Pinch of salt: Rounds out the flavor and keeps frosting from being too sweet
- Tips for quality: Choose the freshest ingredients and let everything come to room temperature for the smoothest batter and creamiest frosting.
Step-by-Step Instructions
- Prepare:
- Preheat the oven to 350°F or 175°C. Line two twelve cup muffin tins with paper liners. Set all refrigerated ingredients out early so they come to room temperature for easier mixing.
- Make the Batter:
- In a medium bowl whisk together the flour cocoa powder baking soda and fine salt until completely combined. In a large bowl use an electric mixer to beat the oil and sugar until combined and pale. Add eggs one at a time mixing after each until fully blended. Mix in the red food coloring vinegar and vanilla until your mixture is even in color and smooth. Alternate adding the flour mixture and buttermilk to the wet ingredients. Start and finish with the dry mixture. Mix gently just until no flour streaks remain so you do not overwork the batter.
- Bake:
- Scoop or spoon the batter into lined muffin cups filling each about two thirds full for the best domed tops. Bake for eighteen to twenty minutes or until a toothpick inserted into the center comes out clean with a few moist crumbs. Let cupcakes cool in the pan for five minutes then move them to a wire rack. Cool completely before frosting or your icing will melt.
- Make Frosting:
- In a large bowl beat the soft cream cheese and unsalted butter together until creamy and smooth with no lumps. Add powdered sugar gradually beating well after each addition until the frosting is thick and fluffy. Mix in vanilla extract and a pinch of salt for balance. Beat everything together until light and spreadable.
- Decorate:
- Use a piping bag or spread frosting on each completely cooled cupcake. For a bakery style finish sprinkle a few red velvet cake crumbs or decorate as you like.
You Must Know
- Rich cocoa flavor balanced by mellow cream cheese frosting
- Perfect for baking ahead as they stay moist for days
- Easy to customize with different toppings or sprinkles
One of my favorite parts of making these is swirling on the cream cheese frosting. It never fails to make me smile when my family sneaks into the kitchen for just one more cupcake before dinner. The red hue reminds me of special celebrations with my grandmother who made red velvet every Valentine’s Day.
Storage Tips
Keep cupcakes covered and refrigerated if frosted with cream cheese icing. They stay fresh for up to four days in an airtight container. Unfrosted cupcakes can be frozen for up to two months then thawed gently at room temperature before frosting.
Ingredient Substitutions
Swap buttermilk for one cup milk plus one tablespoon vinegar. If you prefer a natural red color beet powder works nicely in place of food coloring. For a deeper chocolate flavor try Dutch process cocoa but note the color will be darker.
Serving Suggestions
These cupcakes shine at birthday parties and holidays. Dust the tops with cocoa or red crumbs for a pretty finish. For a dessert platter serve with fresh berries and extra cream cheese frosting on the side for dipping.
Cultural Context
Red velvet cupcakes have Southern roots and are now a beloved American bakery classic. The bright color comes from a hint of cocoa and acidity from vinegar which creates that unmistakable velvety crumb everyone loves.
Frequently Asked Questions
- → What makes red velvet cupcakes so soft?
The combination of oil, buttermilk, and gentle mixing keeps the crumb moist and tender.
- → Why add vinegar to the batter?
Vinegar reacts with baking soda and cocoa to enhance the signature red color and ensure a soft texture.
- → Can I make these cupcakes ahead of time?
Yes, bake and cool them in advance. Frost just before serving for the freshest taste and appearance.
- → How do I achieve a vibrant red hue?
Use gel food coloring or substitute with beet powder for a natural tint without affecting texture.
- → How should I store frosted cupcakes?
Keep them chilled in an airtight container. Let them come to room temperature before serving.
- → What’s the best way to apply the frosting?
Use a piping bag for a professional finish, or spread with a spatula for a rustic look.