
 Save
Save
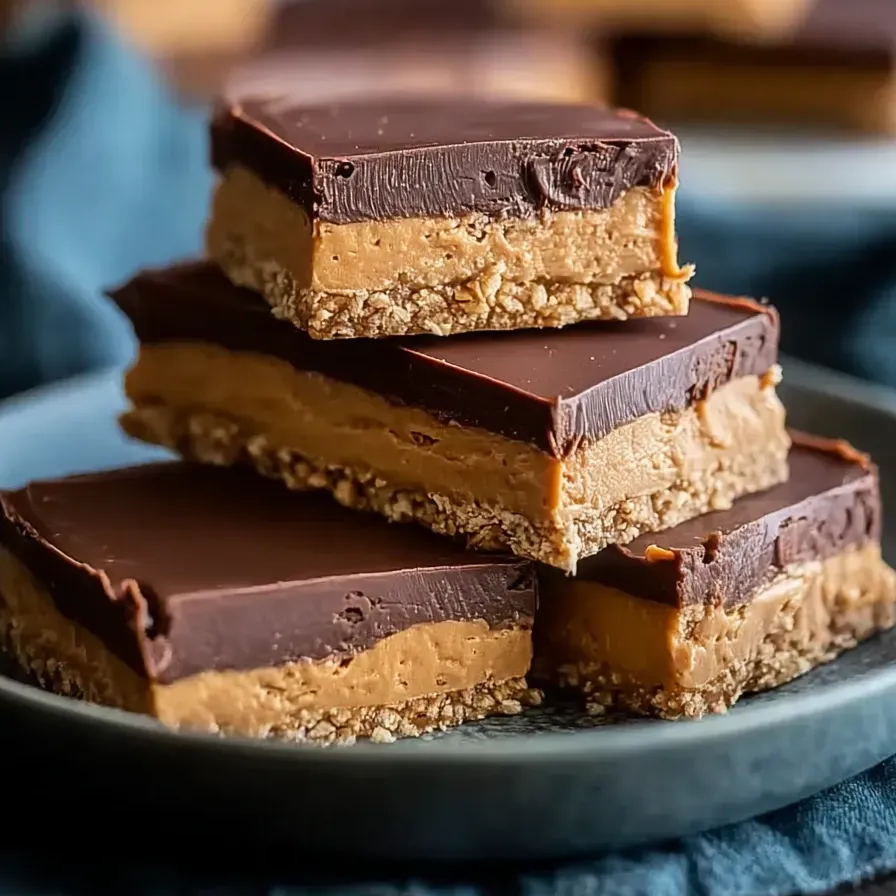
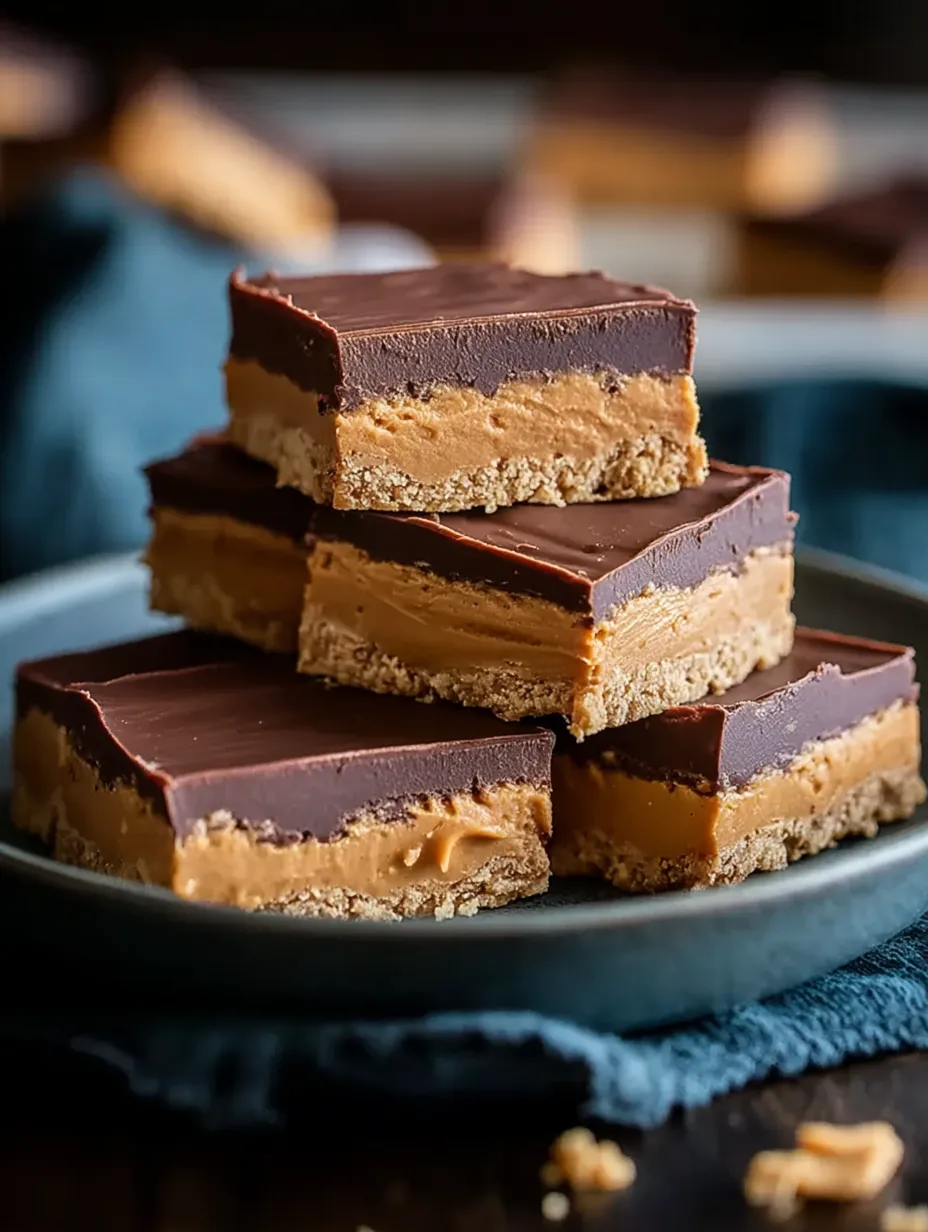
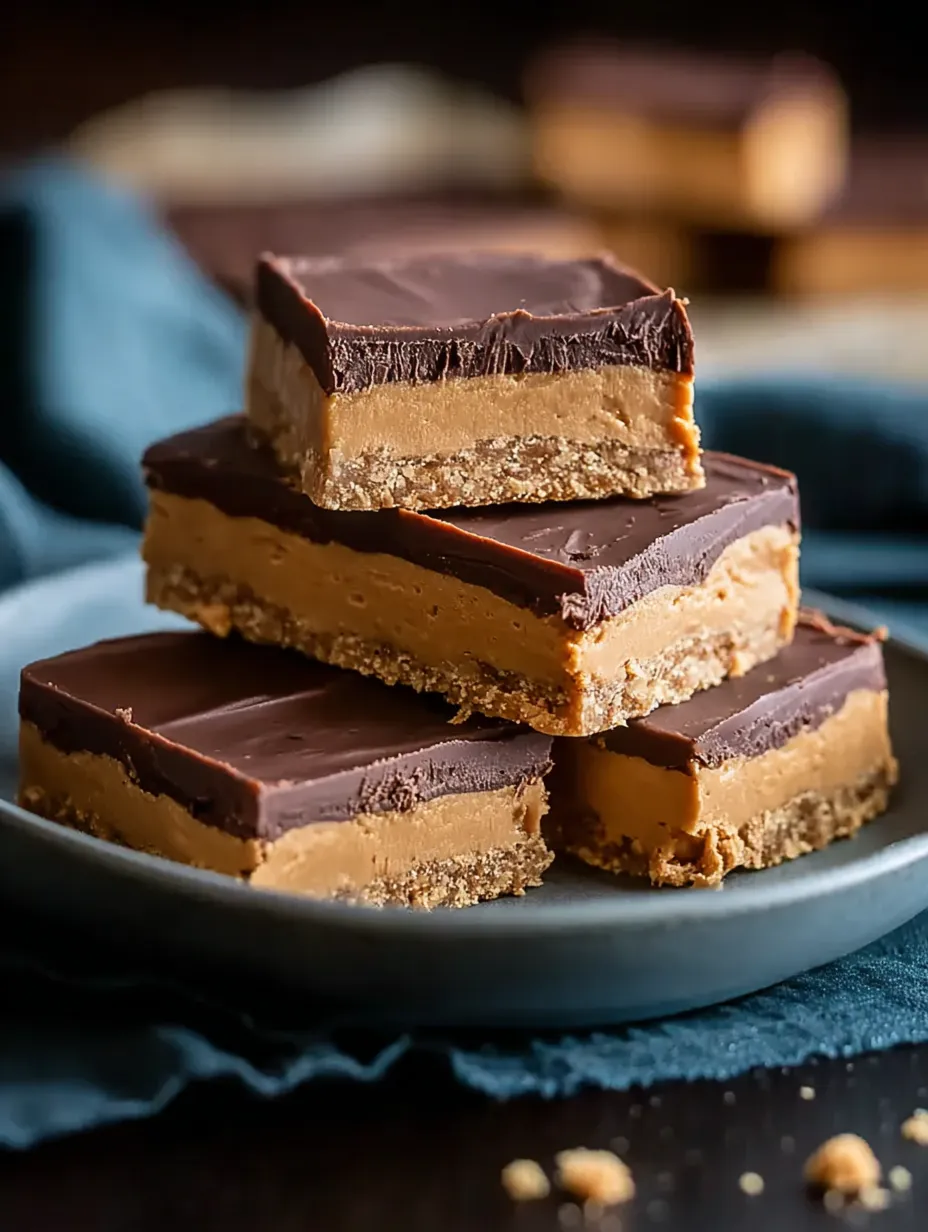
These irresistible no-bake peanut butter bars bring together sweet and salty flavors for a dessert that makes you feel like a kid again It is the perfect treat to whip up for bake sales parties or anytime a chocolate craving strikes The rich peanut butter base is buttery and tender and the thick chocolate layer on top tastes just like the classic candy bars but homemade and even better
The first time I made a version of these bars was at a holiday gathering and my younger cousins could not stop sneaking seconds The combination of creamy peanut butter and silky chocolate always brings out smiles
Ingredients
- Creamy peanut butter: for that nutty richness pick a commercial brand for best texture
- Unsalted butter: creates a smooth base melted for easy mixing choose fresh real butter for flavor
- Powdered sugar: sweetens and binds the peanut butter base sift for a smooth finish
- Graham cracker crumbs: add slight crunch and sturdy texture go for fresh crispy crackers
- Vanilla extract: boosts the overall flavor real vanilla is worth it
- Salt: balances the sweetness use fine salt for an even rise of flavor
- Semi-sweet chocolate chips: give a rich chocolatey top use a good quality brand for the shine and snap
- Creamy peanut butter in the topping: softens the chocolate layer so it stays creamy
- Butter in the chocolate topping: adds gloss and softness room temperature butter melts evenly
Step-by-Step Instructions
- Line the Pan:
- Line a nine by thirteen inch pan with parchment paper to prevent sticking and make lifting the bars out easy after chilling
- Mix the Peanut Butter Base:
- Combine the melted butter and creamy peanut butter in a large mixing bowl Stir with a spatula until completely blended and silky smooth This step ensures there are no lumps for the creamiest bar layer
- Add Dry Ingredients:
- Slowly add powdered sugar graham cracker crumbs vanilla and salt to the bowl Stir well with a spatula or sturdy spoon until everything is fully combined The mixture should look thick and slightly crumbly but hold together when pressed
- Press Into the Pan:
- Dump the peanut butter mixture into your prepared pan Press it down firmly and evenly Use the back of a measuring cup or your hands to ensure a smooth dense layer Pay extra attention to the corners to fill them completely
- Make the Chocolate Topping:
- Place chocolate chips creamy peanut butter and butter in a microwave-safe bowl Melt in thirty seconds bursts stirring after each interval until fully smooth and glossy Watch carefully so the chocolate does not overheat and seize
- Spread the Chocolate:
- Pour the melted chocolate mixture over the peanut butter layer Use a spatula or offset knife to spread it into an even thick layer reaching every edge This creates the signature layered look
- Chill Until Set:
- Refrigerate for at least two hours to firm up both layers The bars should be fully set so the chocolate has a satisfying snap when cut
- Slice into Bars:
- Use the parchment to lift the bars from the pan For the cleanest cuts warm your knife under hot water and dry it before each slice This trick gives sharp bakery style edges
I absolutely love the thick chocolate topping on these bars Sometimes I double the chocolate layer just for my chocolate loving family We always cut the first pieces a little too big because it is impossible to resist
Storage Tips
Store the bars in an airtight container in the refrigerator to keep them fresh They will last for about a week You can also freeze the cut bars for up to three months Just stack them with parchment between layers for quick treats straight from the freezer
Ingredient Substitutions
Make these bars gluten free by using gluten free graham crackers Vegan butter and dairy free chocolate chips can be swapped in for a fully vegan version Chunky peanut butter adds a bit more texture if that is your style
Serving Suggestions
Serve these bars chilled for the cleanest cuts and snappiest chocolate They go perfectly on a dessert tray with fresh berries or as an after school snack My favorite is to enjoy one with a cold glass of milk or strong coffee
Simple History
No bake bars like these became popular in American kitchens in the mid twentieth century when convenience treats started popping up in cookbooks Many families have their own favorite version using pantry staples for quick desserts without baking
Frequently Asked Questions
- → How do I keep peanut butter bars from sticking to the pan?
Line your pan with parchment paper, leaving an overhang for easy lifting and minimizing sticking.
- → Can I substitute crunchy peanut butter for creamy?
Yes, crunchy peanut butter adds texture, though the bars will be less smooth. Adjust to your preference.
- → What's the best way to melt the chocolate topping?
Microwave chocolate chips, butter, and peanut butter in 30-second intervals, stirring until smooth and pourable.
- → How long should I chill the bars before cutting?
Chill at least two hours so the chocolate topping fully sets and bars hold their shape when sliced.
- → Do these bars need to be refrigerated after serving?
Store any leftovers in an airtight container in the fridge to maintain texture and freshness.