
 Save
Save
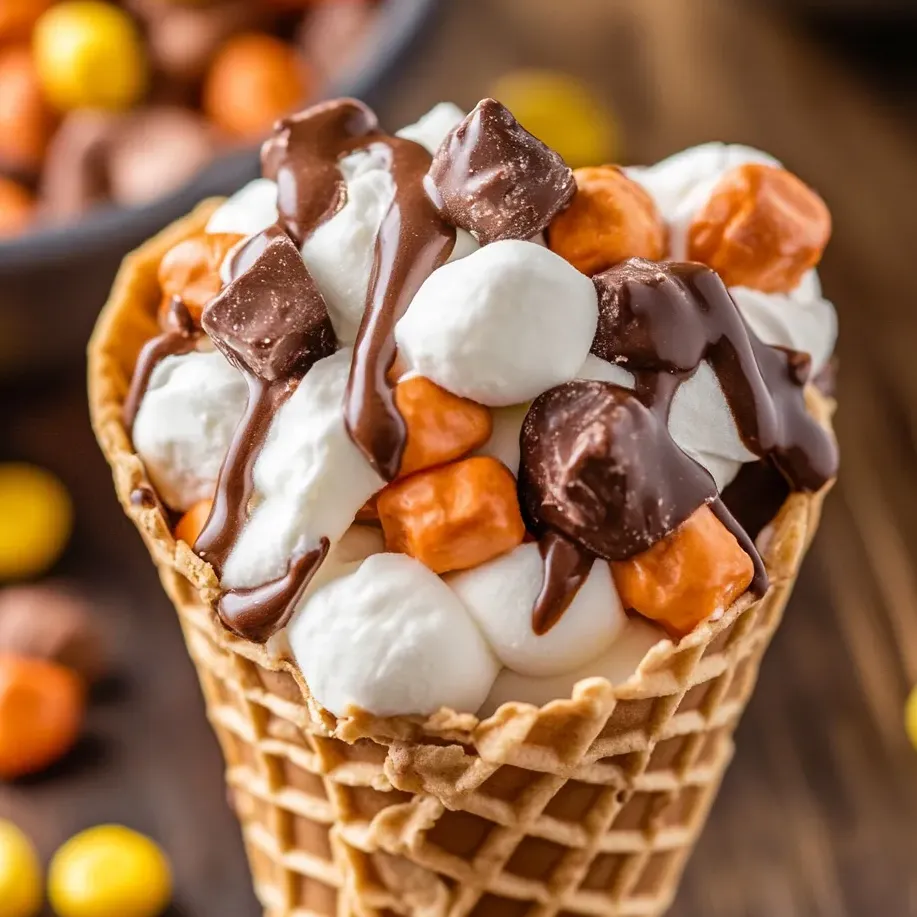
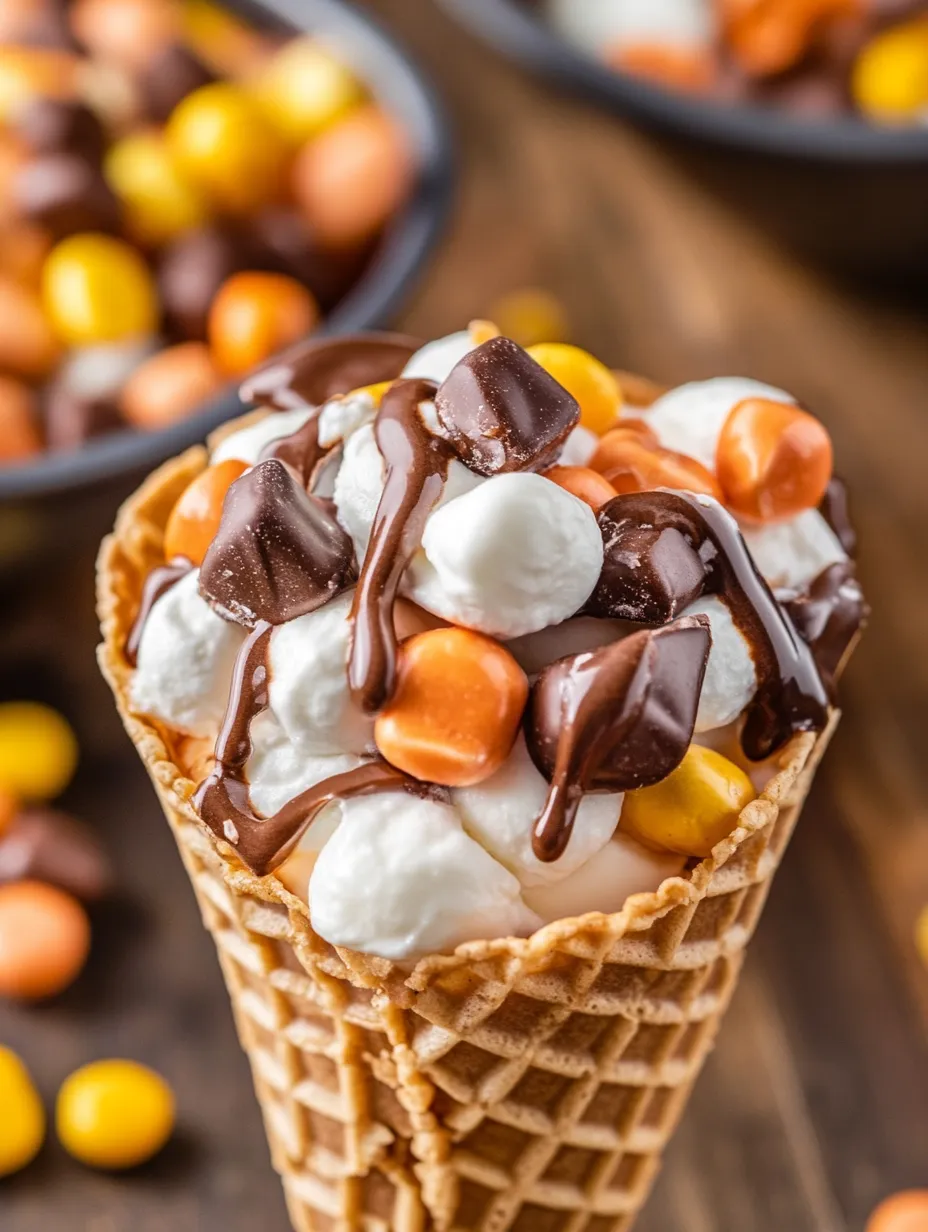
These Reese's Campfire Cones transform ordinary waffle cones into gooey, melty dessert treats that bring all the joy of s'mores with a peanut butter twist. Perfect for backyard gatherings, camping trips, or anytime you want to create sweet memories without the mess of traditional s'mores.
I first made these on a family camping trip when rain threatened our traditional s'mores plans. The kids were so delighted by their personal dessert cones that they now request them even when we're not camping.
Ingredients
- Waffle cones: Sturdy vessels that hold all the delicious fillings and become slightly crispy when toasted
- Mini marshmallows: They melt perfectly into a gooey layer that binds everything together
- Chocolate chips: Choose semisweet for balanced sweetness or milk chocolate for extra creaminess
- Reese's Mini Peanut Butter Cups: These create pockets of melty peanut butter chocolate goodness
- Reese's Pieces: Add color and extra peanut butter flavor while maintaining their shape when heated
Step-by-Step Instructions
- Start with the Marshmallow Base:
- Fill the bottom quarter of each cone with mini marshmallows. This creates a foundation that prevents chocolate from melting through the bottom of the cone and makes a gooey first layer.
- Layer Your Fillings:
- Add alternating layers of chocolate chips, Reese's Mini Peanut Butter Cups (broken in half if needed), Reese's Pieces, and more mini marshmallows. Press gently after each addition to ensure the cone is filled completely with no air pockets that would prevent even melting.
- Wrap Securely:
- Carefully wrap each filled cone in aluminum foil, starting at the top to prevent spillage. Fold the foil over the open top first, then continue wrapping down and around the cone, ensuring a tight seal. Proper wrapping is crucial for even heating and preventing melty leaks.
- Oven Method:
- Place the wrapped cones upright on a baking sheet and bake at 350°F for 10 to 15 minutes until everything inside is melted. The baking sheet catches any potential drips and makes handling easier.
- Campfire Method:
- Nestle the wrapped cones among hot coals or place on grill grates above the fire. Rotate them every couple of minutes for 5 to 7 minutes total cooking time. The campfire adds a subtle smoky flavor that enhances the chocolate and marshmallow.
- Cool and Enjoy:
- Allow the cones to cool slightly for 1 to 2 minutes before carefully unwrapping. The contents will be extremely hot and continue to set as they cool, creating the perfect melty but manageable texture.

My kids always fight over who gets more Reese's Pieces in their cone, so I started using clear measuring cups to divvy up equal portions of each ingredient before assembly. This little hack has saved countless campfire arguments and taught them about fair sharing in the process.
Make Ahead and Storage
These cones can be prepared up to 12 hours in advance. Simply assemble, wrap in foil, and refrigerate until ready to cook. This prep-ahead option makes them perfect for camping trips where you want to minimize packing and preparation at the campsite. If you happen to have leftovers (though this rarely happens in my family), you can store them wrapped in the refrigerator for up to 2 days and reheat for 5 minutes in a 300°F oven.
Perfect Substitutions
The beauty of these campfire cones lies in their versatility. Try swapping in different candy combinations like caramel bits and chopped Snickers for a caramel twist, or white chocolate chips and crushed Oreos for a cookies and cream version. For those with peanut allergies, M&Ms and Hershey miniatures make excellent Reese's alternatives. The basic formula remains the same set a base layer of marshmallows topped with chocolate and your chosen treats.
Serving Suggestions
Serve these cones in small bowls to catch any delicious drips as they cool. For an extra special presentation, add a scoop of vanilla ice cream alongside the warm cone, allowing it to melt slightly into the chocolatey goodness. At birthday parties or larger gatherings, set up a campfire cone station where guests can customize their own cones before cooking, creating a fun interactive dessert experience.
The History Behind The Treat
Campfire cones are a clever evolution of the classic s'more, which originated in the early 20th century among Girl Scouts. While traditional s'mores can be messy and require precise marshmallow roasting skills, these cones democratize the experience, making it accessible for all ages and skill levels. The addition of Reese's candy pays homage to America's love affair with the chocolate and peanut butter combination that began when H.B. Reese created his famous peanut butter cups in 1928.
Frequently Asked Questions
- → Can I use different candies for my campfire cones?
Absolutely! While the Reese's products provide that perfect chocolate-peanut butter combination, you can customize with any small candies, chocolate bars, caramel bits, or even sliced fruit. Just ensure pieces are small enough to melt properly and fit inside the cone.
- → How do I prevent the cone from burning when cooking over a campfire?
Proper foil wrapping is key to preventing burning. Make sure the cone is completely covered with aluminum foil, wrapping the top first before sealing the sides and bottom. Place the cone on the outer edges of hot coals rather than directly in flames, and rotate frequently for even heating.
- → Can I make these campfire cones ahead of time?
You can prepare the cones by filling and wrapping them up to 24 hours in advance. Store them in a cooler or refrigerator until ready to cook. For best results, avoid pre-filling too far in advance as the cones may become soggy from moisture in the marshmallows and other ingredients.
- → What's the best way to eat campfire cones with minimal mess?
Keep the bottom portion of the foil wrapped around the cone as you eat to catch any drips. Eat from the top down, allowing melted ingredients to settle into the cone. Have napkins ready, as these treats are deliciously messy. For easier serving, place each cone in a small cup or bowl after cooking.
- → How can I tell when my campfire cone is properly melted?
When cooking, you'll notice the foil-wrapped cone becoming slightly soft to touch after 5-7 minutes on a campfire or 10-15 minutes in an oven. Carefully unwrap the top to peek inside - the marshmallows should be puffed and the chocolate and candy visibly melted. If needed, rewrap and cook for another minute or two.
- → Can I make these in a microwave instead?
While not ideal, you can make a modified version in the microwave. Skip the aluminum foil wrapping and place the filled cone in a microwave-safe mug to keep it upright. Microwave in 15-20 second intervals until marshmallows puff and ingredients begin to melt. Watch carefully to prevent overflow, and note that the cone won't have the same toasted quality as the campfire or oven method.